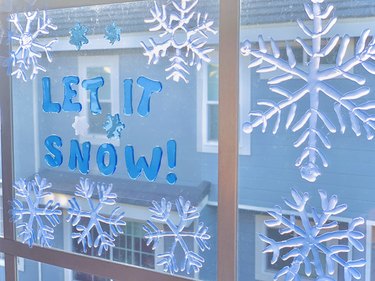
Hot glue is a go-to supply for crafters because it is so multi-purpose. You can literally create just about anything, like these DIY snowflakes. Turn them into ornaments or window clings and watch how they transform your holiday decor instantly! Get the kids involved and add color or glitter for a little extra pizzazz. Grab your hot glues guns and let's get started
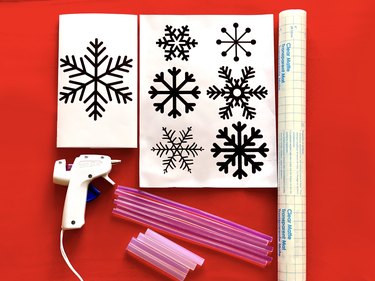
Things You'll Need
Hot glue gun
Pack of glue sticks (clear or glitter)
Clear contact paper lining (no wax/parchment paper)
Snowflake template
Video of the Day
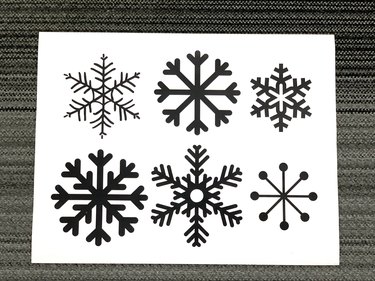
1. Create a snowflake template
Start by searching online for a free printable snowflake template. You should't have any difficulty locating traceable snowflakes for free but if you don't find anything to your liking, try creating your own template in photoshop or a user-friendly photo app. Search for snowflakes that are easily traceable with your glue gun. If you are good at drawing, disregard the template altogether and free-hand your own snowflakes!
Video of the Day
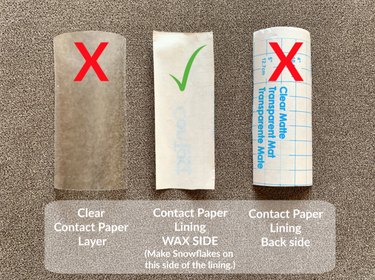
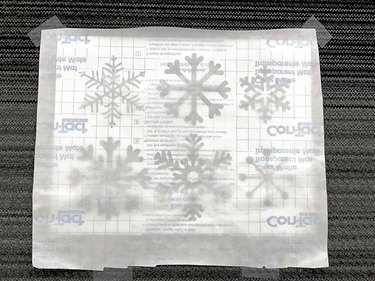
2. Cover template with contact paper
Take the wax side of a piece of contact paper lining and cover your template or hand-drawn snowflakes, wax side up. Do not use the sticky side of the contact paper.
Tape the four corners of the contact paper lining to the surface you are using so it doesn't move when you begin to trace the snowflake image.
Tip
Use a roll of CLEAR contact paper. The lining is somewhat translucent, which makes it easy to trace a snowflake template. Most patterned/colored contact paper has a solid white wax lining and is not as easy to see through.
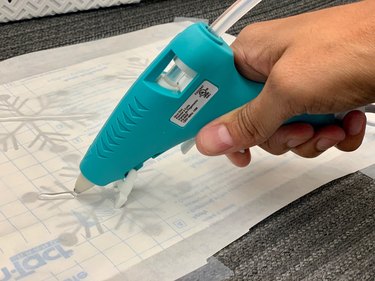
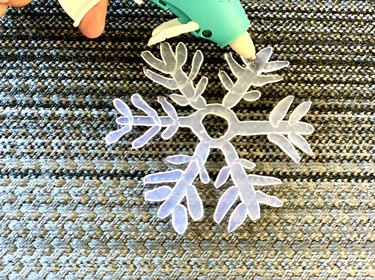
3. Trace snowflakes with hot glue
Grab your glue gun and begin tracing your first template. Be sure to connect all the lines and make them thick so the snowflake stays in one piece once it's time to peel it away from the contact paper lining.
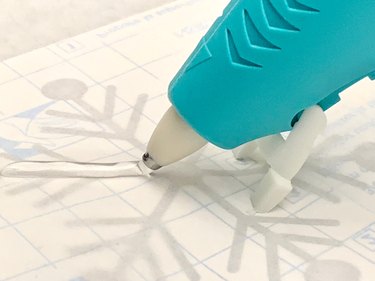
A good way to resolve a shaky hand while tracing is to rest the glue gun on its kickstand and point it down as you drag it across the paper.
4. Let the glue cool
After tracing your snowflake, allow it to cool 3 to 5 minutes before removing from contact paper lining.
Tip
If you have several snowflakes on one sheet of paper, start on another while the one you just made cools off.
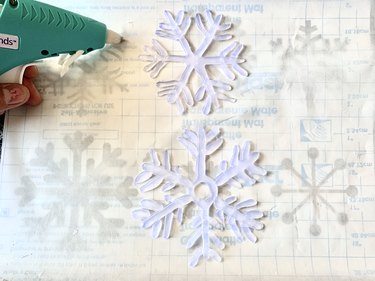
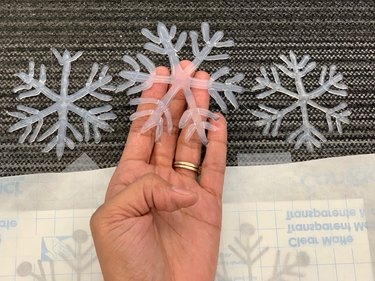
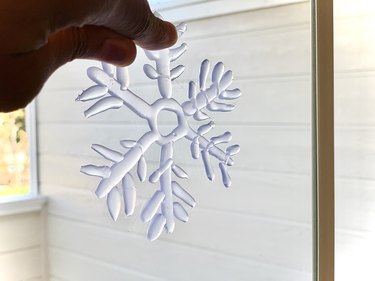
5. Peel up snowflakes
Once your snowflakes have cooled off for a few minutes, begin to peel them away from the paper. You'll be amazed at how easy they come off! Look, you have beautiful new snowflake window clings.

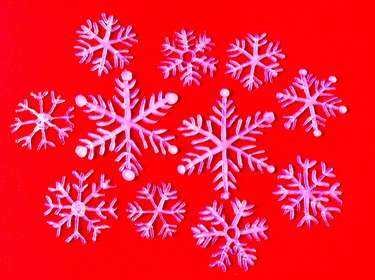
6. Decorate!
Make as many hot glue snowflakes as you like in different shapes and sizes. Now it's time to decorate!
To adhere them to the window, add a dab of hot glue to a few corners of each snowflake (quickly, as hot glue dries fast) and press them onto your window. Reposition snowflakes at anytime by repeating this step.
There you have it! DIY hot glue snowflakes to make your holiday season a little brighter. Use them for years to come!
Tip
Bring the kids into the fun and add some color! Here are a few ways...
- Use a glittered glue stick to make your snowflakes.
- None on hand? No problem! Brush Elmer's glue onto the snowflakes while on the paper lining and sprinkle glitter over them.
- Paint the snowflakes with nail polish in the color of your choice while it's still on the paper.