
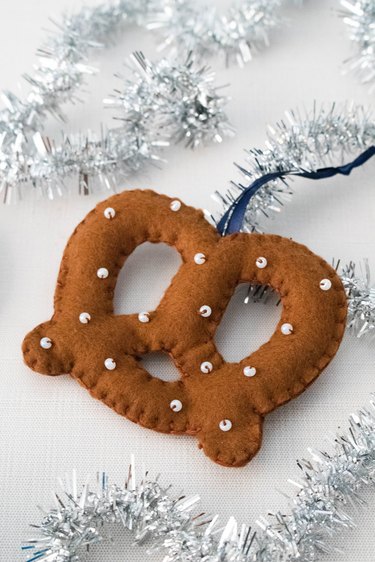
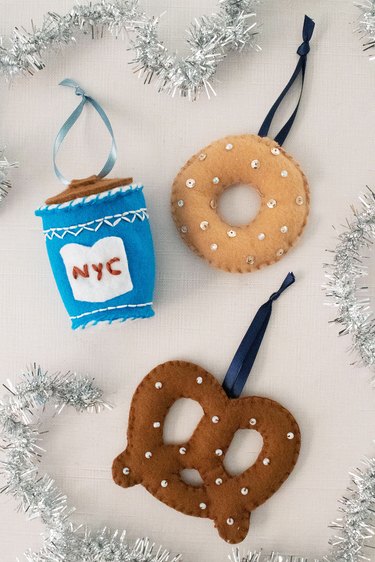
If you're a foodie in a festive mood, you're going to love these DIY felt ornaments. They're designed to look like three classic New York City eats: a pretzel, a bagel and the iconic blue NYC coffee cup. So fun!
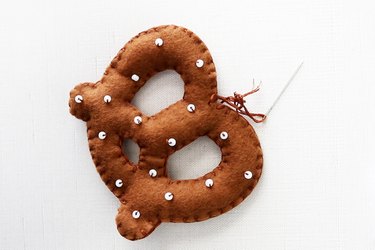
All three felt Christmas tree ornaments are essentially mini plush toys, as they're stuffed with polyester fiber fill (i.e., the stuff that makes pillows and plush animals so fluffy!). The pretzel is embellished with white beads for "salt," while the bagel is decorated with rhinestones and sequins to represent spices and seasonings. The result is a trio of cozy, cute ornaments that will add serious charm to your tree.
Video of the Day
What's more, craft felt is an affordable material, so if you're looking for a budget-friendly Christmas project, this tutorial might be just what you need. For context, a standard sheet of felt offers enough material to make at least three bagel ornaments, and it costs less than a dollar!
Needless to say, when styled together, the following food-themed ornaments will be just as magical as NYC itself during the holiday season. Read on to learn how to make these easy felt Christmas ornaments—no sewing machine required!—complete with tips and free printable patterns to get you started.
Video: Felt Food Ornaments With a New York City Theme
1. Pretzel Felt Ornament
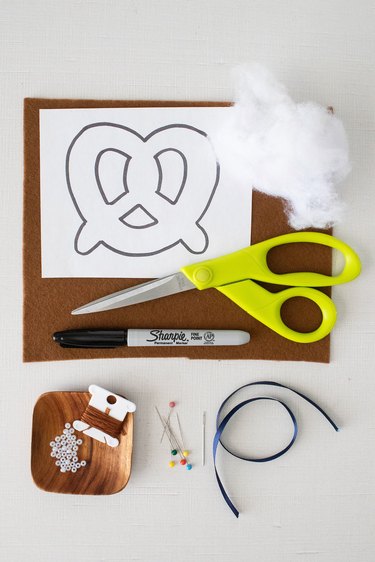
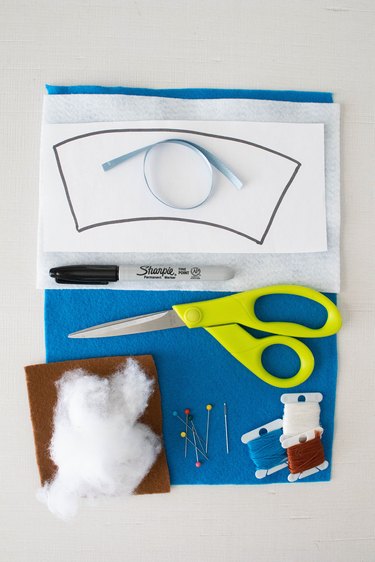
Things You'll Need
Brown felt
Brown embroidery thread
White beads
Polyester fiber fill
Ribbon
Hot glue gun
Hand sewing needle
Straight pins
Marker
Fabric scissors
Craft knife (optional)
Pretzel ornament template
Tip
You can find polyester fiber fill in the sewing section of the craft store. It’s also available on Amazon.
1. Cut out felt pretzels
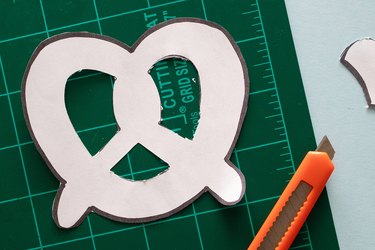
Begin by printing our free pattern and then cut out the pretzel shape. You can use a craft knife to carve out three sections inside pretzel.
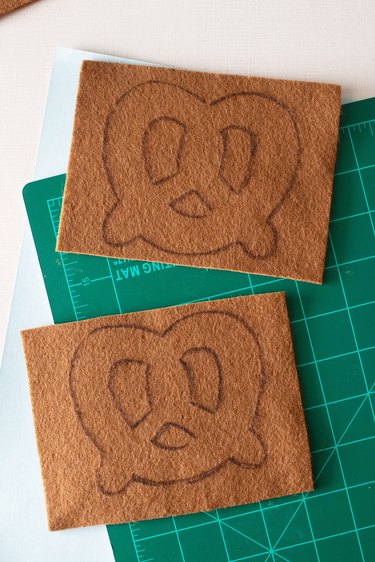
Trace pretzel template onto brown felt.
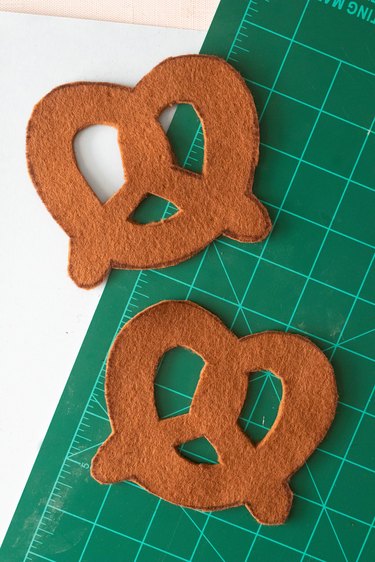
Cut out felt pretzels.
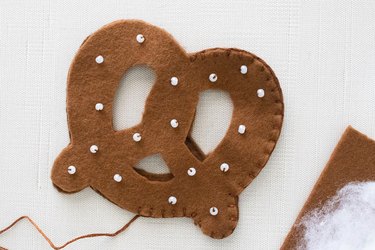
2. Add beads
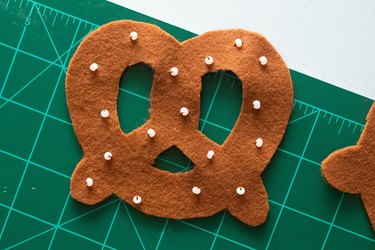
Stitch white beads onto one felt piece. This will form "salt" on front layer of pretzel.
Tip
To ensure beads are secure, tie off the thread after adding each bead.
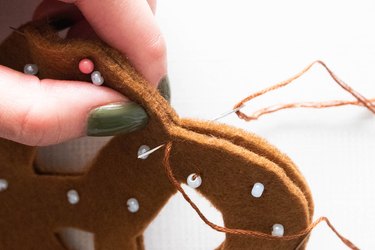
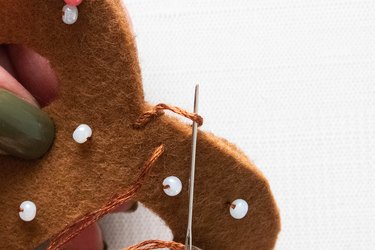
3. Sew felt together
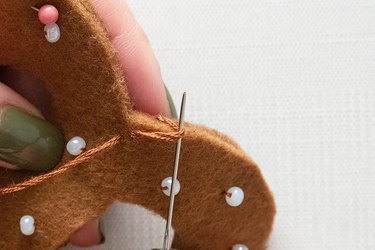
Pin felt pieces together. To attach them, you'll need to use a blanket stitch. Start by inserting a strand of embroidery thread through needle and tying a knot at end.
At top of pretzel, insert needle through first layer, moving from back to front. Pull through until knot is between both layers.
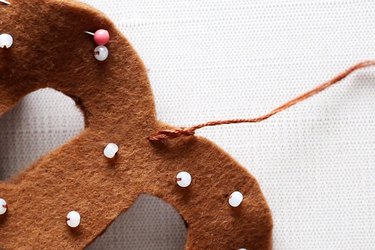
Bring needle over top and through hole you just made, moving from back to front and piercing both layers.
Pull until thread forms a tiny loop.
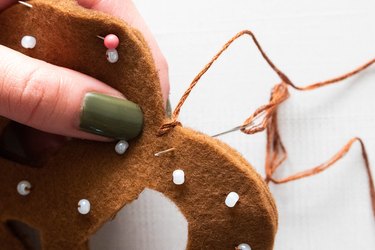
Insert needle through this loop, moving from right to left.
Pull needle upward. This creates first stitch.
To continue blanket stitch, insert needle from back to front about 1/4 in. from first stitch. Be sure to pierce both layers.
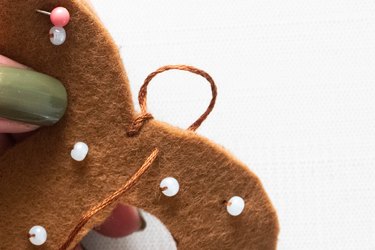
Again, pull through until thread creates a tiny loop on top.
Insert needle through loop, moving from right to left.
Pull needle upward to create second stitch.
Continue this sequence halfway around pretzel.
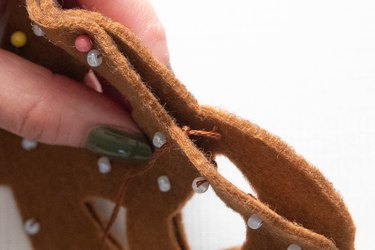
4. Stuff with fiber fill

Tuck fiber fill into stitched side of pretzel. Then, use a blanket stitch to sew up openings inside pretzel.
Alternate between adding fiber fill and stitching until half of pretzel is finished.
Tip
Use top of a pencil or pen to tuck fiber fill into tighter corners.
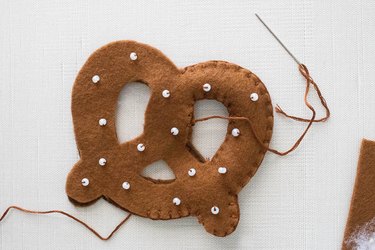
5. Repeat
Continue stitching and filling on other side of pretzel.
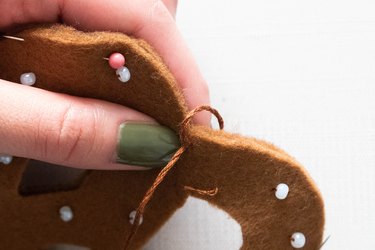
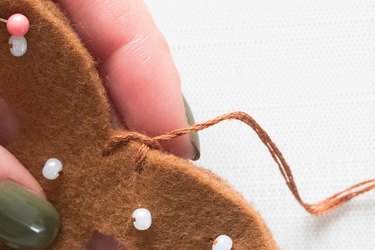
6. Add ribbon
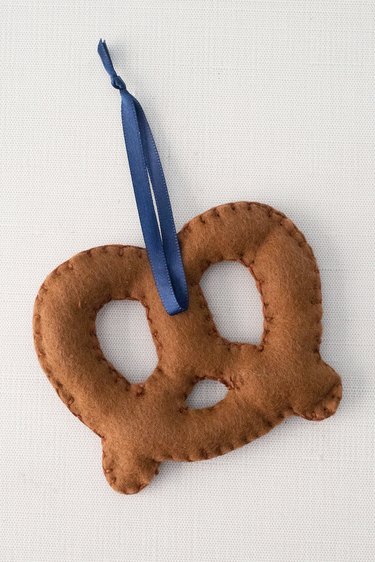
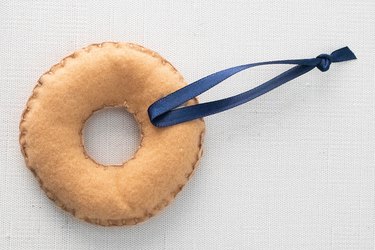
To complete DIY felt Christmas ornament, tie a strand of ribbon into a loop. Hot glue it to back of pretzel.
Who knew felt crafts could look so tasty?
2. Bagel Felt Ornament
Things You'll Need
Tan felt
Tan embroidery thread
Sequins
Rhinestones
Polyester fiber fill
Ribbon
Craft glue
Hot glue gun
Hand sewing needle
Straight pins
Marker
Fabric scissors
Craft tweezers (optional)
Jar lid and bottle cap

Tip
The jar lid and bottle cap will be used as templates. However, you can use any circular objects for this Christmas craft. Examples include an upside-down glass or roll of tape.
1. Cut out felt pieces
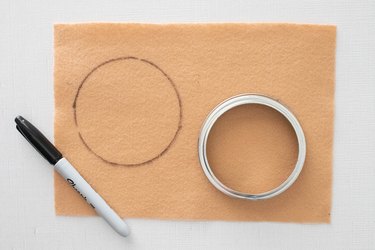
On a sheet of tan felt, trace jar lid twice.
Tip
You can also trace the circle onto a sheet of felt, place it on top of a second sheet and then cut both layers at the same time.
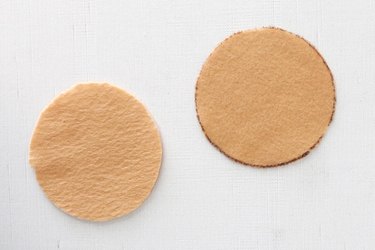
Cut out both circles.

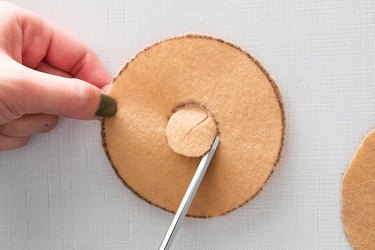
Trace bottle cap onto one circle, making sure it's in middle.
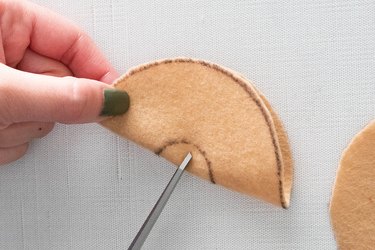
To cut out center hole, fold larger circle in half. Make a small snip in center.
Cut out hole.
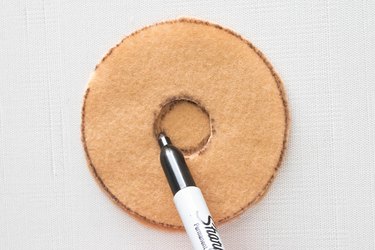
Place felt bagel on top of second one and then trace hole.
Tip
Tracing the hole onto the second piece will ensure the holes line up.

Cut out.
2. Stitch felt pieces
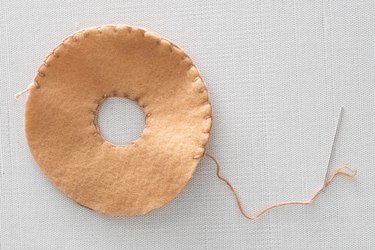
Using a blanket stitch and tan thread, stitch center hole and then stitch halfway around bagel.
Tip
Pin two layers together to keep them lined up.
3. Stuff with fiber fill
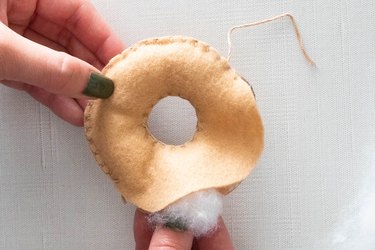
Stuff bagel ornament with fiber fill, making sure to push it through layers of felt.
4. Finish stitching ornament
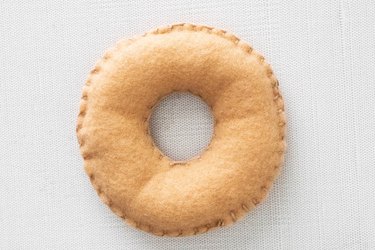
Continue blanket stitch around remainder of bagel, adding fiber fill as needed.
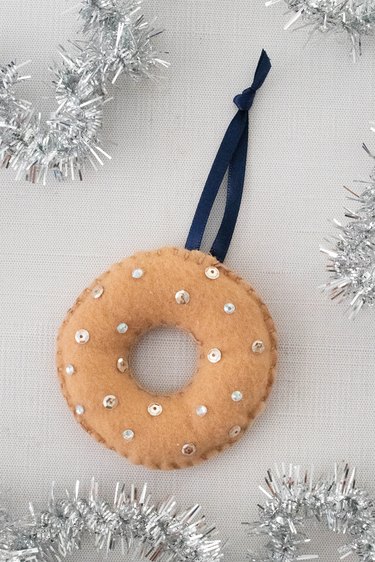
5. Add embellishments
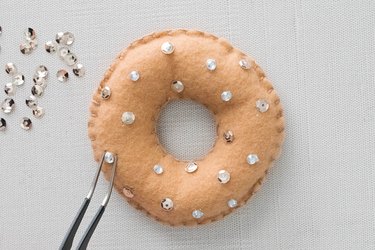
Using craft glue, add sequins and rhinestones to front of bagel.
Tip
Feel free to use sequins, rhinestones and other embellishments in different colors and shapes. This is a great way to use up leftover supplies too!
6. Add ribbon
To turn felt bagel into a DIY Christmas ornament, tie a strand of ribbon into a loop. Hot glue ribbon to back of bagel.
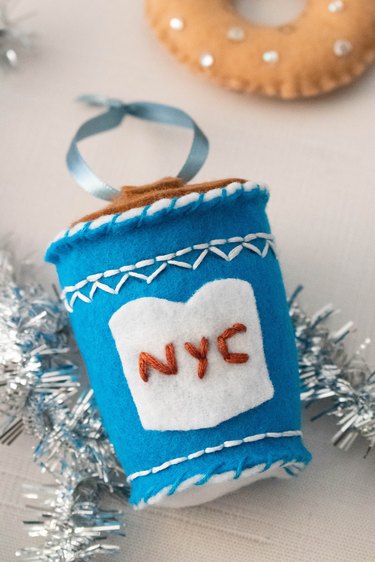
3. NYC Coffee Cup Felt Ornament
Things You'll Need
Blue, white and brown felt
Blue, white and brown embroidery thread
Polyester fiber fill
Ribbon
Hot glue gun
Hand sewing needle
Straight pins
Marker
Fabric scissors
Coffee cup ornament template
1. Cut out felt
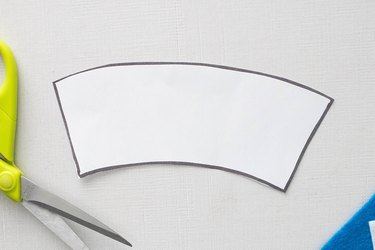
Print and cut out felt ornament pattern for mini cup.
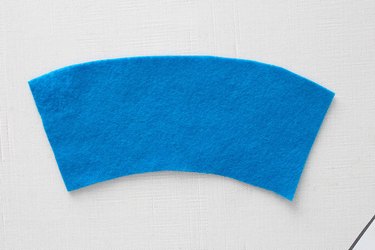
Trace template onto blue felt and then cut out.
2. Stitch details
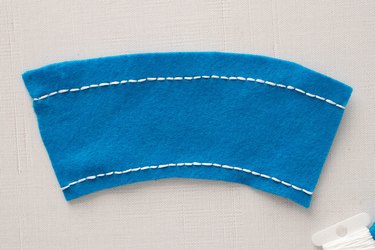
With white embroidery floss, use a running stitch to create a straight line across top about 1/2 in. from top edge. This will create a straight line.
Repeat on bottom about 1/4 in. from bottom edge.
Tip
Draw lines with marker before stitching.
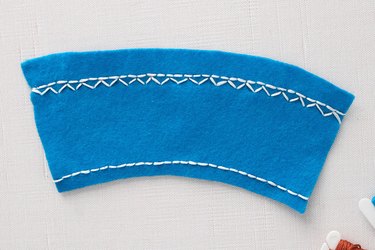
Next, just under top white line, stitch a simple zigzag design.
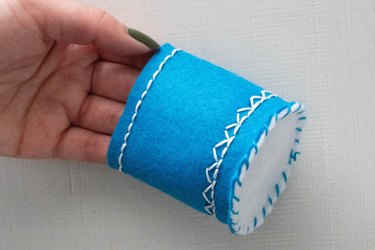
3. Construct cup
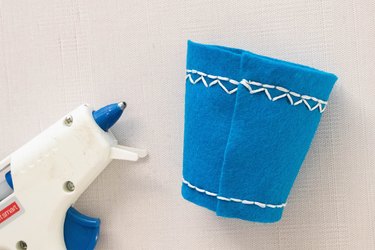
Hot glue side edges together.
Tip
You can also join sides using a straight stitch.

Trace top and bottom of cup onto white felt and then cut out circles. The top piece (or "lid") will measure approximately 2 1/2 in. wide, and the bottom will be about 1 3/4 in. wide.
Tip
Cut circles slightly bigger than you think you’ll need. You can always trim them as you stitch.
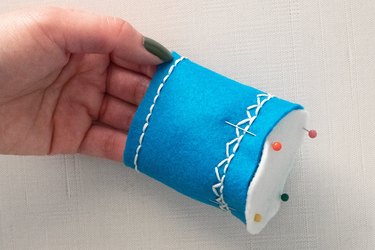
Pin lid to top of cup.
Using a simple overcast stitch, join lid to top of cup.
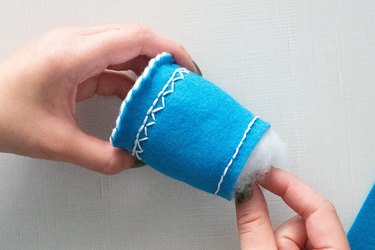
Stuff cup with fiber fill. Then, stitch bottom to cup.
4. Add NYC design
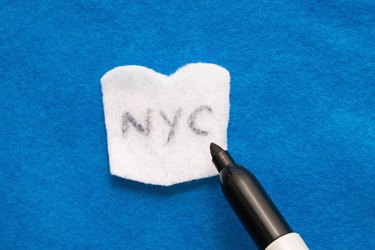
Cut a crest or heart out of white felt. Feel free to have fun with this shape; it doesn't have to look exactly like the real cup!
Write "NYC" on white felt using marker.
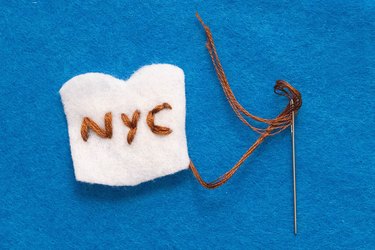
Stitch letters with brown thread.
5. Decorate cup
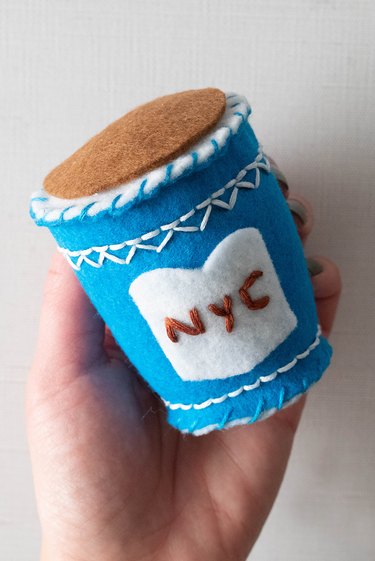
Glue NYC crest to front of cup. Glue a brown circle on top to represent coffee.
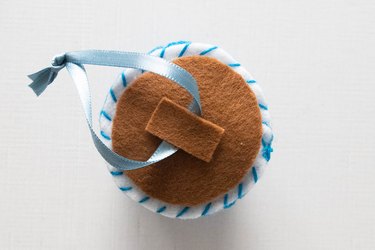
Tie a strand of ribbon into a loop and then hot glue on top. If you'd like, add a smaller piece of brown felt on top of ribbon to conceal glue. You can even add a pompom for "whipped cream"!
How to Make a Felt Garland
If you prefer garlands or want to make matching home decor, turn these ornaments into a garland. Simply tie the ribbon of each ornament onto a long strand of rope, fabric or cord! It’s an easy way to restyle Christmas decorations even beyond the holiday season.
Here's to a happy holiday season that's cozier than a fresh cup of coffee!