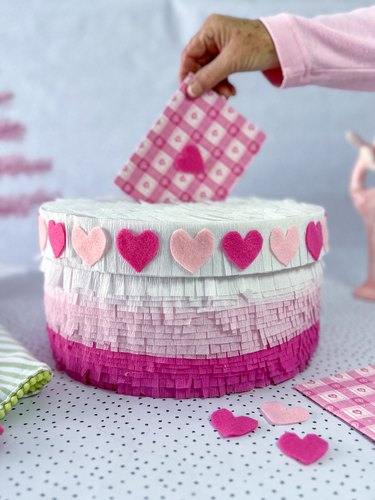
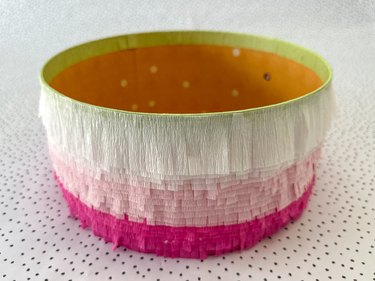
This isn't your typical Valentine's Day box; it's an enchanting round cakelike box complete with a top slot for slipping in valentine cards. Adorned with fringed crepe paper in an ombre design of pinks and whites, this box is set to steal hearts.
We've curated a step-by-step tutorial that will transform simple materials into a festive Valentine's Day keepsake where the sweetness isn't just in the design but in the heartfelt messages it holds. So, gather your supplies, put on your crafting hat and let's create a box that's as beautiful and unique as the love it's meant to hold!
Video of the Day
Video: Best-in-Class DIY Valentine Box
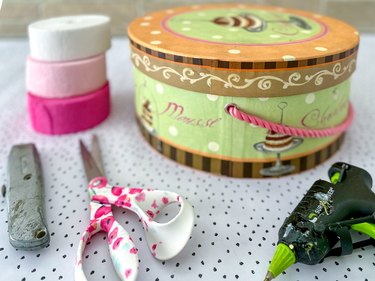
Things You'll Need
Round cardboard box with lid
White, light pink and dark pink crepe paper streamers
Utility knife
Sharp scissors
Hot glue gun
Felt
1. Prepare the box
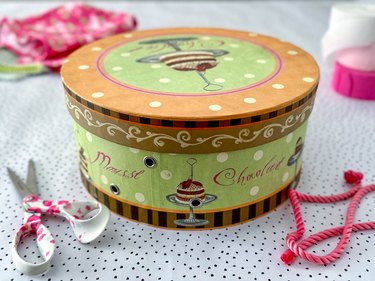
Discovering a gently used round cardboard box at our nearby thrift store added a touch of charm to our project, but fear not if you can't snag a secondhand gem; a new round box with a lid purchased from a craft store will serve just as well. Ensure a clean canvas for your creativity by removing any attached elements, like ropes or ribbons, from your chosen box.
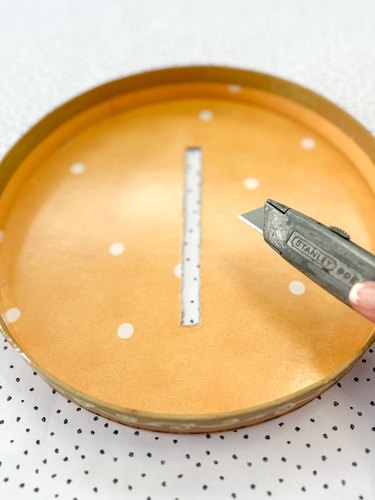
Use a sharp utility knife to cut a 1/2-in. slot in the center of the box lid—the perfect entry point for slipping in those heartfelt valentine cards.
2. Cut crepe paper strips
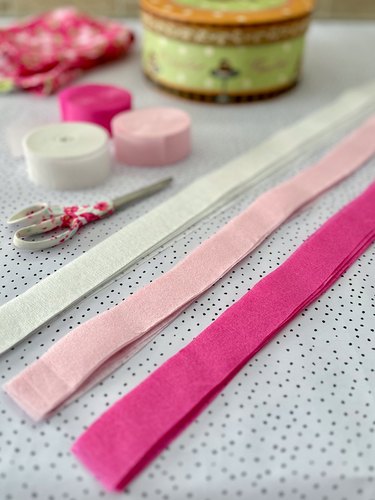
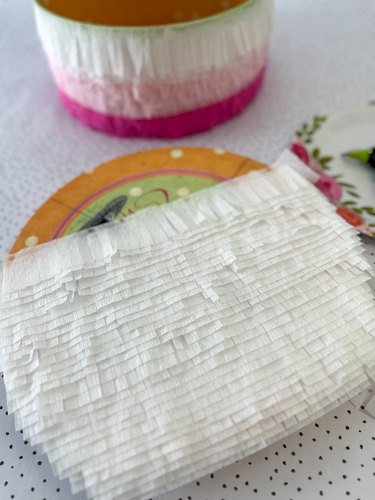
Wrap a crepe paper strip around the lower section of the box to gauge the length needed for the crepe paper strips. Proceed to cut seven or eight strips of each color: dark pink, light pink and white.
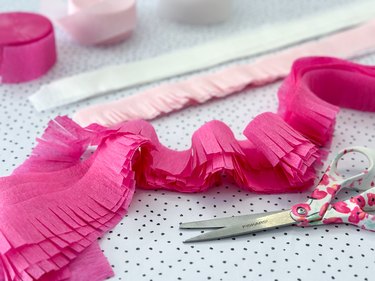
Stack the streamers and cut 1/4 in. fringe roughly halfway up along the lower edge of all the strips.
3. Cover the box
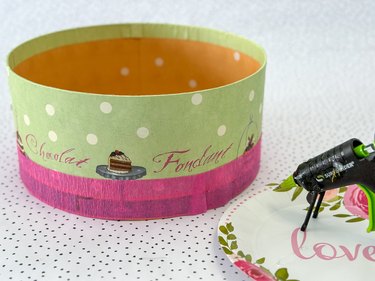
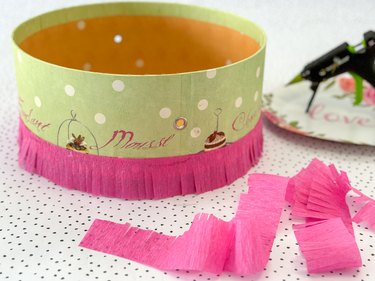
Opting for a cake-inspired aesthetic, we adorned our box with a delightful pink ombre design. However, feel free to unleash your creativity and design your valentine "cake" in any manner that suits your fancy. Beginning with a solid crepe paper strip at the box's base to conceal any preexisting design, we then carefully layered and adhered the fringed strips up the entire box using a hot glue gun.
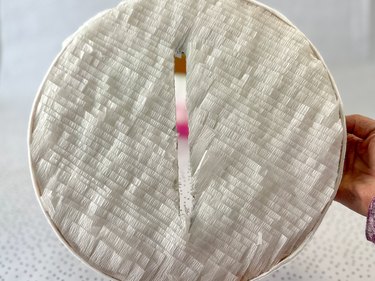
4. Decorate the lid
Cover the box lid with more fringed crepe paper strips. Trim around the edge and cover the side of the lid too. Use a sharp utility knife to reopen the slot.
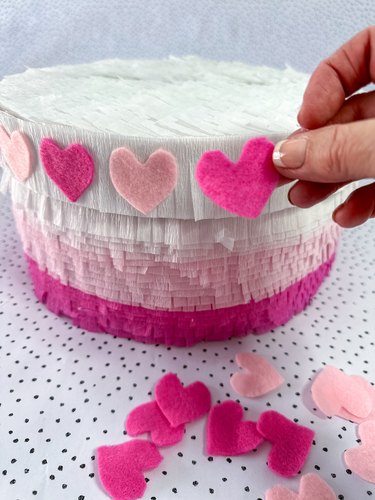
5. Embellish the box
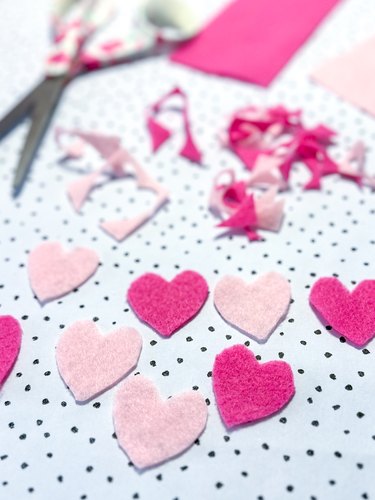
For a finishing touch, cut some pink felt hearts and hot glue them around the top edge of the valentine box.
From a simple round box to a visually delightful, cakelike masterpiece, you've brought love and creativity together in a charming blend of pink and white. But this box isn't just about the fringed crepe paper or the ombre design; it's about the love-infused messages that will slip into the top slot, making it a treasure trove of affection.