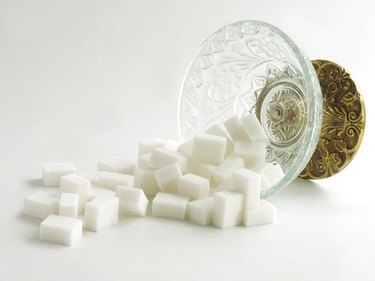
How to Make a Sugar Sculpture. Sugar sculptures aren't just something you mold into being, like clay statutes. The art takes years to master and a lot of patience. Edible sugar sculpture began in the medieval period when they were created by artists, mostly for entertainment and gifts. While there are instructions several pages long for how to make a sugar sculpture, some unique, yet very simple, sugar art can be made with sugar cubes.
Step 1
Decide what project you'd like to work on. Draw out your design on a piece of cardboard, such as a flag, pumpkin, shamrock, apple or another design you prefer.
Video of the Day
Step 2
Assemble your supplies, including sugar cubes, various food coloring and an eye dropper. You'll also need a pencil, scissors, glue and paper towels.
Step 3
Figure out approximately how many sugar cubes you will need to complete your project. Use this formula: five sugar cubes equal three inches.
Step 4
Cover the cardboard with white paper. Glue the paper to the cardboard and let it set until the glue is dry.
Step 5
Draw or trace your desired design on the paper. Place sugar cubes in the design and glue each cube to the board.
Step 6
Use the eye dropper and slowly drip food coloring onto the cubes, according to your design. Let cubes dry.
Step 7
Enjoy your sugar sculpture/art. While the professionals generate masterpieces by toiling over hot mixes of granulated sugar, glucose, tartaric acid and more, you've just created a masterpiece using simple sugar cubes and food coloring.
Tip
If desired, you can then stencil designs on top of the cubes, such as stars or hearts. Or you can sprinkle stickers, the kind you find at card shops, on top of certain cubes to add to the overall design.
Video of the Day