Things You'll Need
Vaseline
Drop cloth
Saran wrap
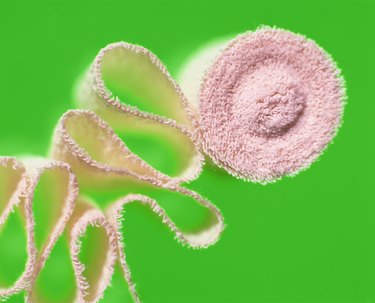
4-inch wide rolls of plaster gauze
Mixing bowl
Scissors
Clear polyeurethane
Paintbrush

Paper-mache body molds are used to capture the human form. Paper-mache can take days to dry thoroughly, so it's impractical to cover your subject with this material. A negative body mold will be constructed of fast-drying plaster gauze, which is commonly used to create a cast for an injured limb. The plaster gauze body mold will be treated with polyurethane. Once complete, the body mold can be used to make paper-mache sculptures. When creating body molds, it's important to work in halves. For instance, if you would like to make a mold of a torso, you must make separate molds for the front of the body and the back of the body.
Step 1
Coat the subject's body with a thick, even layer of Vaseline.
Video of the Day
Step 2
Pose the subject on a drop cloth. The individual will need to remain in this position for approximately 45 minutes.
Step 3
Place a layer of Saran wrap over the Vaseline. Smooth the plastic wrap to eliminate wrinkles.
Step 4
Dip a roll of plaster-impregnated gauze into a large bowl of warm water. Squeeze out some of the water. The gauze should be wet, but it should not be sopping wet and dripping.
Step 5
Cover the subject with approximately six layers of gauze. Cut the gauze into strips as you go. Capture details by pressing the first layer of gauze into folds, dips and, nooks and crannies. Each new layer of gauze should be applied perpendicular to the prior layer.
Step 6
Place a fan on the subject and allow the plaster gauze to set. Consult the product's packaging for the recommended drying time.
Step 7
Pull the mold off the subject's body. Ask for the subject's feedback during this process. If the mold is still adhering to a portion of the subject's body, gently place the mold back into position and allow it to set for a bit longer.
Step 8
Set the mold in a warm, dry location and allow it to sit undisturbed for 48 hours. This will allow it to cure and harden.
Step 9
Paint the inside of the mold with three to four coats of clear polyurethane. Allow the polyurethane to dry before applying paper-mache to the mold.
Tip
Before removing the mold, ask the subject if the mold has pulled away from her skin. The subject will be able to feel the difference. If the mold is still adhered to the subject's skin, allow the plaster to set for a bit longer. If the mold is still flexible, you can strengthen it by applying a few additional layers of plaster gauze. The gauze should be applied to the rough side (not the side that was contacting the subject's body.) You can apply additional coats of polyurethane to smooth the surface of the mold. Remove all traces of Vaseline by washing the area with dish soap.
Warning
If you're molding a subject's face, you must place straws in the nostrils and you must place cotton pads over the individual's eyes.
Video of the Day