Things You'll Need
1 sheet of 1/2-inch plywood
Saw
Wood screws
Cordless screw gun
New 5-gallon metal gas can
Radiator or steam-proof hose
Hose clamp to fit size of hose
Screwdriver
Wood sapling or green wood pole
1 set of ratchet straps
Heat Source
Heavy leather gloves
Heavy duty clamps
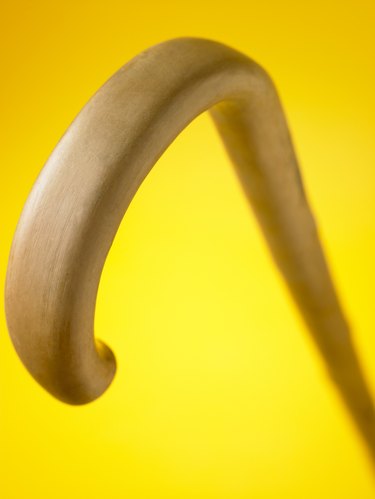
All kinds of wood are bent for all kinds of things, such as boat pieces, stair railings, musical instruments, baskets and even the simple walking stick. Curved wood doesn't exactly grow on trees, so to make something like a walking stick the wood can be bent using a relatively simple process. This process is accomplished in two parts and can be completed with some basic materials you already may have on hand.
Building Apparatus
Step 1
Construct a jig for your curve. Use a thick board or screw narrower boards together to make a piece the same or larger thickness than your pole for the walking stick. Cut the board(s) with a jigsaw to match the exact curve you want for the bend in the wood, but in reverse. For instance if you want a crook for a cane, you need to cut a wood jig that looks like a C, which the pole will bend around to form the crook.
Video of the Day
Step 2
Mount your jig to something stable and secure. Screw it to a large base of scrap wood or mount it in a vise. The main priority is that it stay in a location such that it will be stable for 24 or more hours.
Step 3
Build a plywood steam box to steam the wood. The size of the box may vary, the key being adequate space to allow steam to flow through the box, and around and over the wood being steamed. For a walking stick pole, a relatively narrow, long box will do. Cut four pieces of plywood that are 8 inches wide and 6 feet long. Screw three pieces together along their lengths to form sides and a bottom, and leave the other one off for the lid. Cut two 8-inch squares and screw them onto the ends. Hold the end of the steam-proof hose against a spot on the lid and trace around it. Cut this hole out; this is the steam entry port. Now, drill 4 to 6 small holes about 1/4 inch in diameter in the bottom of the box to allow water and steam to escape.
Step 4
Cut two small pieces of scrap plywood about 2 inches thick and 7 inches long. Screw them crosswise in the box about midway up the sides, spaced 2 feet from the ends and 2 feet apart. This creates a support on which to rest the pole so that the steam surrounds it.
Step 5
Attach one end of the steam-proof hose over the hole for the pour spout in the gas can. Slide the clamp down over the joint and tighten it with the screwdriver.
Steaming the Wood
Step 1
Soak the wood in water while you build the apparatus; 24 hours is recommended to saturate the wood. Use green wood if possible. If you are using a sapling that you culled, the bark should be scraped clean and the wood sanded smoothed to your liking.
Step 2
Lay the saturated wood pole on the cross pieces inside the steam box. Place the lid on top and secure it with the ratchet straps. Ratchet straps are nylon web strapping that has metal ratcheting clamps so that when you pull the straps tight you have to release the tension with the clamp. This keeps the straps from loosening up while they are in use.
Step 3
Fill the gas can with water through the hose leaving about 2 inches of space at the top. Put the open end of the hose into the hole in the box. There is no need to secure this, just make sure it is inserted all the way into the box.
Step 4
Set the gas can on the heat source. Use a wood burning stove if you have one in your work shop, or a propane camp stove, fire barrel with a grate or any other adequate heat source. The water must boil continuously and produce steam for the entire time required.
Step 5
Steam the wood at a rate of 1 hour per inch of thickness of the wood. For example a 1-inch thick walking stick pole must steam for one solid hour, 2 inches thick requires 2 hours and so on.
Bending the Wood
Step 1
Remove the pole from the box when adequate time has passed. Turn off the heat source or remove the gas can from the heat. Take the hose out of the opening with a pair of pliers. Open the box with the leather protective gloves on, as it will be hot. Stand back for 30 seconds to a minute to let steam escape.
Step 2
Take the wood to the jig immediately. The wood begins to cool the second it is removed from the steam, so time is of the essence. Begin at the top of the jig and place the end of the pole against it. Attach the first clamp. With the wood secured, bend it steadily around the jig, placing a clamp every 3 inches for a deep curve, every 4 inches for a wider curve. The tighter the curve the more tension the wood will need to hold it. As you bend continue to add clamps until you have completed the curve.
Step 3
Dry the wood for at least 24 hours. If you get any cracking or splitting, the wood was not adequately steamed. Once the wood is dry you can remove it from the jig and finish the walking stick as desired.
Video of the Day