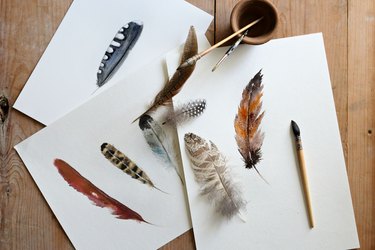
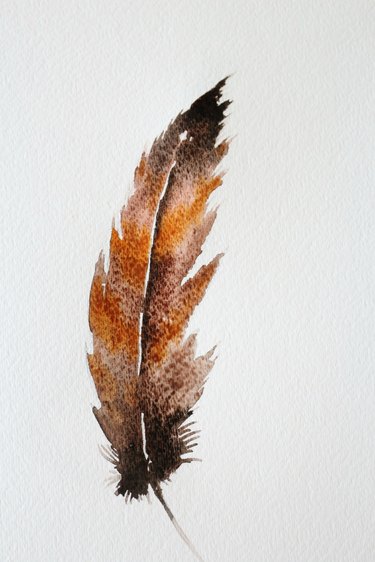
The intricate details of a bird feather might seem daunting and difficult to achieve with watercolor, but they are surprisingly simple to paint, as the way watercolor spreads onto the paper forms the perfect "feathering" effect.
Things You'll Need
Watercolor paint
Palette
No. 8 round or No. 6 round paintbrush
Cold-press watercolor paper
Pencil
Water basin
Feather or photo of a feather for reference
Tip
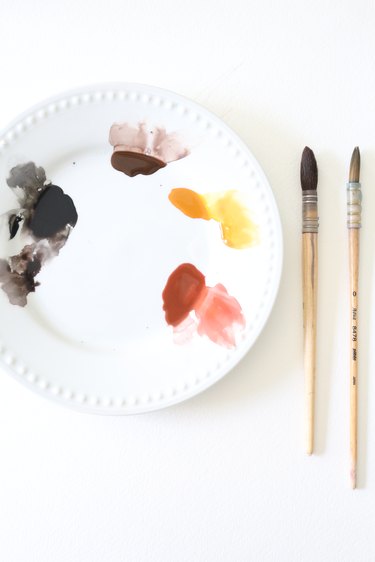
The paint colors used in this project are: Burnt Sienna, Winsor Yellow, Lamp Black and Indian Red. Prepare your color palette with said colors.
Step 1
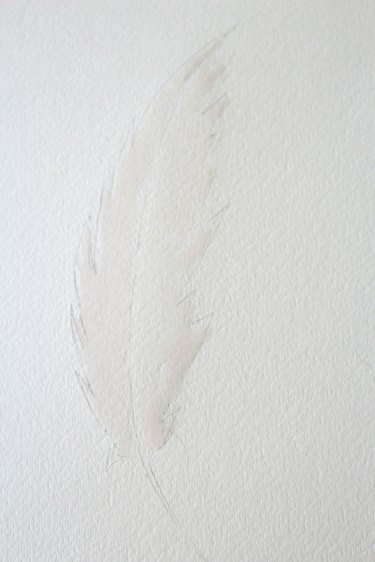
Lightly draw the outline of a feather with a pencil and then paint the area inside the lines with clear water.
Video of the Day
Tip
You don't have to add too much detail to your drawing, as the paint will add the details.
Step 2
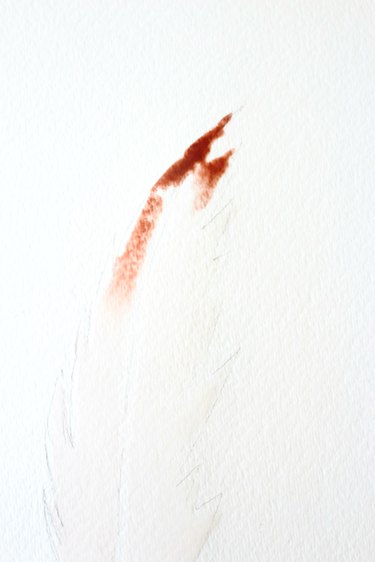
While the paper is still wet, dip your brush in Burnt Sienna and paint the very tip of the feather, allowing the paint to spread organically.
Step 3
Continue to paint the feather, leaving a thin vein in the middle unpainted.
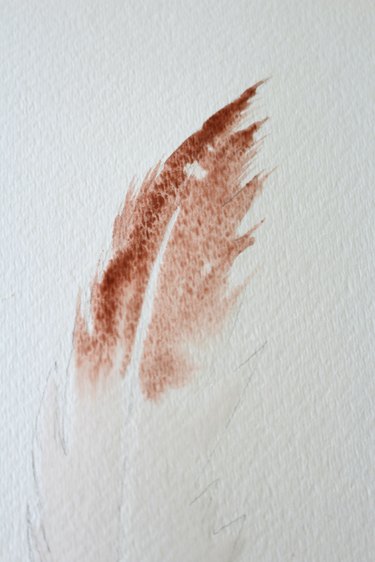
Step 4
Dip your brush in Lamp Black and paint the bottom of the feather, allowing the paint to spread onto the Burnt Sienna. Add some small detail strokes at the bottom to create the "wispy" edges of the feather.
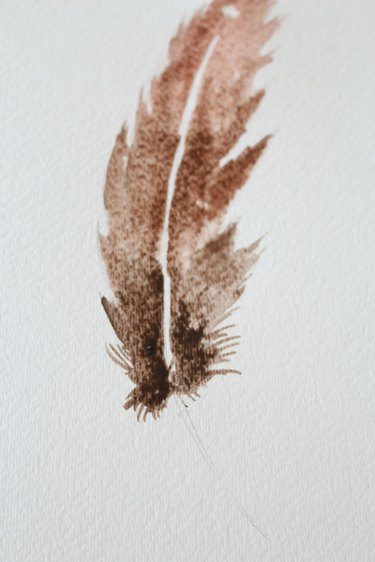
Step 5
Use your brush to spread the paint downwards to paint the quill.
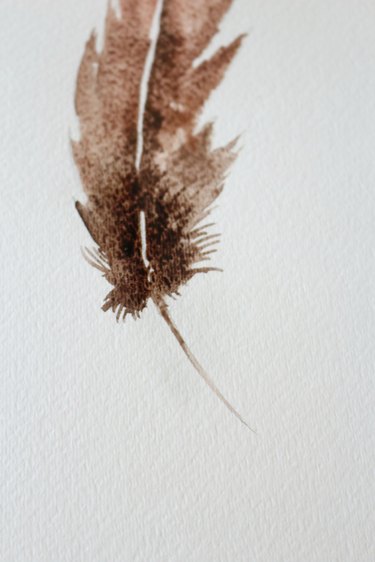
Step 6
Dip your brush in Lamp Black and paint the tip of the feather, and then add some more black paint to the bottom of the feather.
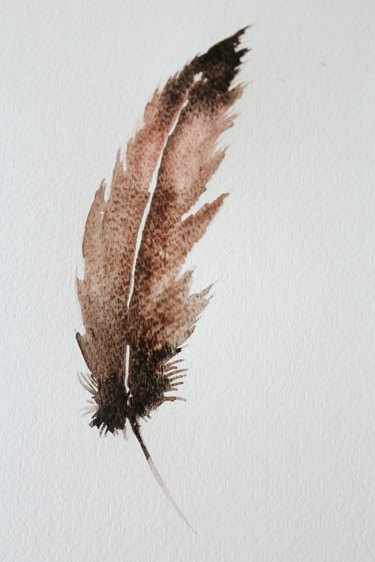
Step 7
Mix some Burnt Sienna and Winsor Yellow (3:1 ratio) and with a dabbing motion, paint streaks at either side of the feather. With your brush, add a thin line along the middle of the feather to add dimension, but still leave some of the space unpainted.
Tip
Having various shades of brown adds interest, texture and realism to your painting.
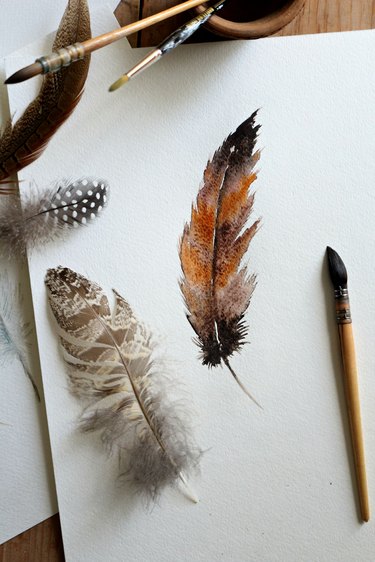
Experiment with different shaped feathers. Paint smaller ones, use different colors, patterns, etc. The technique is the same, but the results will differ widely.
Video of the Day