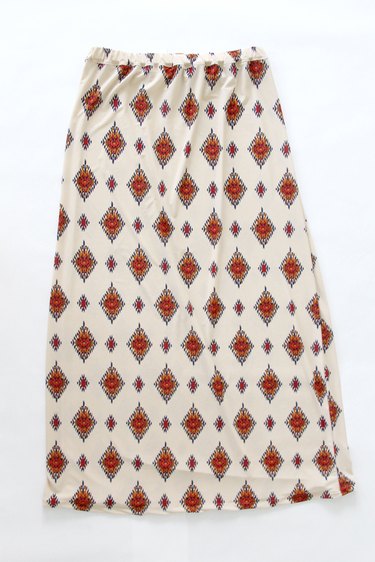
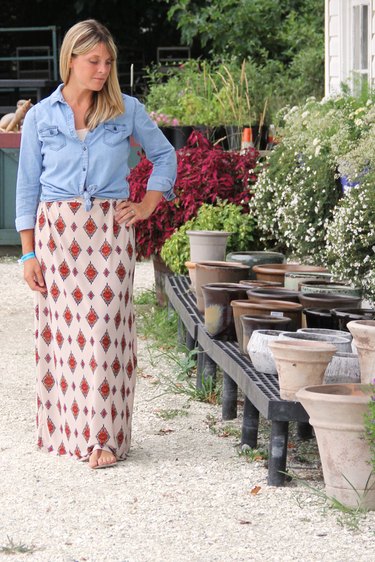
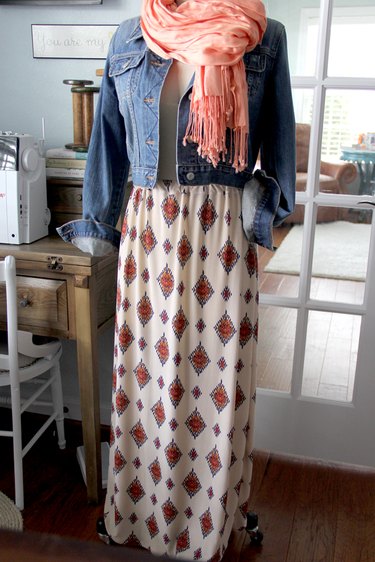
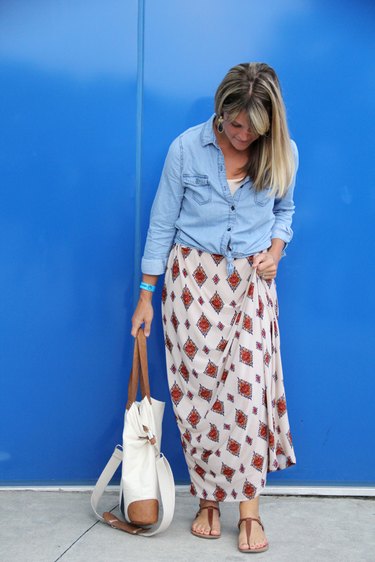
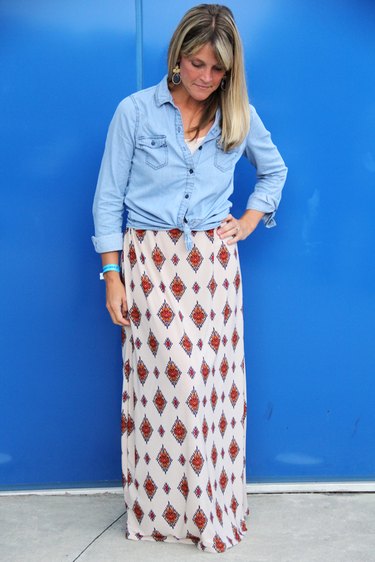
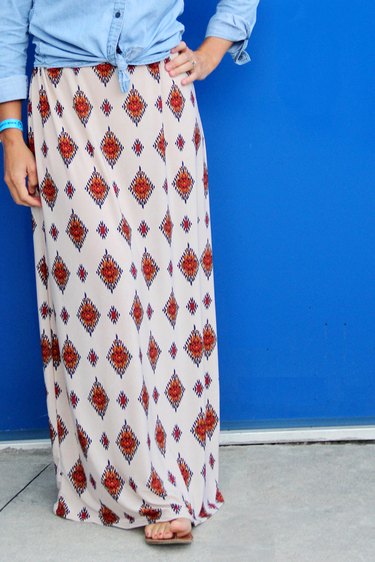
Made out of knit or cotton fabric and with only three seams to sew, a maxi skirt is a great sewing project for a beginner seamstress. Plus, it's the perfect closet staple for transitioning seasons. Wear it with a tank top and sandals now and with a denim button up, scarf and boots later -- this skirt is versatile enough to wear year round!
Video of the Day
Things You'll Need
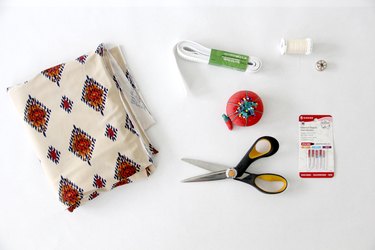
2 1/2 yards knit fabric
1 yard of 1-inch elastic
Coordinating thread
Ball point sewing needle
Rotary cutter or scissors
Pins
Sewing machine
Measuring tape
Tip
Cotton/woven fabric can be used, but is not recommended as it will restrict leg movement when walking. If you do choose to use cotton/woven fabric, please use a regular point sewing needle.
Step 1: Measure Yourself
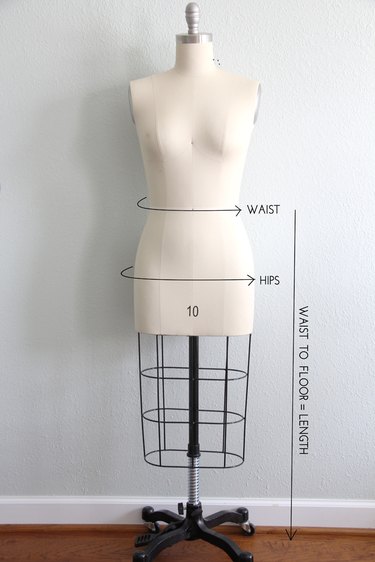
Using a measuring tape, measure the circumference of your natural waist. Repeat for hips, and add 2 inches to your hip measurement. (If using woven fabric, add 6 inches to hip measurement).
Video of the Day
Next, measure from your waist to the floor to determine your desired skirt length. Add 1 inch to that measurement.
Step 2: Cut Maxi Skirt Front and Back Pattern
Fold your fabric in half so that the selvage ends meet up on the sides. Using your length measurement, measure from the top of the fabric to your desired length. Cut two piece of fabric, selvage to selvage, this length.
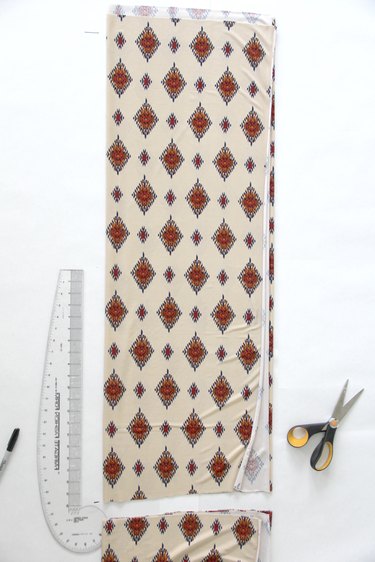
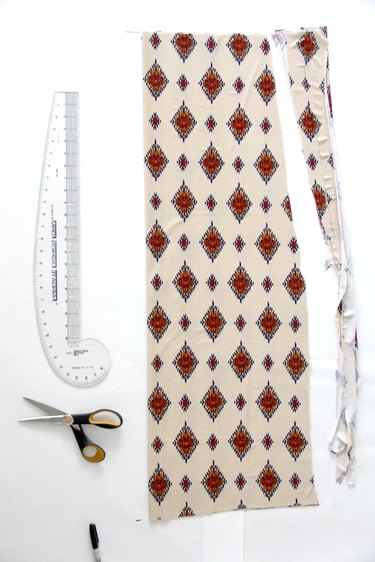
Divide your hip measurement by 4. With the fabric still on the fold, cut an arced line from the bottom skirt hem tapering up towards the top of the skirt to cut the front and back pattern pieces of the skirt. The top waist of your skirt should be the same measurement as your hip (divided by 4).
Tip
Please note, the top of your skirt is not the same measurement as your waist, but rather as your hips. You want to be able to put the skirt on with ease, and not have it be too tight. We will use your waist measurement in the elastic steps later.
Step 3: Cut Waistband
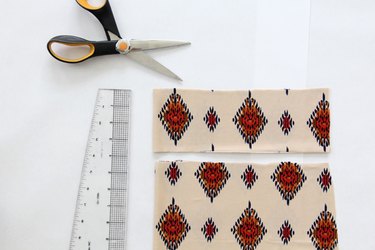
Fold your fabric in half again, and cut two waistband pattern pieces the same width as your upper skirt by 3 1/2 inches.
Step 4: Sew Skirt Pattern Pieces
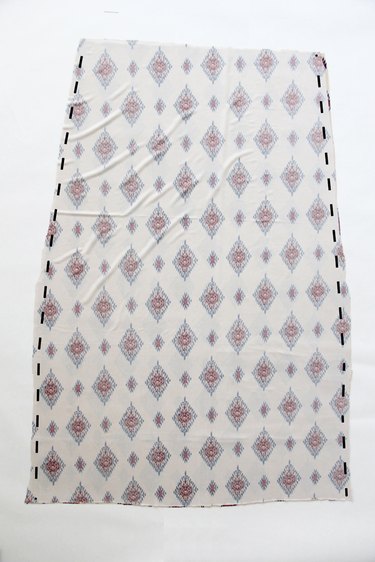
Place your maxi skirt front and back pattern pieces right sides together. Pin and sew the side seams, using a 1/2-inch seam allowance and a small straight stitch or overlock stitch.
Step 5: Sew the Waistband
Place the two waistband pattern pieces right sides together, pin and sew the side seams.
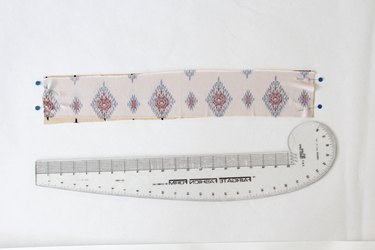
Step 6: Attach the Waistband to the Skirt
Matching up the side seams, slip the waistband over the top of the skirt right sides together. Pin the upper edge together and sew around using a stretch, zig zag, or overlock stitch and a 1/2-inch seam allowance. Fold waistband up, and press seam up.
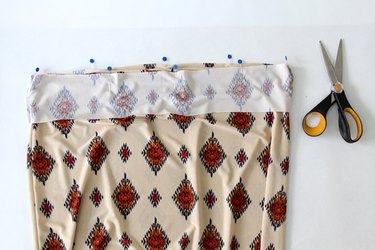
Step 7: Create Casing for Elastic
Fold the top edge of the waistband 1/2 inch toward the wrong side and press. Fold waistband in half toward the inside of the skirt, enclosing the raw waistband seam. Pin waistband all around. Sew using a long straight stitch, leaving a 2-inch opening.
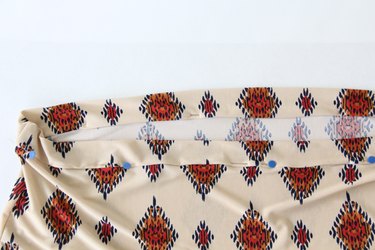
Step 8: Cut and Insert elastic
Using your waist measurement, cut a piece of elastic to size.
Tip
For a snugger fit around the waist, subtract 2 - 3 inches from your waist measurement. This will ensure that the maxi skirt sits on your natural waist when wearing. For a looser fit, use your actual waist measurement.
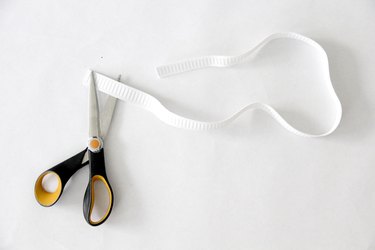
Attach a safety pin to one end of the elastic. Insert safety pin into the opening of your waistband, and slide safety pin all the way through your waistband. Make sure to hold onto the other end of your elastic when slipping the safety pin through.
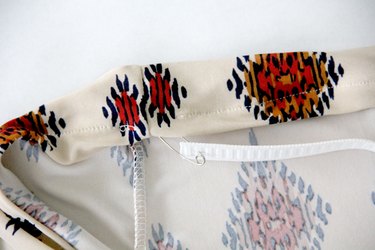
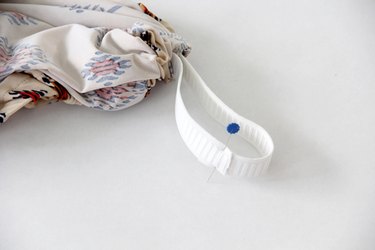
Pin the overlapping elastic ends together, making sure your elastic is not twisted inside of the waistband before doing so. Sew a rectangular box over the overlapping elastic, using a straight stitch to secure. Pull elastic fully into the waistband, and finish sewing the waistband closed.
Step 9: Hem the Maxi Skirt
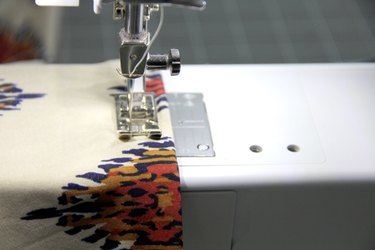
Fold the bottom of your maxi skirt 1/2 inch toward the wrong side and press. Fold again 3/4 inch and press, enclosing the raw edge. Sew around to hem, using a long straight stitch, double needle, or coverstitch.
Tip
If using knit fabric, make sure you do not stretch the hem when sewing so as not to get 'wavy' fabric. If you do not have a coverstitch machine or double needle, you might consider using a stabilizer or interfacing the wrong side of your hem prior to sewing to aid in this process. It helps, but is not necessary.
Step 10: Press
For a clean professional finish, always press your handmade clothes. This ensures that they look their best at all times!
