Things You'll Need
Clip art or design
Ink pen
Lid from a plastic container or piece of scrap plastic large enough for the clip art
Craft knife
Mouse pad or craft foam
Embossing stylus
Tape
Thin metal
Spoon

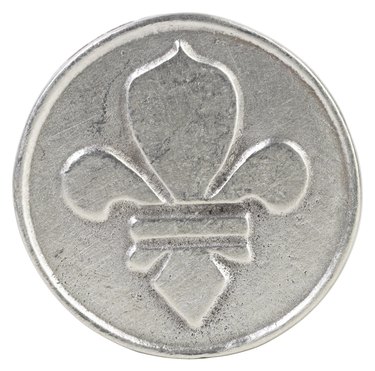
A metal embossing stamp will print an image of the design you want to create onto the surface of thin metals, such as tin foil or sheet metal. While you can buy premade metal embossing stamps or templates, they can be costly, especially for a design you might only use once or twice. You can make your own metal embossing stamp using easily accessible materials. Once you imprint the sheet metal, use the designs in home decor, scrapbooks or other paper crafts.
Step 1
Place the mouse pad or craft foam underneath the plastic. Trace the clip art onto the piece of plastic using the ink pen.
Video of the Day
Step 2
Cut out the plastic carefully with the craft knife. Turn the plastic for smoother lines instead of trying to move the craft knife.
Step 3
Place the metal embossing stamp on top of the tin foil or sheet metal. Tape the stamp down so it adheres as you transfer the design. Flip the metal so that you imprint the reverse side. Once you flip the design over, you will see the correct image.
Step 4
Trace the template using the stylus. Remove the tape, and trace over the image again to deepen the grooves.
Step 5
Indent between the stamped lines by rubbing over each section with the spoon. This further emphasizes the embossed areas.
Tip
To start out, use simple designs so that you have fewer lines to trace. As you gain more confidence with designing metal embossing stamps, you can create more intricate designs. Examples of basic beginning designs include stars, hearts, ornaments or swirls.
Heat the tin foil carefully with a match to oxidize it and turn it different metallic shades. Experiment on a piece of scrap metal to achieve the desired effect.
Video of the Day