Things You'll Need
Bathtub saddle template
Masking tape
Permanent marker
Safety goggles
Dust mask
Work gloves
Electronic saw
Saw blade
Bathtub saddle
Rubbing alcohol
Rag
Waterproof silicone adhesive
Caulking gun
Caulk smoothing tool
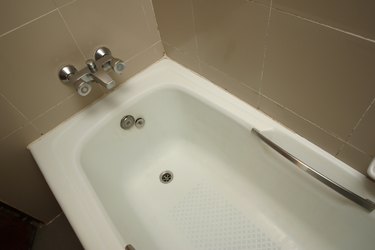
A sunken fiberglass bathtub that has a built-in shower can become a safety hazard if you or a family member experiences mobility difficulties. Instead of removing your current bathtub and installing a shower kit, you can install a bathtub step-through conversion kit, or bathtub saddle, into your current tub. This option eliminates the need to make changes to your plumbing that may seem complicated. In addition, this type of bathtub conversion project takes only an afternoon to complete.
Step 1
Create a cutting guide on your bathtub. Bathtub saddles generally come with a template that users can trace onto the wall of a tub. Place the template over the side of the tub. The installation instructions may tell you to center the template, but it can also be off-center if doing so makes the shower simpler to access. Once you the template is in position, use a few pieces of masking tape to help hold it in place. Then use a permanent marker to trace along the edge of the template. Remove the template after you finish tracing its shape onto the tub wall.
Video of the Day
Step 2
Cut out the shape you drew on the bathtub wall using a handheld electronic saw. Wear safety gear – safety goggles, dust mask and work gloves – as you complete this task. Take your time as you cut so you cut only along the line that you drew on the tub.
Step 3
Place the bathtub saddle in the opening you just created to verify that it fits.
Step 4
Remove the debris from inside the tub and the bathroom floor, and wipe rubbing alcohol along the cut edges of the tub and the parts of the bathtub saddle that make contact. The rubbing alcohol will help remove excess dirt and oil from the surface of the fiberglass materials so the adhesive works better.
Step 5
Using a caulking gun, apply a bead of waterproof silicone adhesive along the bottom of the bathtub saddle, along the edges that will touch the tub.
Step 6
Press the bathtub saddle into place over the opening you cut to help spread the silicone adhesive.
Step 7
Add a bead of silicone adhesive along the edge of the bathtub saddle and the tub to create a watertight seal. Then use a caulk-smoothing tool to eliminate any excess adhesive and create a smooth finish. Allow the adhesive to dry according to the manufacturer's instructions before using the shower.
Tip
If your electric saw needs help getting started when you cut into the tub, you can create a starting point by drilling a hole on the top edge of the tub. Make the drill hole along the line you drew.
For the best watertight seal, use a waterproof silicone adhesive that is made for aquariums.
If you feel the bathtub needs additional support after you cut out the shape of the template, use pieces of 2-by-4 lumber and/or wooden shims along the bottom of the opening. Secure the lumber with construction adhesive.
To remove the risk of accidentally using the bathtub spout, remove the spout. Cap the pipe and cover the opening with a solid faucet plate.
Video of the Day