Things You'll Need
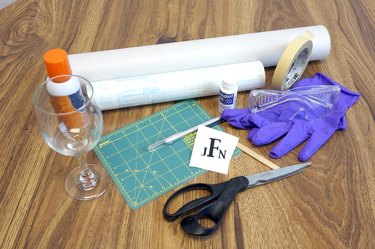
Glass
Stencil
Spray adhesive
Clear contact paper
Scissors
Hobby knife
Cutting board
Masking tape
Etching solution
Brush
Protective gloves
Safety glasses
Popsicle stick
Newsprint or newspaper
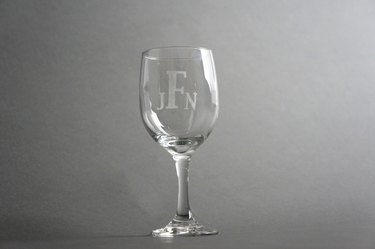
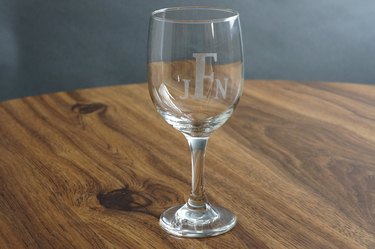
Add some flair to your glassware with acid etching. A simple, relatively safe gel, available from several manufacturers, frosts the surface of glass in just a minute or two of exposure. By applying a stencil to the glass you can control exactly where the etching works and where it doesn't. The same companies that sell the etching solution sell a wide assortment of stencils, or you can cut your own, as shown here.
Materials
Step 1
This project involves two main steps, cutting the stencil and then etching the glass. Please see the last slide for an itemized list of tools and materials.
Video of the Day
Step 2
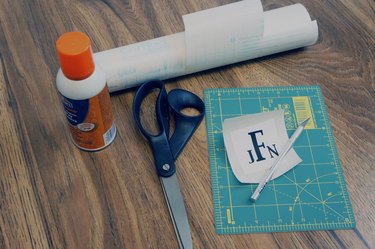
Cut out the stencil pattern. Spray the back of the cut-out pattern with spray adhesive. Stick the pattern to the clear side of a section of contact paper at least 1/2 inch larger than the pattern in each direction.
Step 3
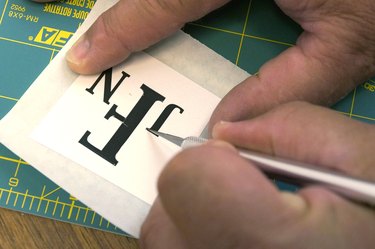
Set the pattern on a cutting board so that you don't cut your table or countertop. Using a new, sharp blade and enough pressure to cut through both the pattern and the contact paper, carefully cut along the edge of the pattern with a hobby knife. Keep in mind that the sections of the pattern you remove are the ones that will be etched.
Step 4
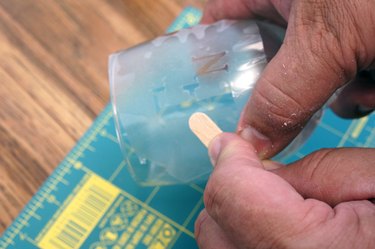
Remove the pattern from the front of the stencil and the backing paper from the back. Align the stencil and adhere it to your glass item, making sure to avoid wrinkles in the stencil material as you work around the curve of the glass. Burnish the stencil onto the glass with a popsicle stick. The edges of the stencil need to be securely sealed to the glass.
Step 5
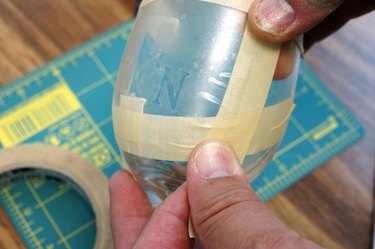
Surround the stencil with masking tape to keep the etching solution from spreading beyond the stencil borders. Use masking tape to repair any damaged sections of the stencil.
Step 6
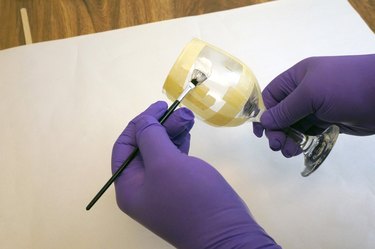
Protect your work table with old newspaper. Don your safety glasses and protective gloves. Shake the etching solution vigorously. Brush it on thick enough that you cannot see the pattern.
Step 7
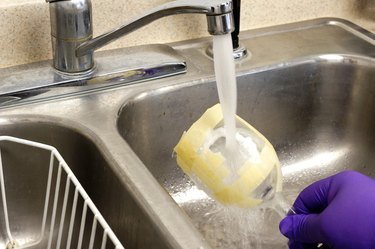
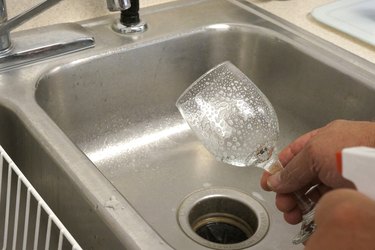
Leave the solution on the glass per manufacturer's directions, typically 1 or 2 minutes. Longer exposure will etch the glass deeper, but it can seep under the stencil if your edges aren't sealed perfectly. Rinse the solution off under running water.
Step 8
Remove the masking tape and stencil. Clean the glass with glass cleaner and a paper towel.
Step 9
Make sure your glass is completely free of etching solution and stencil material.
Tip
For duplicates, reusable stencil material is available at most craft stores.
Warning
Follow manufacturer's directions, wear protective glasses and gloves and avoid direct contact with the etching solution.
Video of the Day
