eHow may earn compensation through affiliate links in this article.
Despite legends of a certain headless horseman, young and old alike enjoy carving Halloween jack-o-lanterns. Afterwards, you can bake the pumpkin seeds into delicious, nutritious snacks rather than discarding them or tossing them into the compost. Invite the kids to assist with this easy activity, which just might entertain and keep them busy for a couple of hours.
Video of the Day
Video of the Day
Preheat the Oven
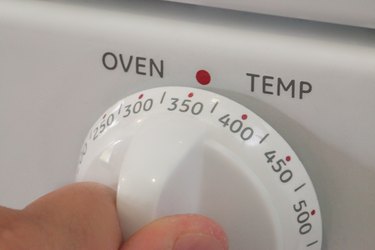
Step 1: Preheat to 200 Degrees
Preheat your oven to 200 degrees Fahrenheit. Preheating the oven encourages the pumpkin seeds to bake evenly, helping to produce crispy, perfectly baked pumpkin seed snacks.
Separate the Seeds From the Goo
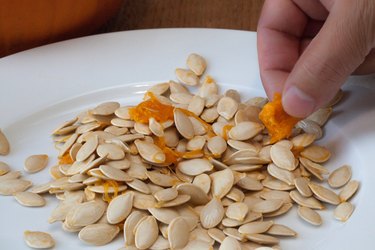
Step 1: Pour the Goo Into a Bowl
Pour the stringy pulp and seeds from a freshly carved pumpkin into a large bowl. Pick out the bigger chunks of pumpkin and set them aside to bake into a tasty pie later, or toss them onto the compost heap.
Step 2: Add the Pump to a Colander
Put the remaining pulp into a large colander. Rinse the gooey material under cold running water. This will loosen the tough, fibrous strands clinging to the seeds within the pulp and make them much easier to remove.
Step 3: Separate the Seeds From the Pulp
Separate the seeds from the pumpkin pulp by pulling them free with your fingers. It's nearly impossible to clean all of the pumpkin from all the seeds, so don't worry about a few strands left here and there. Just remove as much as you are able to.
Step 4: Rinse the Seeds Well
Rinse the seeds again under cold running water. Allow them to drain well in the colander for about five minutes, giving them a good stir once or twice.
Rid the Seeds of Excess Water
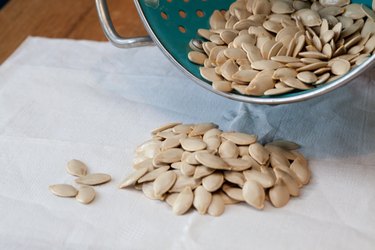
Step 1: Spread Out the Seeds
Lay out a double layer of paper towels. Spread out the pumpkin seeds thinly in a single layer on the towels. Lay another paper towel on top of the seeds and blot them.
Step 2: Air Dry the Seeds
Allow the baked pumpkin seeds to air dry for five or 10 minutes – important for creating the perfect snack. The steam that's created in the oven by excess water prevents the seeds from turning nice and crispy.
Prep the Baking Pan
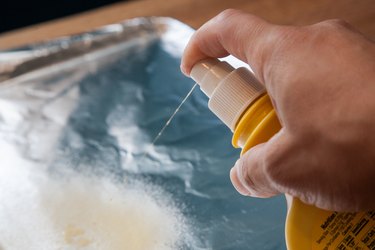
Step 1: Line and Grease the Pan
Line the baking pan with aluminum foil, which minimizes your cleanup time later. Spritz the baking pan with cooking spray, or grease it lightly with vegetable oil to prevent the seeds from sticking. The oil also allows the salt to adhere to the seeds.
Step 2: Spread the Seeds
Spread out the pumpkin seeds evenly in a single thin layer on the greased pan. Leave some space between them to promote air circulation while baking. Turn them with the spatula to give them a light coating of oil or spray. Sprinkle them with salt if you wish.
Bake the Pumpkin Seeds
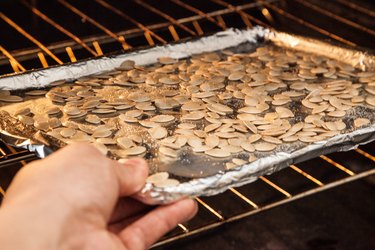
Step 1: Bake for 45 Minutes
Slide the pan into the oven and bake the pumpkin seeds for about 45 minutes, stirring and tossing the seeds with a spatula every 15 minutes. Because even the best oven can have hot spots, stirring the seeds periodically prevents burning and promotes even browning and crisping.
Step 2: Bake for Another Five to Brown
Crank up the oven to 325 degrees after the first 45 minutes of baking time to brown and crisp the seeds. Continue baking for another five minutes, or until the seeds are lightly browned. They'll be crispy and dry.
Serve and Store
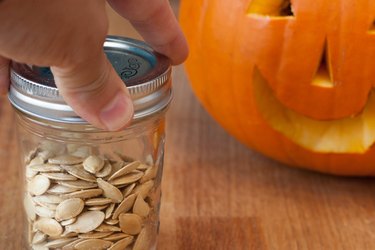
Step 1: Cool the Baked Seeds
Allow the seeds to cool slightly at room temperature until it's safe to touch them. Then you can enjoy your snack right off the baking pan!
Step 2: Store Cooled Pumpkin Seeds
Store completely cooled pumpkin seeds in an airtight glass container in a cool, dark spot.
Tip
For saltier snacks, boil raw prepared pumpkin seeds in a saucepan of heavily salted water for 10-15 minutes before baking.
It's fun to try different seasonings, other than just plain old salt. Try black pepper, red pepper, Cajun seasoning or garlic salt.
Things You'll Need
Freshly carved pumpkin
Cooking spray or vegetable oil
Salt
Knife
Baking sheet
Paper towels
Aluminum foil
Colander
Spatula
