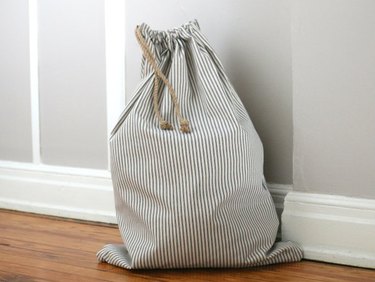
Laundry: It's the chore that keeps on giving, and giving, and giving. Since piles of dirty clothes are an unavoidable fact of life, you may as well keep those piles organized in style, and we can help. Learn how to sew this simple drawstring laundry bag that's as decorative as it is functional. You can use it for your own daily laundry, bring it with you on vacations, or gift it as a housewarming gift to someone who is headed off to college for dorm living or moving into their first apartment. This tutorial is so easy that you just might want to make one for each of those purposes!
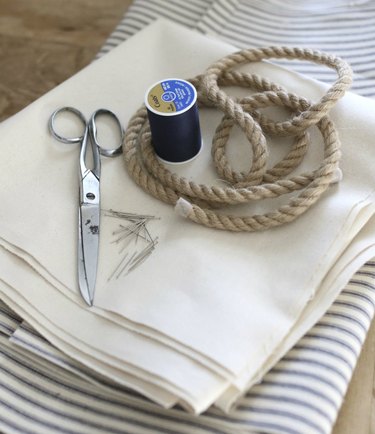
Things You'll Need
2 pieces patterned utility fabric, 28 by 40 in.
2 pieces medium-weight muslin lining, 28 by 40 in.
Fabric scissors
Steam iron
Straight pins (optional)
Sewing machine
Coordinating spool of sewing thread
Jute rope, 72 in. or 2 yd.
Video of the Day
1. Cut and prepare the fabric
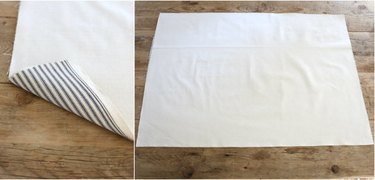
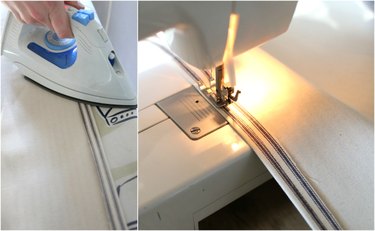
Cut your fabric to size and iron each piece until it is flat and wrinkle-free.
Video of the Day
Lay out a single piece of each of the utility and muslin fabrics, overlapping one another with the right sides facing out.
Tip
The muslin fabric will act as a bag lining and add visual interest.
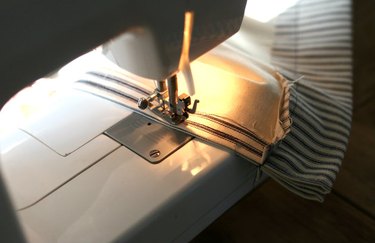
2. Stitch along three sides
Fold the overlapped pieces of fabric half an inch in from the edge along the two longer sides and one of the shorter sides. Iron the fold in place. Stitch along the center of all three sides of the folded fabric (leaving the mouth of the bag open) with a quarter-inch seam allowance before removing any pins.
Tip
Ironing a fold makes sewing the seam easier and can oftentimes negate the need for pins.
3. Create the channel
To create the channel for the drawstring bag top, fold and iron 2 inches of the fabric on the remaining unstitched side.
Tip
Pay attention to the pattern, keeping it straight when folding the fabric.
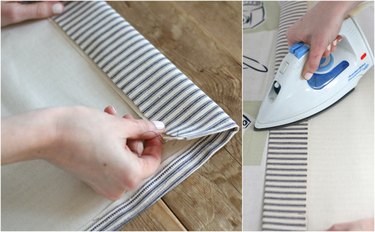
Stitch this fold, leaving a 1 1/2-inch folded border. While sewing, backstitch along each side edge for added durability.
Tip
Choose a coordinating thread that matches the fabric pattern.
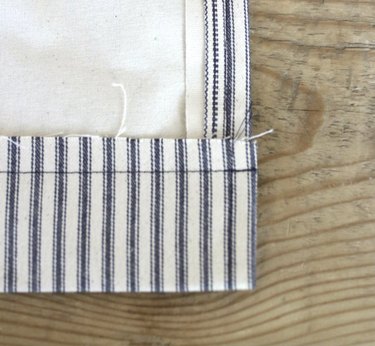
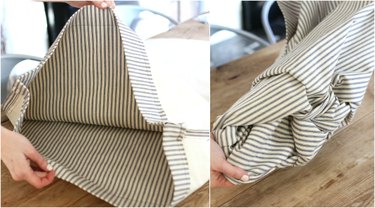
4. Sew the remaining fabric
Repeat these steps with the remaining two pieces of patterned and muslin fabric and then piece both sets of fabric together with the right sides facing in. Pin together the three sides surrounding the top channels for added security while sewing if desired.
Tip
Pay attention to the pattern, coordinating each side when piecing together.
Sew along each of the three sides of the fabric, stopping just below the channel openings. Backstitch at each of the channel points for added durability.
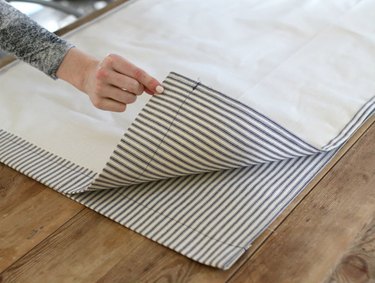
5. Turn the bag right-side out
Neatly trim any excess fabric and loose threads along the sides of the bag. Then, turn the entire piece right-side out, pressing along each inside corner to give shape to the laundry bag.
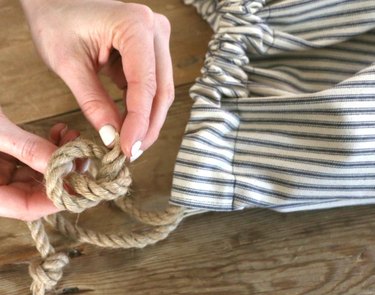
6. Add the jute rope
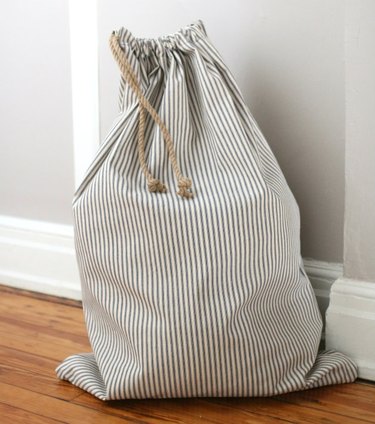
String the jute rope through the top channels of the bag, tying a knot at each end when complete to prevent it from slipping out.
Pull the rope to cinch and close the top of the laundry bag. It's now ready for use!