Things You'll Need
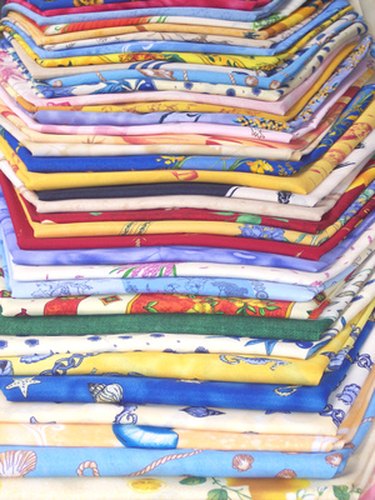
Fabric for tablecloth
Fabric for border
Iron
Ironing board
Measuring tape
Scissors
Pins
Sewing machine
Thread

Dress up your table with a custom tablecloth. You can make a tablecloth with a contrasting border design for use during the holidays or on special occasions. Create one or more tablecloths to match your decor for everyday use. Add a touch of elegance with a satin border or choose a novelty fabric. Stick with solid colors or small, busy prints to avoid the need to match the pattern at the corner miters.
Step 1
Wash, dry and iron the tablecloth and border fabrics.
Video of the Day
Step 2
Add one inch to the desired finished width and length of the tablecloth. Be sure to allow for adequate drop over the sides of the table. Cut the tablecloth fabric to these measurements.
Step 3
Add 3/4 inch to the desired width of the contrasting border and cut strips of the border fabric to this measurement.
Step 4
Cut two strips of the border fabric to the exact length of the cut tablecloth fabric. Cut two strips of the border fabric to the width of the tablecloth fabric plus one inch.
Step 5
Fold over 1/4 inch of fabric to the back along one long edge of each border strip, and press a crisp crease along the fold.
Step 6
Pin the right side of the exact-length strips of border fabric to the wrong side along both corresponding edges of the tablecloth fabric, with the raw edges and ends even. Sew the strips along both edges with a 1/2 inch seam.
Step 7
Fold the border fabric to the front along the seam line and press the edge neatly. Pin the loose folded edge of the border fabric to the front of the tablecloth and sew close to the folded edge of the border fabric.
Step 8
Pin the right side of remaining border strips to the wrong side along both ends of the tablecloth fabric, with the raw edges even and the strips extending 1/2 inch beyond the finished edge of the tablecloth at each corner. Fold the ends of each strip tightly around the finished edge of the tablecloth and pin. Sew the border strips to the tablecloth with a 1/2 inch seam.
Step 9
Trim away the fabric inside the seam allowance at a 45 degree angle at each corner. Take care to cut close to the end of the seam line without cutting through the stitching.
Step 10
Pull the border fabric out straight at each corner. At each corner, press a crease in the border fabric that lines up with the finished edge of the tablecloth.
Step 11
Fold the border fabric over so that the crease at each corner runs along the exposed seam line, and press to create a 45 degree angle in the ends of the border fabric. Trim away a triangle of border fabric 1/4 inch inside the 45 degree angle crease to reduce bulk at the corner.
Step 12
Fold the border fabric to the front along the seam line and press the edge neatly. Pin the loose folded edge and mitered corners of the border fabric to the front of the tablecloth. Sew close to the loose folded edge and the fold at the mitered corners of the border fabric.
Tip
Use a purchased tablecloth and trim away the hem before attaching border strips. Attach blanket binding per the manufacturer’s instructions for a quick and easy border.
Video of the Day