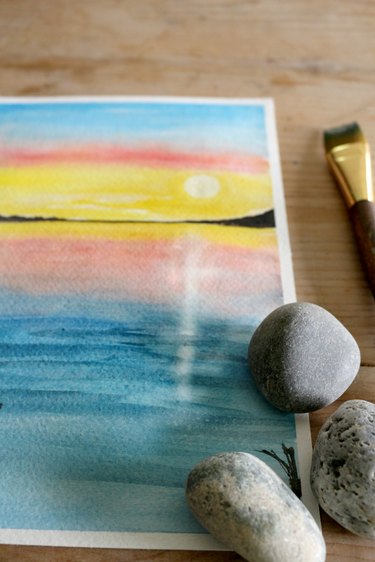
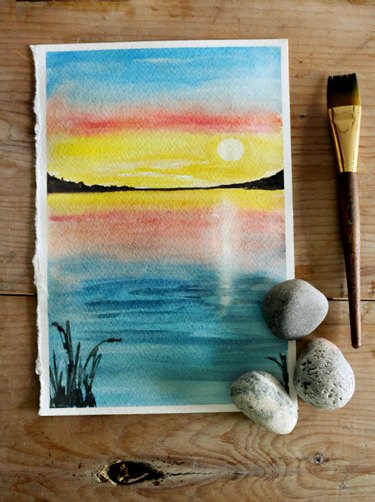
Painting a watercolor sunset is an easy beginner's exercise as it doesn't contain too many drawn-in details. You can create a beautiful, multi-hued wash that mimics the vibrant colors of a sunset with minimal colors. It can also be adapted into a more advanced exercise by adding more detail to the foreground.
Video of the Day
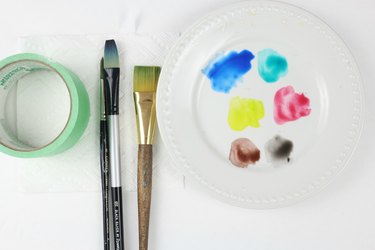
Things You'll Need
Cold press watercolor paper
Masking tape
Sturdy cardboard or clipboard
1-inch flat brush
No. 8 round brush
Watercolor paints
Water basin
Paper towel
Palette
Tip
The paint colors used in this project are: Cobalt Blue, French Ultramarine, Crimson Red, Burnt Sienna, Winsor Yellow and Lamp Black.
Step 1
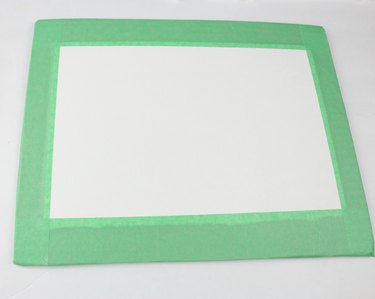
Tape down the edges of the watercolor paper onto a sturdy cardboard, wooden board or clipboard.
Video of the Day
Tip
Securing the paper onto a non-fixed surface, such as cardboard or a clip board, allows you to manipulate the movement of the paint if needed. It also keeps the paper from buckling.
Step 2
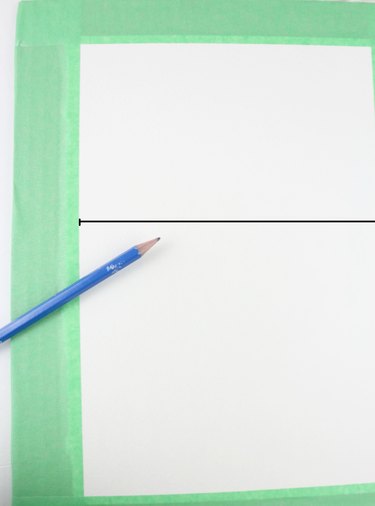
Lightly draw a horizontal line across your paper to mark the horizon. Drawing the horizon slightly above or below the center of the page adds interest to the composition.
Step 3
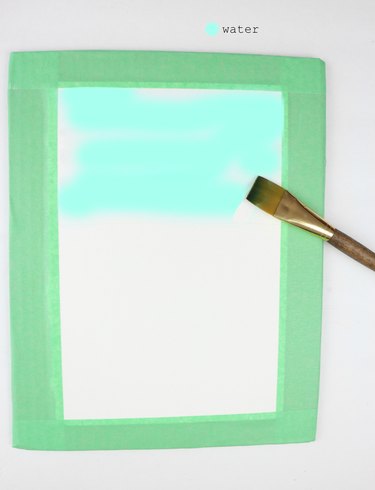
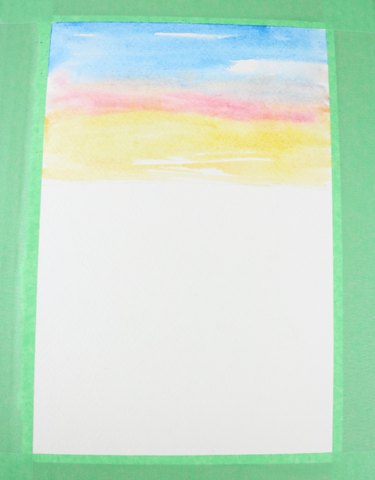
With your flat brush, brush the paper with clean water above the horizon line.
Step 4
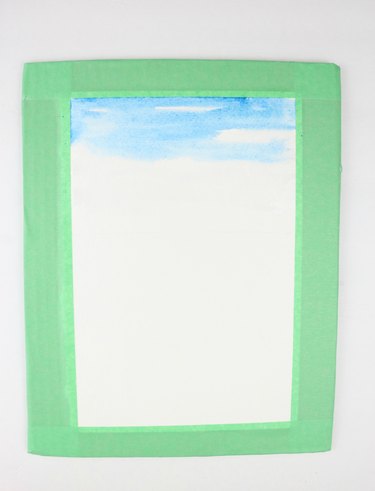
While the paper is still wet, dip your flat brush in Cobalt Blue and paint the very top of the paper. Use loose strokes to create movement.
Step 5
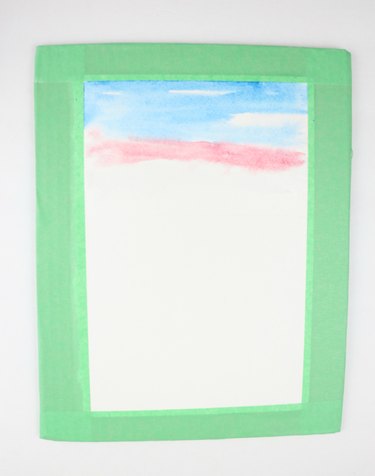
While the paint is still wet, dip the flat brush in Crimson Red and paint loose strokes right under the Cobalt Blue. Don't be afraid of the colors mixing. It's the various irregular colors of sunsets that make this color wash interesting.
Step 6
While the paint is still wet, dip your brush in Winsor Yellow and fill in the rest of the paper to the horizon line, again with loose strokes.
Step 7
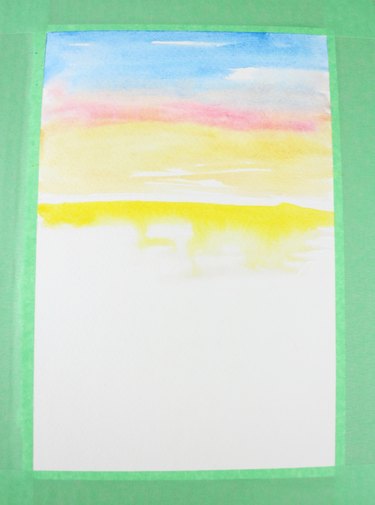
Repeat Step 3 and brush clean water onto the lower part of the horizon line using your flat brush. Now repeat Steps 4 through 6 but in reverse order. In other words, you will mirror the colors from the top of the page by painting yellow first, followed by red, and lastly blue.
Step 8
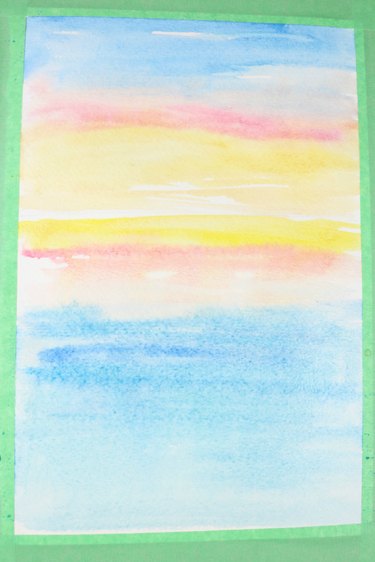
Allow the paint to dry for five to ten minutes. In order to determine whether the paper is dry, tilt it slightly and look for any signs of luster. No shine on the paper indicates the paint is dry.
Step 9
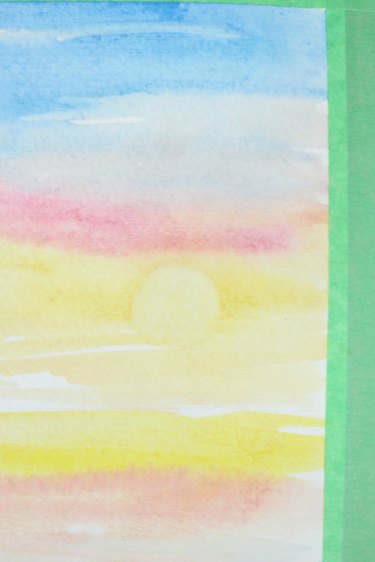
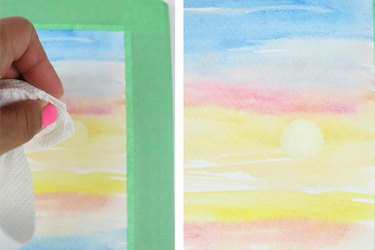
You will now use a method in watercolor painting called "'lifting," to draw in the sun.
Dip your clean No. 8 round brush in water and draw a circle where you would like the sun to be.
Tip
The term "lifting" means taking paint away or lifting it off the painted surface by either using a wet brush or other absorbent materials such as a paper towel, cotton or even salt.
Step 10
Use a paper towel to absorb both the paint and water inside the circle. You can see the paint has been removed, leaving a light circle to represent the sun. You might need to repeat painting the sun with more water and lifting more paint, if you would like a more pronounced sun.
Step 11
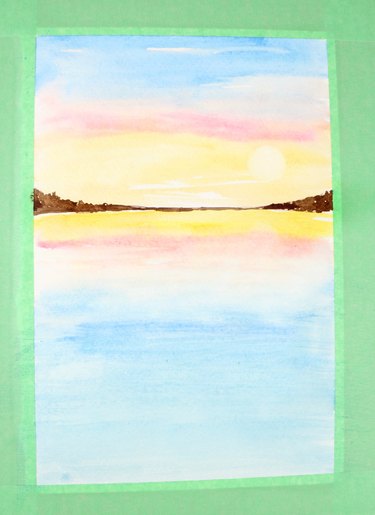
Dip your No. 8 round brush in Burnt Sienna and use organic lines to draw land along the horizon.
Step 12
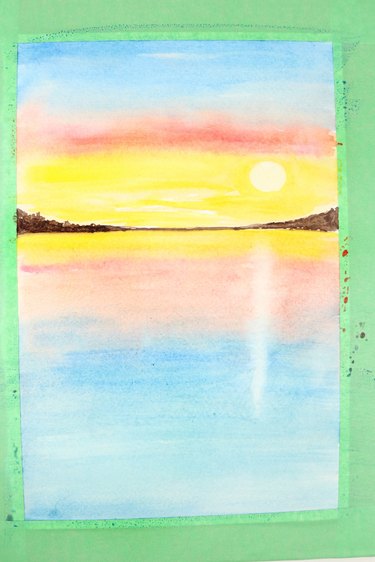
Using the "lifting" method again, use water to draw an irregular vertical line in front of the sun using your No. 8 round brush. Absorb the water and paint with a paper towel.
Step 13
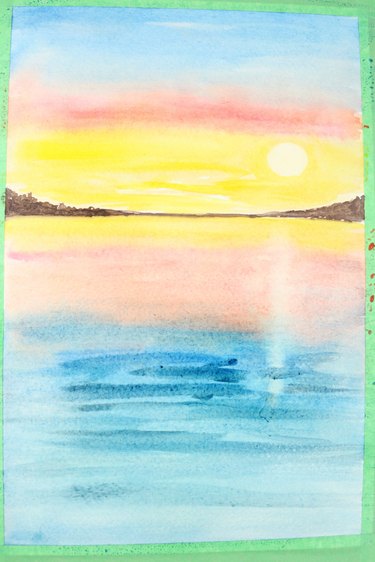
Make a 2:1 mixture of Cobalt Blue and Burnt Sienna on your palette and use your No. 8 brush to paint several horizontal lines on top of the blue. This will give the painting more dimension and movement.
Step 14
Optional: You can add more detail to your painting by painting a grassy silhouette in the foreground using your No. 8 round brush dipped in Lamp Black.
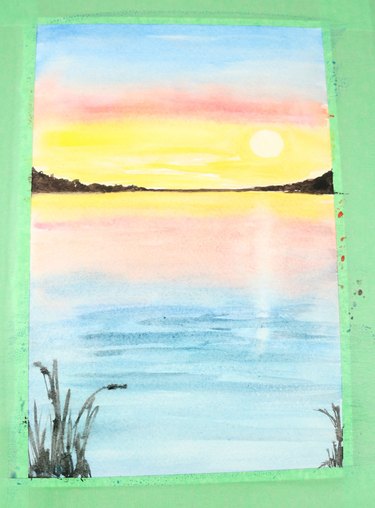
Step 15
Allow the paint to dry and remove the paper from the board by removing the tape.
