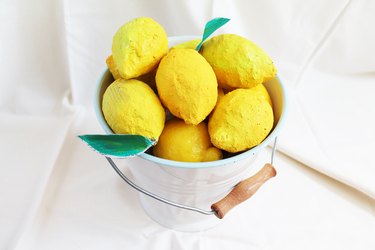
In need of a colorful centerpiece for an event or props for a school play? Try your hand at creating papier-mâché produce! Using recycled newspapers and sculpt-able paper clay, creating faux fruit is easier than ever (and makes much less of a mess).
Things You'll Need
Paper-mache clay
Mixing bowl
Warm water
Craft Glue
Newspaper or recycled paper
Masking tape
Scissors
Green floral wire
Various colors of acrylic paint
Paint brushes
Wood skewers
Green felt or paper
Fine-tipped permanent marker
Video of the Day
Step 1: Mix Paper Clay
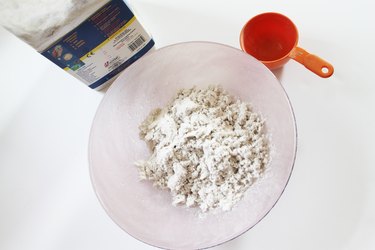
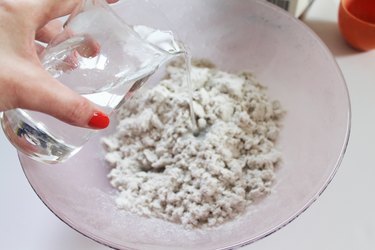
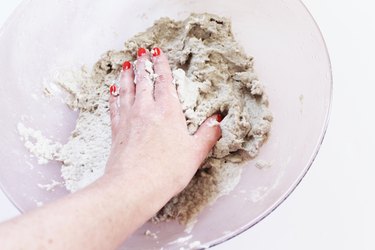
In a large mixing bowl mix together several cups of dry paper clay with warm water, mixing with your hands until pulp is malleable.
Video of the Day
Step 2: Create Fruit Forms
Crumple pieces of recycled paper or newspaper into the crude shapes of the fruits you want to create and secure with masking tape.
Form lemons and limes by crunching paper into a ball and pinching two ends into points before securing with masking tape.
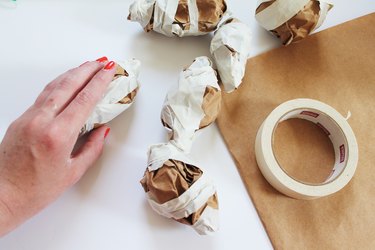
Crumple pieces of newspaper around cut wood skewers for easy apple and pear stems.
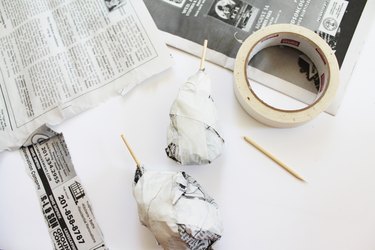
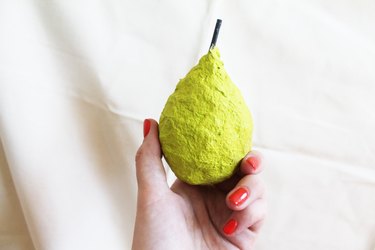
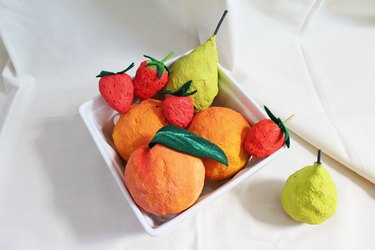
Sculpt a pear by pinching the paper clay up onto the skewer stem and adding extra clay around the base of the fruit. Paint bright green or yellow with bright red accents for a "freshly-picked" look.
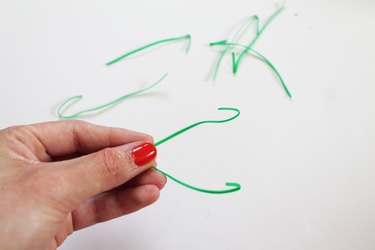
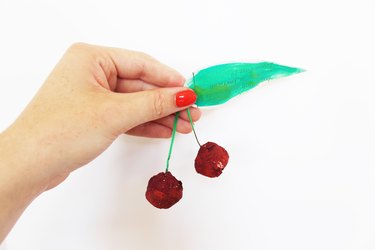
Create cherries or grapes by bending green floral wire into thin stems and forming the paper clay around one end. Be sure to hook the end of the wire before sculpting to keep the wet paper clay from sliding off.
Step 3: Sculpt Paper Clay into Fruits
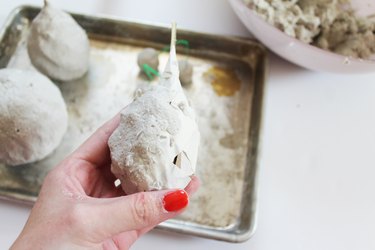
Mold wet paper clay over the form and sculpt until the base's surface is covered by the pulp. Set on a baking sheet or scrap piece of paper to dry, rotating occasionally to avoid flat spots.
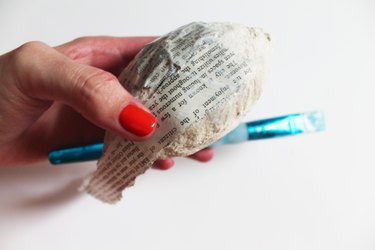
If you want to maintain the traditional papier-mâché texture you can apply a few layers of ripped newspaper with craft clue to add interest after painting.
Step 4: Paint Dried Fruits
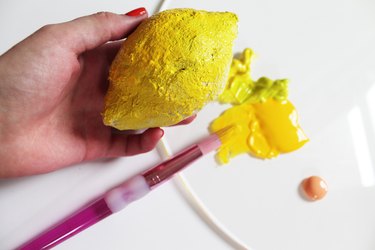
After your fruits have dried completely, paint them with your desired colors of acrylic paint. Keep in mind real fruits are multi-tonal, so blend several colors together for a more realistic finished result.
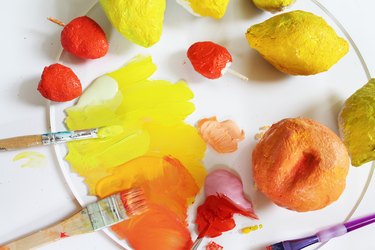
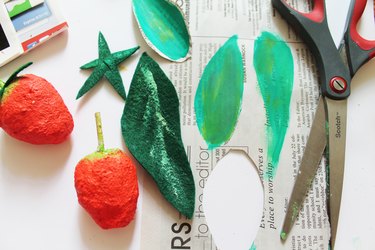
Paint leaves for oranges, lemons and strawberries onto felt or scraps of newspaper and cut out. Attach a few sparingly to your fruits with a dot of hot glue.
Tip
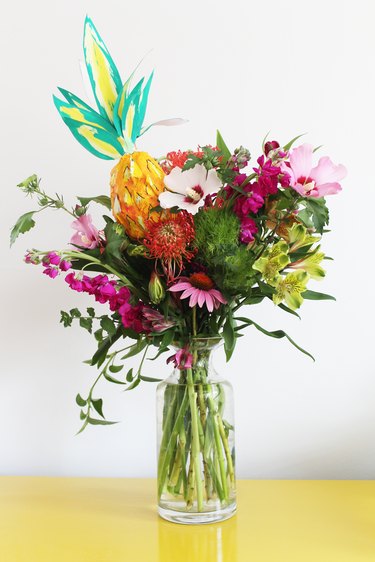
Build your fruit form on an entire skewer to effortlessly incorporate your finished fruit into a flower arrangement.
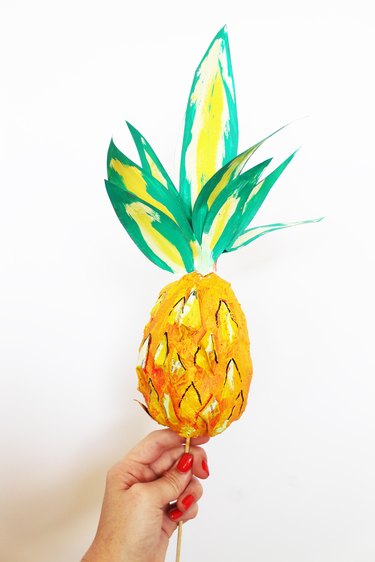
Form a pineapple's spikes by clipping out triangle bits of newspaper and gluing them onto the dried fruit before painting. Create it's recognizable height by gluing hand painted leaves to the top of the skewer.
Tip
Quickly add spikes to a pineapple or seeds to a strawberry with a fine-tipped permanent marker -- just be sure the paint is dry!
Your finished papier-mache fruits will look good enough to eat! Arrange in market baskets or vintage buckets to add farm-fresh style to any table.
Have a question about how to make a specific fruit you don't see here? Have an idea for a centerpiece using papier-mâché fruits? Leave them for us in the comments section below.