Paper mache gives you a way to upcycle newspaper, junk mail and discarded paper into permanent decorative pieces by means of a homemade paper-mache paste. Either glue and water or flour and water can be used to make the paste. Round balloons or thin, inexpensive beach balls are the secret to creating spheres, keeping in mind that you'll need to pop them once your project nears completion.
Project Preparation
Video of the Day
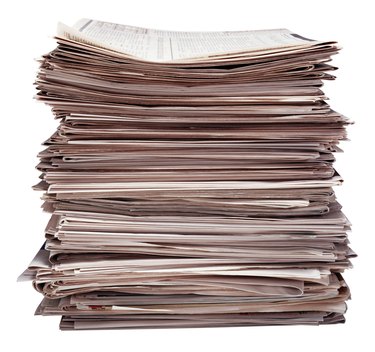
Working with paper mache is quite messy, so it's best to have all the supplies you'll need on hand before working on the wet portions of the project. Cover the project area with a plastic tablecloth. Tear sheets of newspaper into strips approximately 1/2 to 1 inch thick and several inches long; longer and wider pieces will do for a large paper mache ball, while small pieces are more manageable for a small ball. Junk mail and old phone book pages also work. Keep plenty of extra paper on hand, because it takes several layers to make a hard paper mache structure. Inflate a round balloon and tie it when the balloon looks as close to perfectly spherical as possible. You can use an inexpensive beach ball in place of a balloon for a larger sphere. Keep a sturdy needle on hand for popping the balloon or beach ball after the paper mache dries. Set up a disposable tray for creating the paper mache paste, and keep plenty of paper towels and a bowl of water nearby to clean your hands or rubber gloves as needed.
Video of the Day
Making the Paste
Making paper mache paste is a matter of preference when it comes to the materials. Make the simplest version, easy enough for even young children, by combining equal parts school glue and water in a disposable pan. Stir the mixture with a plastic spoon to blend it well. Another version uses white flour and water. Pour a heap of white flour in the pan, and then stir in enough water to reach a consistency slightly thinner than pancake batter. Stir thoroughly so the mix contains no lumps; if preferred, use a hand mixer and mix the paste in a bowl that can withstand the process. The proportions of water to flour are a matter of preference -- the more flour, the stronger the dried paper mache; the thinner the mixture, the easier it is to work with.
The Papering Process
Set the balloon or beach ball atop an object such as a shallow bowl or a roll of duct tape to keep it from wobbling as you work. Dip a strip of paper into the paste mixture, and then slide the paper between your fingers to remove excess paste. Smooth the strip down somewhere along the top of the ball, removing air bubbles and ripples by running your hand over the paper. Apply a second strip, also dipped in the paste, crossing over the first at an angle. Continue papering the ball or balloon with overlapping, crossed pieces of pasted paper, smoothing your hands over the piece as needed to remove ripples and excess paste. Once the top portion of the ball or balloon is covered, rotate it so you can work on the bottom area. Paste around the knot, if working with a balloon, or leave a small access area if working with a beach ball. Apply three or four layers' worth of strips, and then allow the project to dry for several days before popping the balloon or ball with the needle. Remove the popped item from the structure, and paper over the hole with fresh layers of paper mache. If desired, add several more layers of paper mache to the entire project, allowing it to dry for several more days.
Prettying Up the Project
Once the paper mache is completely dry, it's ready to paint. Craft acrylic paints, child's tempera paints or even spray paint may be used to color the orb. If you're spray painting, take the project piece outdoors or paint in a well-ventilated area, away from other objects. Set the piece on newspapers or a tarp, and then spray with the can held 12 to 18 inches away. No matter which type of paint you use, set the sphere on a bowl or roll of tape to help keep the paper mache project from rolling as you paint. Paint in thin layers; too much moisture may soak through the paper mache and soften the piece. Allow each color or layer of paint to dry completely before adding more paint.