Things You'll Need
Scissors
Black construction paper
Red yarn
Wax paper
Craft glue
Black beads
Orange bead
Tweezers
Toothpick
Paperclip

Craft glue isn't just for holding things together. The versatile medium can be used for a variety of arts and crafts projects, including making holiday ornaments like snowmen. What makes glue work for snowman decorations is that it pools in circles naturally and dries white or semi-translucent, depending on the type of glue you use.
Step 1
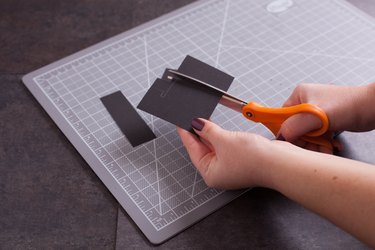
Cut out a small black top hat shape out of the construction paper. You can draw it freehand or use a stencil. Make sure the hat is the right size for the snowman you plan to make.
Video of the Day
Step 2
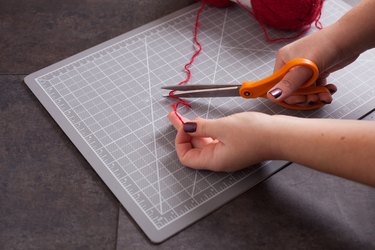
Cut a small piece of red yarn to be the snowman's scarf. The yarn should probably be no more than 2-inches long unless, you're making a big glue snowman.
Step 3
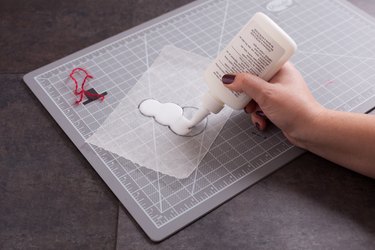
Draw your snowman on the wax paper with craft glue. You'll need to fill in all of the figure's body so that you have two, three or even four large "snowballs" made of glue. Go heavy on the glue to make sure that your snowman has no holes once it dries.
Step 4
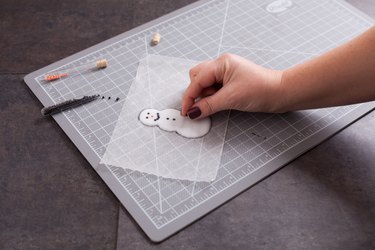
Place the black beads in the glue to make your snowman's eyes, smile and buttons and apply the orange bead to the glue for his nose. You can use the tweezers to place the beads exactly where you want them.
Step 5
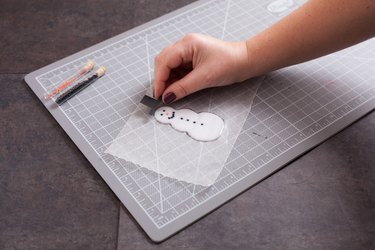
Place the black construction paper hat on the snowman's head and the red yarn across the neck. Lay these items lightly so that you don't smash the glue and make the figure appear to have distorted snowball parts. Place half a toothpick on each side of the snowman for its arms.
Step 6
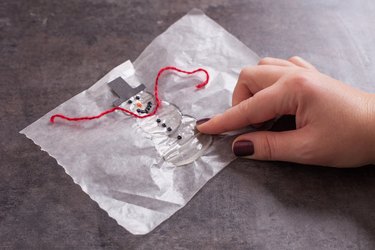
Let the snowman dry completely. This takes up to 48 hours since you'll have used a great deal of glue. The snowman will feel hard when it dries.
Step 7
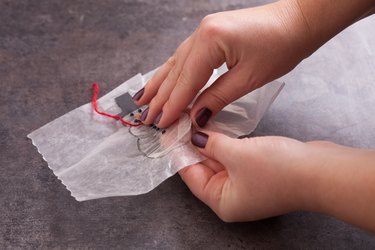
Peel the snowman carefully off the wax paper. Do this slowly to prevent tearing.
Step 8
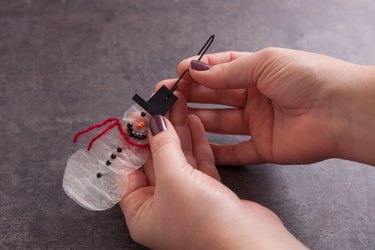
Thread the paperclip through the snowman's hat or the top of his head. You can then use this as a hanger or run a piece of string through it so that you can wear your snowman as a pendant.
Video of the Day