Things You'll Need
Large mixing bowl
1 cup table salt
2 cups all-purpose flour
3/4 cup water
Zip-top bag
Computer
Printer
Paper
Tape
Scissors
Cardboard sheet
Black marker
Tempera paints

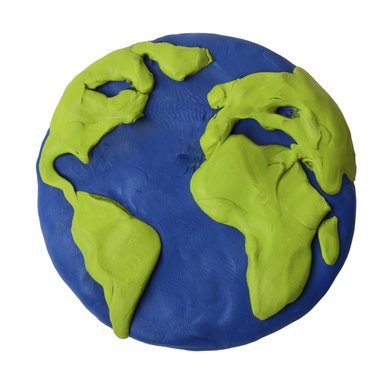
To help learn the topography and geography of a certain area, children are often assigned a salt map project. These maps are made of salt dough, paint and cardboard and are entertaining and educational for students. The dough is built up to show the relief of the land and hardens when dry. The project takes a couple of days due to drying times and will require a bit of adult supervision. Help your children get their hands dirty all in the name of learning.
Making the Dough
Step 1
Place the salt, flour and 3/4 cup water in the bowl.
Video of the Day
Step 2
Mix with your hands until it is smooth. It should have the consistency of cookie dough. Add more water if the dough is too thick. Add more flour if the dough is runny.
Step 3
Seal in the zip-top bag until ready to use.
Creating the Map
Step 1
Search online for the specific map you need. Sites such as Education Place and Owl & Mouse offer printable maps.
Step 2
Print the map. You may need to print it on multiple pages and tape them together to create a large map. For example, a 2 foot x 2 foot map can be printed onto four 8 1/2 inch x 11-inch pieces of paper.
Step 3
Cut out the shape of the map from the paper. Place the map shape onto the cardboard in the spot where you want your map. Trace the shape with a black marker. Remove the paper map.
Step 4
Remove the dough from the bag. Roll and knead the dough and separate into 3-inch balls.
Step 5
Take a ball and flatten it onto the cardboard inside the map outline. Work the dough inside the shape, following the lines. Fill the map in with dough so you have a flat dough shape of the map on the cardboard.
Step 6
Pinch off pieces of dough from unused balls and place on the flat dough to build elevations such as hills and mountains. Use a physical map that shows the topography of your land as a guide. Continue to add dough until all of your elevations have been represented. Dip your finger in water and run it over the dough to smooth out any rough areas.
Step 7
Let the map dry a minimum of 24 hours. In humid areas it could take up to three days.
Step 8
Paint the map with tempera paints. Many salt maps are painted to show the different elevations and landforms. Paint the cardboard surrounding the map. Add a key for your map colors in the corner and the name of the country, state or continent at the top.
Warning
Do not make your map on a rainy day. The humidity will make the map run due to the salt drawing too much water into the dough.
Video of the Day