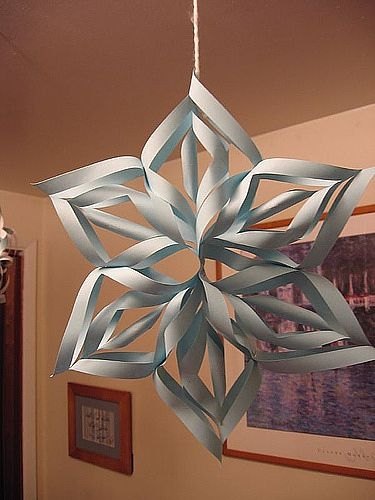
Making a three-dimensional paper snowflake is a little more difficult than creating the two-dimensional version of it. However, it looks better and can be a very useful craft for both hobbyists and children who are already able to handle scissors well. This 3D craft would be a great addition to your home décor, whether on trees or hanging on your windows. To learn how to create your own snowflakes, refer to the steps listed below:
Step 1

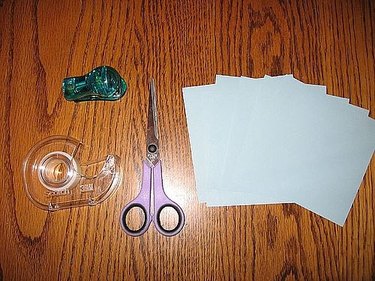
Gather your materials. Materials are pieces of paper, scissors, a stapler and tape.
Video of the Day
Step 2
Take the big piece of paper and cut it into six smaller pieces of paper.
Step 3
Fold each piece of paper diagonally.
Step 4
On the edges of each paper, cut three lines.
Step 5
Make all the lines parallel to each other to ensure that the snowflake would be symmetrical.
Step 6
Unfold the paper and roll the first two strips of paper in the innermost section.
Step 7
Tape all of them together.
Step 8
Do the same steps on the remaining pieces of paper.
Step 9
Put all the rolled pieces of paper together.
Step 10
Staple the lines.
Step 11
Make sure that the step above results to two pieces of paper with three arms.
Step 12
Combine the two pieces of paper to produce the snowflake shape.
Step 13
Staple the arms of the snowflake to keep the shape intact.
Tip
You could add colors to the snowflake to make it more pleasing to the eye. You could also make it appear more beautiful by attaching shiny threads on top of the snowflake. Make as many paper snowflakes as you can and hang them on your windows or on Christmas trees.
Video of the Day