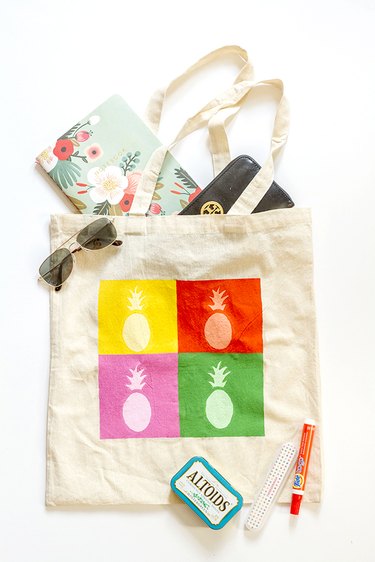
Spring and summer call for bright colors and fruity motifs, and that includes your accessories. Celebrate these silhouettes of the season by crafting your own pop art-inspired painted pineapple tote bag. The project can be completed in a day, and you can customize it right down to your favorite colors to match the rest of your warm weather wardrobe.
Video of the Day
Things You'll Need
Scrap cardboard
Ruler
Pen or pencil
Masking tape
Acrylic craft mixed with textile medium or fabric paint, in white and four bright colors
Scissors
2-inch foam paintbrush
Small detail paintbrush
Plastic paint tray
Card stock
Razor blade
Step 1: Measure and Mask the Center
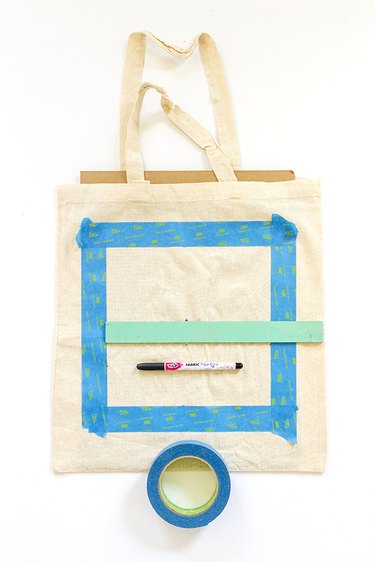
Slip a piece of scrap cardboard into the tote to prevent paint bleed through. Measure the height and width of the canvas tote bag using a ruler. Calculate the center area and mask off the outside perimeter by cutting off and laying down lengths of masking or painter's tape. For a standard 15-by-16-inch bag, your masked area will be 9 inches square, with four 4 1/2-inch squares.
Video of the Day
Step 2: Mask Off and Paint the Squares
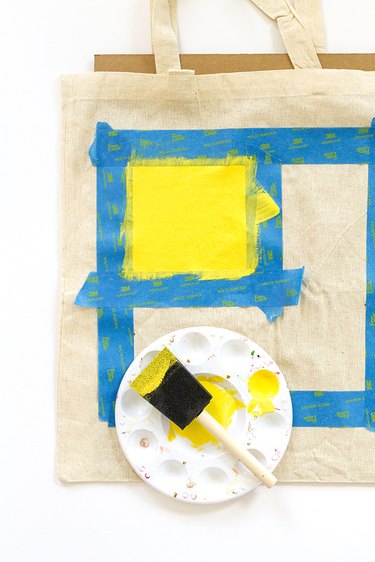
Mask off the first 4 1/2-inch square, and use a foam paintbrush to paint the square in one bright color. You may need to paint multiple coats of paint to fully cover the canvas. Allow the paint to fully dry for one hour before removing and discarding the masking tape and moving on to the next square. Repeat the steps on each of the four squares, with a new bright color each time. Make sure to press the masking tape down firmly before painting each square to reduce bleed through. Allow the paint to dry for two hours, and then discard the outside perimeter masking tape.
Step 3: Print and Cut the Pineapple Stencil
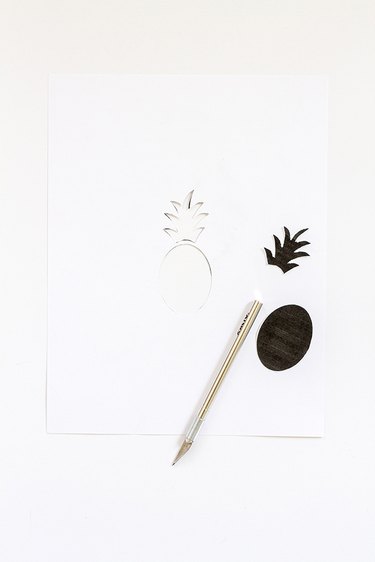
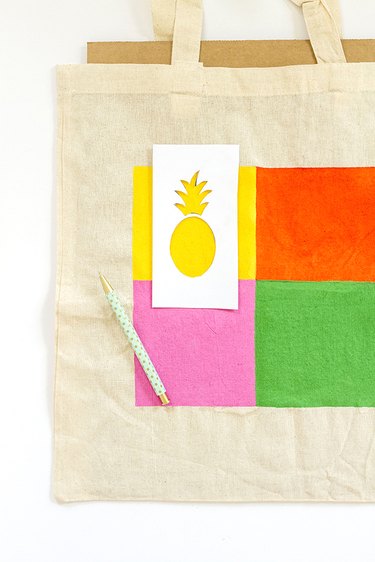
Download the pineapple template and print it on card stock scaled roughly to 15 percent. You may need to adjust the scale based on your printer and tote bag. Use a razor blade or craft knife to cut out and discard the black areas of the stencil, and trim down the sides of the card stock close to the edges of the stencil. Don't cut too close to the edge or else you might accidentally cut into the stencil design. Leave a 1/2-inch to a 1-inch border.
Step 4: Trace the Stencil on the Bag
Lay the stencil in the center of the first painted square and trace the shape onto the tote using a pen or pencil. Trace lightly so that you don't see the tracing marks through the paint later on. Repeat the step on each of the four squares.
Step 5: Paint Out the Pineapples
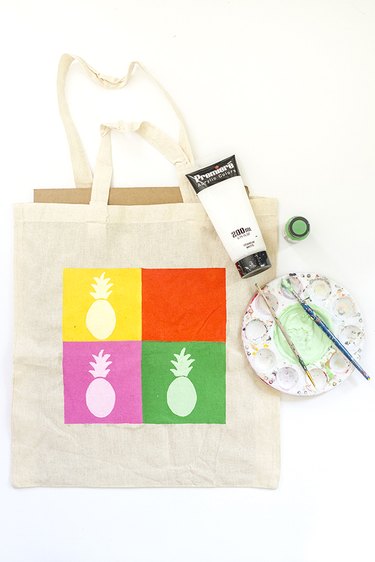
Squeeze a few drops of the first square's color onto a plastic paint tray and add an equal amount of white acrylic paint on top. Mix the paint until combined. This will create a newly lightened version of your original color. Use a detail paintbrush to paint inside the traced lines of the stencil. You may need to paint multiple coats of paint to cover the background color and outlines. Repeat the steps on each of the four squares, using the respective colors of each square mixed with more white paint.
Step 6: Allow the Paint to Dry
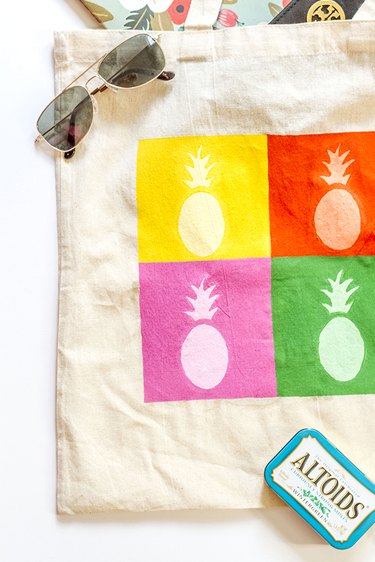
When complete, you may need to use the acrylic paint and detail paintbrush to clean up any messy edges. Allow the painted bag to fully dry for 24 hours, and then toss your custom-painted bag over your shoulder each day this spring and summer season. If you use acrylic paint mixed with textile medium or fabric paint, you should be able to launder it without worry.
Additional Project Idea
Looking for more fruity projects? Put those free downloadable templates to good use with this tutorial for how to paint on canvas shoes. Click here for the full instructions.
