Things You'll Need
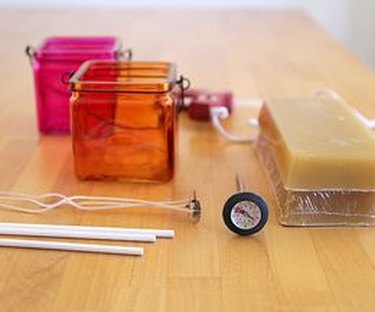
Beeswax
Glass container
Candle wick with clip
Hot glue or tacky wax
Lollipop sticks
Double boiler or two pans with the same diameter
Thermometer
Non-water based fragrance oil of your choice (optional)
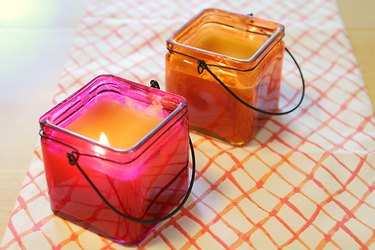
Making candles yourself is a great way to get creative with your home decor. Not only can you choose your candles' scent, but also the containers they're housed in. Choose from the large variety of glass containers available at big box stores and import stores to create candles that fit seamlessly with your home's aesthetic.
Materials
Step 1
Along with beeswax and wicks, you'll also need a double boiler, or a makeshift double boiler, for this project. Please see the last slide for an itemized list of tools and materials.
Video of the Day
Step 2
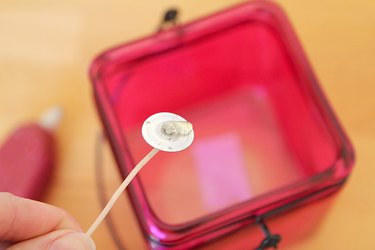
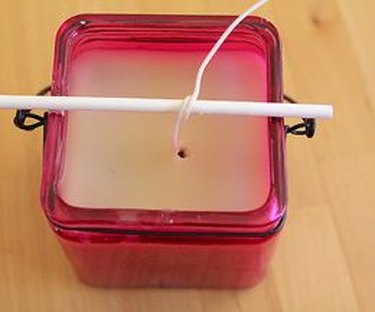
Add either a dab of hot glue or tacky wax to the bottom of the wick clip. Place the clip in the center of your glass container and press to secure. See the Tips section for details on how to select the correct wick size.
Step 3
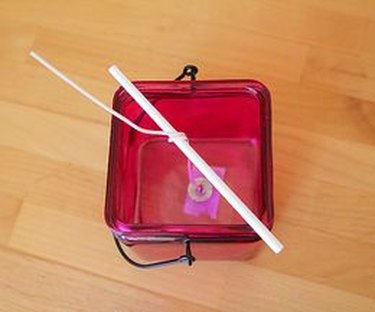
Balance the lollipop stick across the top of the container and wrap the wick around it to stabilize.
Step 4
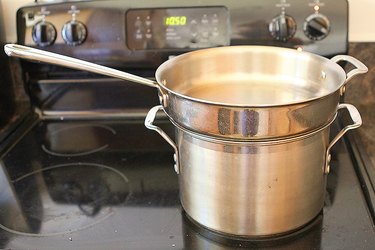
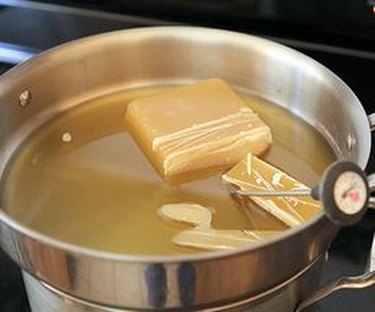
A double boiler works by using steam, instead of direct heat, to melt things. If you don't have a double boiler, you can make one by stacking two pots that have equal diameters. To use, fill the bottom pan with a few inches of water and bring to a boil. The resultant steam will melt anything placed in the top pan.
Step 5
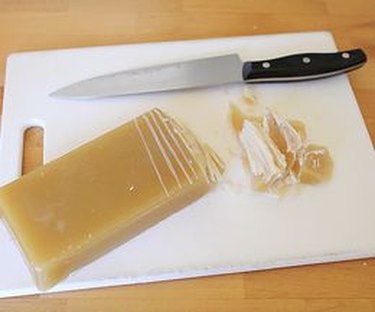
To prepare your beeswax for the double boiler, cut it into small chunks with a large kitchen knife. Start by scoring the top of the block. Cut by pushing down and away with the knife while rocking it back and forth.
Step 6
Place the chunks of beeswax into the top pan of your double boiler along with a thermometer. Cook the wax until it is completely melted and the temperature reaches 175 degrees Fahrenheit.
Step 7
Pour the wax into the glass container and use 1 ounce of fragrance oil per pound of wax to produce a highly fragrant candle. Let it harden for about an hour. At this point the beeswax will become a soft, caramel texture and you may see a sink hole beginning to form in the middle of your candle.
The is due to air becoming trapped underneath the wax as it hardens. Use a lollipop stick to make a hole next to the wick, extending about 2/3 of the way down the candle, in order for the air to escape. Melt a little more wax and pour it into any remaining holes.
Step 8
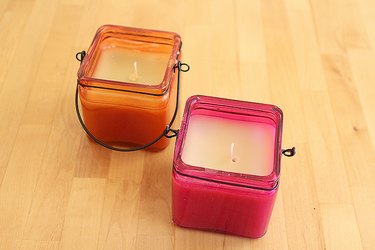
Allow at least another hour for the beeswax to harden. Trim the wick to 1/8 to 1/4 inch above the wax and your candles will be ready to use.
Tip
If you're having difficulty pouring the wax from the pan into your container, pour it into a spouted glass measuring cup first and then pour it into the container.
Never use a wire core wick with Beeswax. Use only flat braid, square braid or HTP wicking for best results.
Beeswax is much more sturdy than normal paraffin wax and will need a larger wick size to burn your candle. Use the following guidelines for picking cotton square wick sizes based on the diameter of your container:
Tealight - #4/0 Votive - #3/0 2-2.5 inches - #3 2.5-2.8 inches - #4 2.8-3.2 inches - #6 3.2-3.5 inches - #7 3.5-4 inches - #8
Warning
Do not microwave beeswax.
Do not exceed 300 degrees Fahrenheit when melting wax. If wax catches fire, extinguish with baking soda or smother with a lid. Never use water as it will cause an explosion.
Never use water-based dyes or fragrances when using wax.
Never leave hot or lighted candles unattended and keep away from children, pets and out of drafts.
Video of the Day
