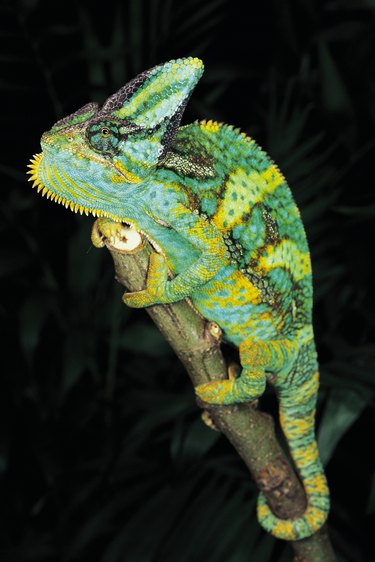
Chameleons change color depending upon their mood and their temperature. Using paint that changes like a chameleon can add a new dimension to craft and other projects. Paint additives allow you to create chameleon paints that change with temperature, and others that change color depending on the lighting and viewing angle. Either way, these additives can make just about any painting project more interesting and unique.
Step 1
Choose the project you want to paint with your chameleon paint. The best candidates are things that will be subject to some sort of temperature change or exposed to different lighting conditions. Temperature changes could be from human touch, sitting in warm sunlight or being filled with a hot liquid, such as a coffee mug. Painted beads can be worn in the sun to show the level of U.V. exposure. Cars can have flames painted on that show during the day and disappear at night, or a base color that changes from green to blue in different lighting conditions.
Video of the Day
Step 2
Buy pigment used to make chameleon paint. Venders can be found online that sell variations of these paint additives. To make paint that changes with temperature differences, buy a thermochromic or photochromic paint additive. For paint that changes colors depending upon the viewing angle and lighting, choose chameleon paint flakes.
Step 3
Choose a medium in which to mix your thermochromic or photochromic paint pigment. Workable mediums include any paint base, clear plastic resin, lacquer or epoxy. Factor in the paint's reaction to light when choosing your medium. Photochromic paints start out colorless and turn color when exposed to sunlight. Thermochromic pigments start out with color and become clear when heat is applied.
Step 4
Mix the thermochromic or photochromic pigment into your chosen paint with a mixing stick at a ratio of one part pigment to six to eight parts base. Test the mixture on a small piece of disposable material. Adjust the mixture to your needs and test a small sample again before using the mixture on your project.
Step 5
Decide on a medium for your chameleon flakes. A black base coat is recommended for the best results in viewing color changes. The chameleon flakes are a powder and must be mixed with a clear coat to create a medium to paint on your item. When selecting chameleon flakes, the description will tell you what the color changes are; for example, the flakes may change from gold to green to blue as the painted object shifts. Chameleon flakes also can be mixed with pearl-finish pigments for different effects. For an evenly painted effect on larger projects, such as automobiles, chameleon flake paint looks best when sprayed on with a paint sprayer.
Step 6
Mix your chameleon flakes into the clear medium starting with one heaping tablespoon per quart of base. Using a mixing stick, blend the flakes into the clear base and paint a test piece of material. Add more of the flakes if necessary to achieve your desired look.
Step 7
Apply a good-quality clear topcoat of paint that has U.V. protection. Some of the pigments experience reduced effectiveness over time when exposed to sunlight.
Video of the Day