Things You'll Need
Card stock paper--brown, white, pink, orange, mint and red
Fine glitter
Colored felt and twine
Optional: felt letters to spell "Ice Cream"
Bandanas (one for each child invited)
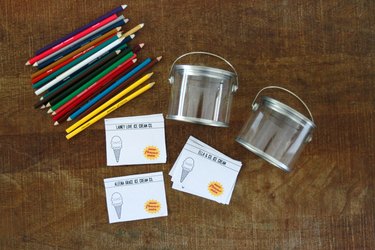
Small paint cans (available at crafts stores)
Ice cream labels (printed on white paper)
Colored pencils/markers
Vanilla ice cream (2 gallons)
Mix-in ingredients: pretzels, gummy bears, gumballs, M & M's, chocolate chips, mini marshmallows, Skittles, caramels
Ice cream cones
Sprinkles
Pink lemonade
Glass milk bottles
Paper straws
An ice cream social is a delicious way to beat the heat and entertain kids. The fun part of this party is that kids get to create their own ice cream flavors, design their own container and take home their concoctions with them. With a few simple details and key ingredients, you can pull off this easy ice cream social for kids--perfect for celebrating a birthday or nothing more than a hot summer afternoon with friends.
Step 1
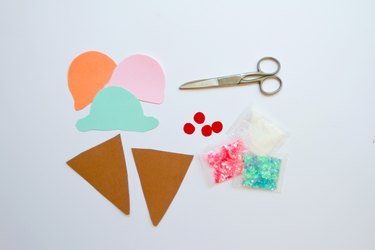
With the overwhelming selection of store bought cards and online designs now available, a simple handmade invitation stands out in the mailbox--a charming way to welcome friends. Using sherbet-hued cardstock paper, cut two ice cream scoop shapes for each invitation and one brown cone shape for the base.
Video of the Day
Step 2
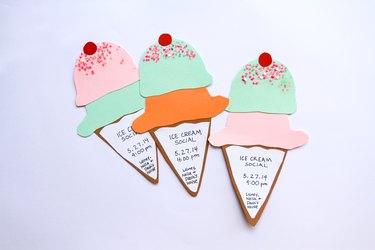
Glue together and top with a small red "cherry" cut from red card stock. Add glitter "sprinkles" for a finishing touch. Complete your invite by adding the text of your party details in the cone area. These sweet cards set the tone for a great party "flavor."
Step 3
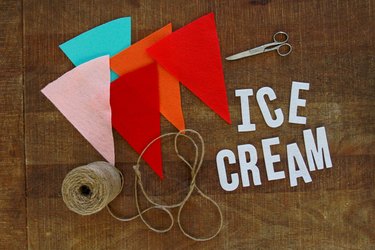
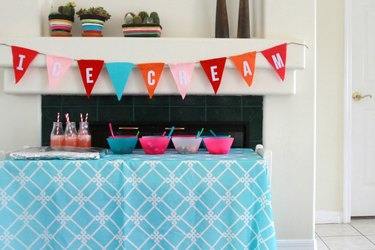
Create an ice cream banner to hang above your table. Using the colored felt (sherbet hues like orange, pink and mint add a nice touch), cut triangle pennants. Hot glue triangles onto twine and add the word "Ice Cream" if desired.
Step 4
Hang banner over a table, and set up your ice cream station so that it's easily accessible for kids. A small child's table covered with a pretty table cloth works great.
Step 5
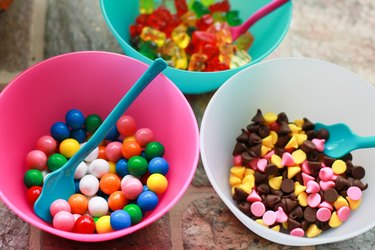
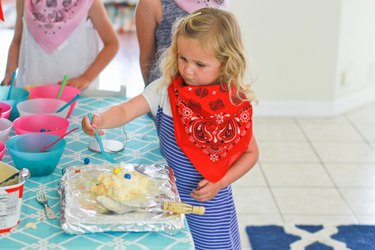
Divide ice cream "add-ins" into bowls, and create an ice cream mix-in space. A large cutting board covered in aluminum foil woks great.
Step 6
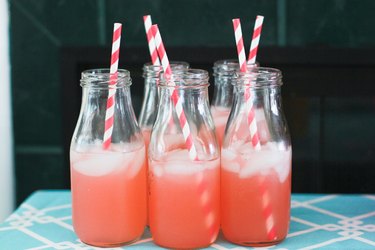
Since the highlight of this party is the ice cream, you don't need much more in terms of treats to serve. Pink lemonade complements the summer thing (and the color theme) perfectly, and when served in cute milk bottles with paper straws, it adds a nice party touch.
Step 7
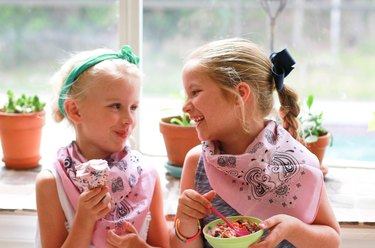
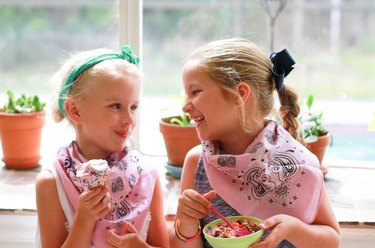
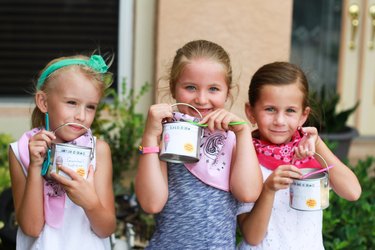
When party guests arrive, pass out pastel bandanas for each guest. This inexpensive party favor looks adorable tied around the neck and works great as a bib for sticky ice cream messes.
Step 8
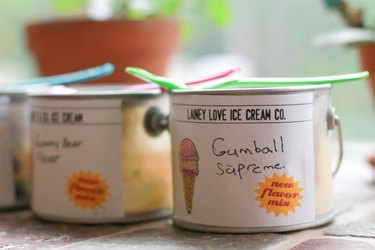
Before party friends create their ice cream masterpieces, they'll love designing a label for their new flavors. Invite your guests to check out mix-in treats, plan their concoctions and create a name for their flavors. You can pre-print label designs before the party or let the kids make their own with small slips of paper and markers or colored pencils. Once labels are finished, save them to tape onto the ice cream containers after they've been filled.
Step 9
The fun begins! Have party guests take turns, drop two large scoops of vanilla ice cream on the mix-in space and let kids create their own flavors using mix-in treats. Little ones might need some extra adult help folding in ingredients.
Step 10
Seal ice cream containers, tape on label and store in the freezer until guests are ready to take home.
Step 11
Of course kids aren't going to be too cool about you putting their ice cream away for later if you aren't going to offer them any now. Reward your guests' hard work with a treat--an ice cream cone topped with sprinkles and any leftover mix-in ingredients.
Step 12
Before guests leave, pull out all the ice cream concoctions from the freezer and pass them out to take home--and consider all smiles a sign that your party was a sweet success.
Video of the Day
