Things You'll Need
50 x 36-inch cardboard sheet
Pencil
Utility knife
Scissors
Primer
Foam brushes
Black acrylic paint
12 x 12-inch cardboard square
Silver spray paint
White acrylic paint
Foam plates, 8 or 9 inches
Glue gun
Glue sticks
Printer
Legal-sized paper
Colored craft foam
Marker
2 52-inch pool noodles
Silver electrical tape
Rope lighting

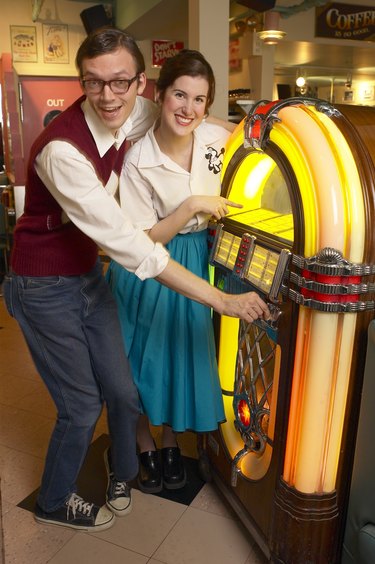
Rock around the clock at your next event with a fabulous '50s jukebox made from cardboard. With paint and a few everyday items, you can transform cardboard into a music machine prop that helps set the theme for your sock hop.
Step 1
Lay the piece of cardboard vertically on the ground. Use a pencil to draw a curve at the top of the piece. This should resemble the dome of the jukebox.
Video of the Day
Step 2
Cut along the line with the utility knife. Go slowly around the curve. Use scissors to snip off any excess cardboard or ragged pieces.
Step 3
Paint the board with a coat of primer. Let dry.
Step 4
Paint the board with a coat of black paint and then let dry.
Step 5
Draw a design for the grill on the cardboard square. The design should have a filigree or a metal-scrollwork feel to it. Use photos of jukeboxes as a reference. You can make it simple or ornate. Cut the grill out with the utility knife. Cut out all spaces within the design. Spray the front of the grill with silver spray paint. Give the sides a light spray and don't use too much paint -- it can pool in the open edges of the cardboard. Let dry.
Step 6
Paint a white, horizontal half circle 6 inches from the edge of the dome on the sheet of cardboard. The shape should be 18 inches tall. It will have an arched top and a straight bottom. Let dry.
Step 7
Cut the fluted trim off of five foam plates. You will be left with a foam circle. Lay the plates flat and spray with black spray paint. Let dry. Paint a white circle in the center of the plates that measures 2 inches in diameter. Dot a small black circle in the center of the white by dipping the eraser of a pencil in paint after the white paint has dried. These are the records for the jukebox.
Step 8
Affix the records inside the white half circle with a glue gun. Let the records overlap each other as you line them up horizontally in the space.
Step 9
Print a faux song list on a piece of legal-sized paper. Design the list of songs in columns in a word processing program with the print options set to "landscape." Hold the paper horizontally and cut it in half; you will have two pieces of paper that measure 4 ¼ x 14 inches long. Tape these together. Hot glue them underneath the records, covering up the line where the black and white paint meet.
Step 10
Cut out squares and circles of colored craft foam. Write numbers and letters on them for the selection buttons. Glue them onto the front below the song list. Glue a black rectangle next to it and paint ".25" next to it.
Step 11
Center the grill in the middle of the lower part of the jukebox and glue it on.
Step 12
Slice one of the pool noodles down the side with the utility knife -- do not cut all of the way through. Open it up so it is now shaped like a C.
Step 13
Slide the edge of the pool noodle onto the edge of the cardboard. Wrap the noodle around the edge of the cardboard until it curves and covers the entire edge. Lift the edge of the noodle gently and squirt glue along the cardboard. Push the noodle flush with the cardboard to secure. Do this along the entire edge. Let dry.
Step 14
Glue a second pool noodle to the free side of the first. Hold the noodle as you go to make sure the glue is drying and holding. Cut an 8-inch piece of silver electrical tape. Place it on the back of the jukebox and the bottom corner. Wrap it around the two noodles toward the front of the jukebox. Cut the edge so it wraps under the inside noodle and disappears. Do this for each side. Measure up 1 foot and repeat on each side. Tape on either side of the song list and once at the top of the arch. The tape should be smooth and resemble a decorative embellishment.
Step 15
Hot glue the strand of rope lighting in the channel between the two noodles. Start at the left side; wrap up the side, over the arch and down to the right corner. Pull the rest of the rope lighting or cord behind the board.
Step 16
Prop the jukebox up against the wall near an electrical outlet so it can be plugged in.
Video of the Day