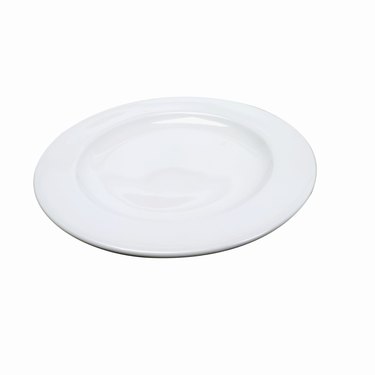
If you paint your own plates, you can create a design that will complement your decor or suit your personal taste. To paint a plate, you need a paint designed for the plate material, which is typically ceramic, such as stoneware, bone china or porcelain, or other materials like metal, plastic or glass. To decorate your plates, you only need a stencil or a steady hand, a paintbrush and, sometimes, an oven.
Gather Materials
Video of the Day
Assemble these materials:
Video of the Day
- A plate
- Acrylic, ceramic or porcelain paints
- 1.0 brush for detail work
- Flat brush (optional)
- Round brush (optional)
- Other detail brushes (optional)
- Pencil
- Stencil (optional)
- Tracing paper (optional)
- Masking tape (optional)
Common plates to use for this project are porcelain and ceramic, but some glass plates may also work. For purely decorative projects, you can use plastic plates. White plates provide the most versatility for your designs, but you can paint any colored plate. You need an appropriate paint; for example, for a ceramic plate, use a paint designed to paint on ceramic. Ceramic, porcelain and glass paints are all available at local craft stores. The type of paintbrush you need depends on the type of design you plan to paint. Use a pencil to draw on your design, but you may also need a stencil, tracing paper or masking tape to transfer a design.
Prepare the Design
If you have a design in mind, use a pencil to free-hand draw it on the plate before you paint. Some ideas include quotes that you enjoy, flowers from your garden or cartoon characters for a child. Washable markers can also be used to apply the image to paint. To copy a design you've seen in a book or online, use carbon paper or a stencil to transfer it to your plate. Print the design from your computer to create the stencil or purchase a stencil. Some ideas include hearts, anchors, leaves, monograms or famous cartoon characters. Use the masking tape to hold the stencil in place on the plate. If you are using carbon paper, tape it to the plate and transfer the design by tracing it on the carbon paper with your pencil.
Paint the Plate
Cover your work area with a cloth or paper to protect it, and put on clothes that you don't mind getting dirty. Open the windows to ventilate the space. Lay your plate flat and start painting your design with the base color. For example, if you are painting a leaf on the plate, start with the predominant color -- green for a spring leaf or red for a fall leaf. Use a broad brush for larger areas such as the base color. Allow the paint to dry between layers. Ceramic or porcelain paint need to dry for approximately hours; acrylic paint will dry in about 10 minutes. Apply another layer of paint until the color is the intensity that you want. When the base layer is dry, use finer detail brushes, such as 1.0, to paint details with accent colors, such as brown veins in the leaves or gold for highlights. Paint a border on the edge of the plate if desired, but you don't have to paint the back of the plate.
Bake the Plate
Once the paint is dry, you've finished it -- if it's meant for decorative purposes only. However, the paint can easily be wiped away. If you want to protect the design, you need to bake the plate to set the paint. Wait for the paint to cure at least 24 hours before baking the plate. Exact instructions will depend upon the type of paint and brand used. Typically, you will need to leave the plate in the oven for 30 minutes at 300 degrees Fahrenheit. Remove the plate from the oven and allow it to cool completely before displaying it. Use thick oven mitts when handling the plate as it will be very hot. Be careful not to get the paint on your clothing or other items you don't want marked as it is not easy to remove.