Things You'll Need
3/4 yard red felt, 36" wide
3/4 yard white felt, 36" wide
Hot glue
Scissors
Felt pen

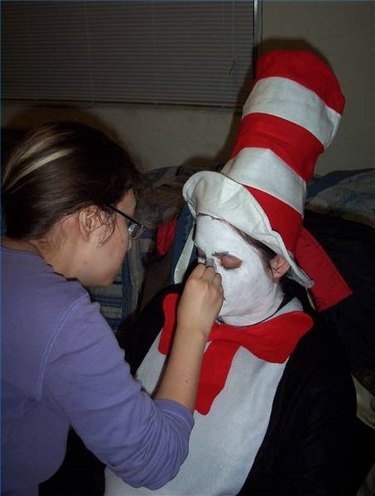
Making a top hat like the one worn by the "Cat in the Hat" from Dr. Seuss is a fun and easy craft. It would be a great project for children around Dr. Seuss Day or over the summer.
Step 1
Measure how much felt you will need for the hat by wrapping the white felt around your head. Mark off this point and then cut lengthwise down the felt.
Video of the Day
Step 2
Hot glue the two edges of the felt together so that it makes a cylinder.
Step 3
Stand the white cylinder on the red felt. Trace a circle inside the white cylinder on the red felt. Draw a larger circle on the red felt, about two inches from the edge of the white cylinder.
Step 4
Cut out the larger circle you drew on the red felt. This will give you a circle of red felt with another circle drawn in the center of it. Cut out the smaller circle from the middle of the larger one, making a red felt doughnut shape.
Step 5
Glue this doughnut shape onto the base of the cylinder, making a brim for the hat.
Step 6
Glue the smaller red circle leftover from the doughnut shape onto the top of the hat.
Step 7
Cut red strips from the rest of the red felt and glue them around the body of the hat.
Tip
You can give the brim a wavy edge for a funky effect. Make sure all stripes are of equal length and width. Always allow glue enough time to fully dry.
Warning
Hot glue can burn the skin.
Video of the Day