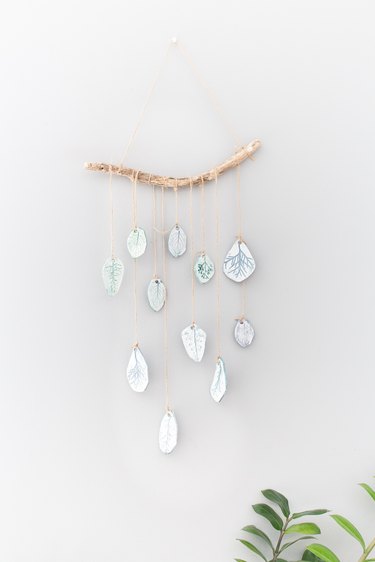
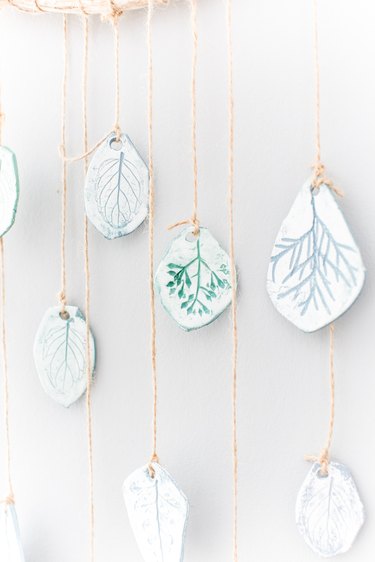
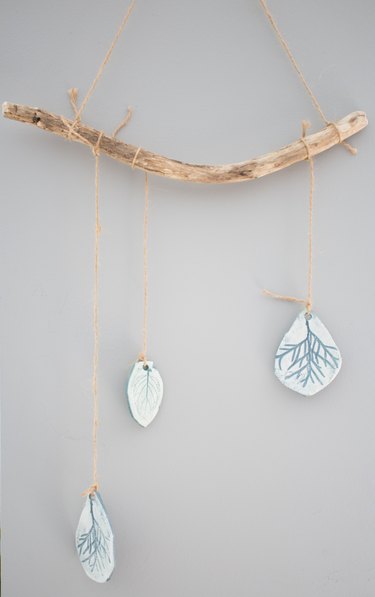
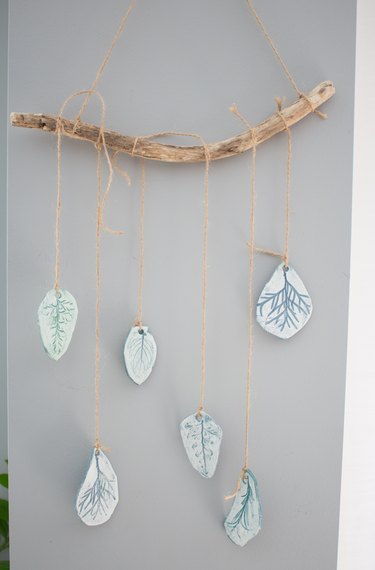
These earthy botanical print chimes add a touch of whimsy to your outdoor space, but can also double as wall art. It's subdue yet interesting appearance becomes a conversational piece.
It's also suitable for all ages and stages and makes for a great afternoon craft as you prepare to welcome summer.
Video of the Day
Video of the Day
Things You'll Need
Cold porcelain (recipe here) or air drying clay
Rolling pin
Scissors
Botanical clippings such as pine, etc.
Acrylic paint
Old cotton rag
Jute twine or cotton rope
Straw
Branch, driftwood or dowel
Optional: Sealant spray or ModPodge
Step 1
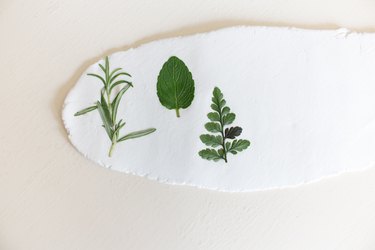
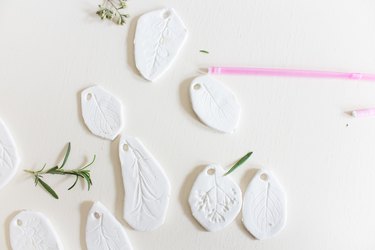
Set a ball of clay onto a counter or table and roll it with a rolling pin to your desired thickness.
Choose leaves or botanical springs and press onto the clay, making sure they make a good indentation onto the clay.
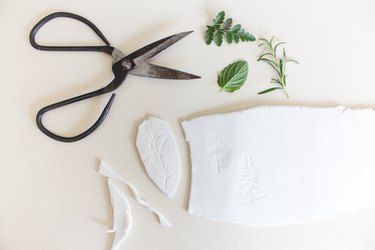
Step 2
Gently remove the leaf from the clay and cut around it with scissors.
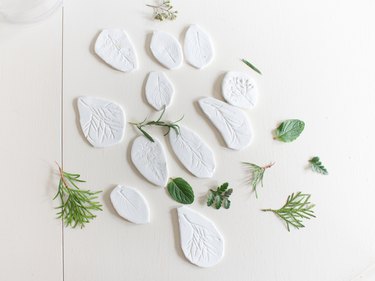
Step 3
Repeat this process until you have your desired amount of pieces.
Tip
To give your piece more interest, choose varying botanical sizes and shapes.
Step 4
With a straw, pierce a hole through the top of each shape and allow to dry completely over night.
Step 5
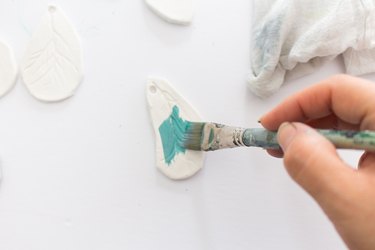
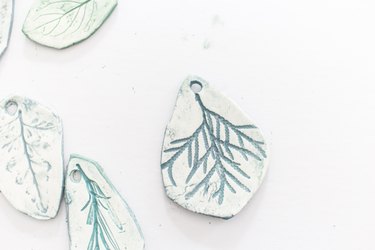
Once the clay is completely dry, use a brush and paint a light layer of desired color, ensuring it fills in the grooves of the imprint.
Step 6
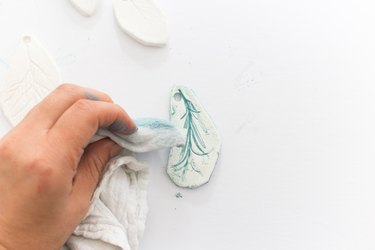
Promptly take a damp rag and remove paint from the top of the clay, leaving the residual paint in the imprint.
Step 7
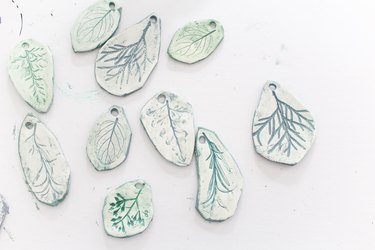
Continue this process until all of your pieces are complete and allow to dry for 30 minutes.
Step 8
OPTIONAL: Apply a layer of sealant spray or ModPodge if desired and allow to dry.
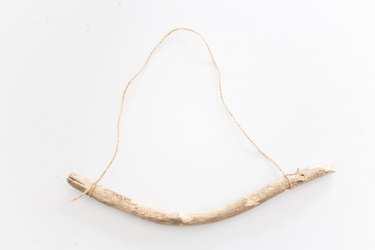
Step 9
Take a piece of twice or cotton rope and tie a knot at each end of your dowel or branch.
Step 10
Tie some twine through hole of your clay piece and tie it around the dowel or branch.
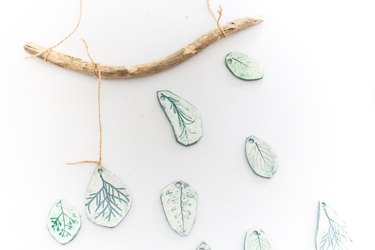
Tip
Laying out your pieces in the desired pattern prior to attaching to the dowel or branch helps you visualize your end result.
Step 11
Hang each piece along the branch, staggering the size and height of each.
Step 12
Continue tying the pieces onto the branch.
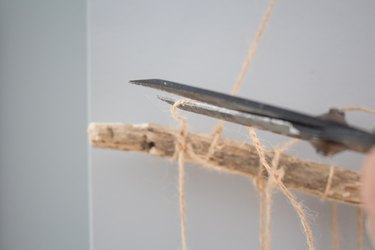
Step 13
Once all of the pieces have been tied onto the branch, cut off any excess string.
Tip
As previously suggested, using varying shapes and sizes adds interest to your piece. Use uneven numbers and stagger the pieces for balance.

You Might Also Like