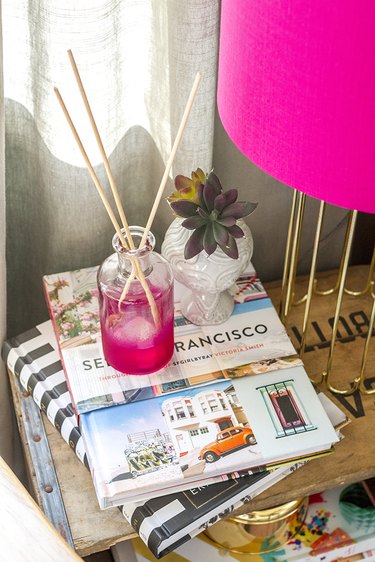
Because scent is such a subjective sensation, it often can be tricky to find the perfect store-bought reed diffuser to freshen your home. Instead of relying on pre-made versions, make your own using a custom mixture of scents.
Gather the Supplies
Video of the Day
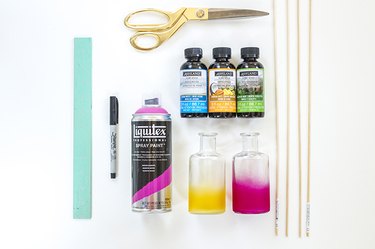
- Scrap cardboard
- Bottles
- Spray paint meant for glass
- Ruler
- Fine-tipped marker or pen
- 1/8-inch wooden dowel rod, 36 inches long, 1 for each diffuser
- Scissors
- Essential oils
- Plastic plate
Video of the Day
The bottles used in this project were 6 inches tall and about 2 1/2 inches in diameter at the bottom with a 1-inch opening at the top. You'll want bottles that will balance OK on their top so the paint on the bottom can dry.
Paint the Bottles
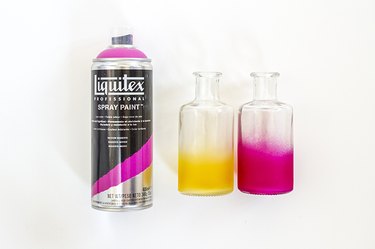
Take the bottles out to a well-ventilated area outdoors and lay them upside down on a piece of scrap cardboard. This technique creates an ombre effect: With the nozzle of the spray paint angled directly toward the bottom of a bottle, spray in a side-to-side motion in short bursts. Don't overspray; otherwise you'll see drips. Reposition your body on the other side of the bottle and repeat until the entire bottom of the bottle is covered in gradated color. The intention is to have an uneven line of color with speckled paint to ease the transition from the paint to the plain glass toward the top of the bottle. Repeat the steps on each bottle, using different colors if you choose.
To move the bottles indoors to dry, grip them by the top or an unpainted area and place them upside down in a cool area. Allow several inches of space on all sides of the drying bottles for air flow, and leave them for 24 hours.
Mark the Wooden Dowels
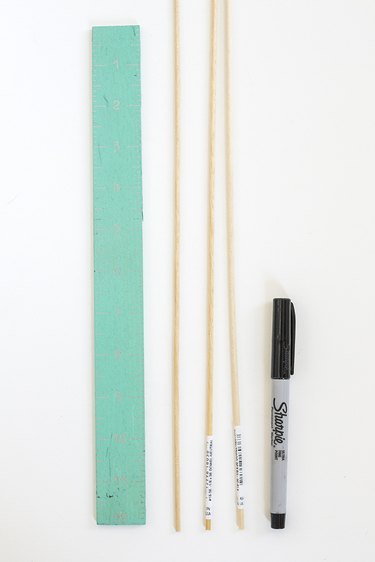
Lay the dowel rods on a flat surface parallel to one another, and then lay a ruler beside them. Use a fine-tipped marker or pen to mark dashes on all of the dowel rods, 9 inches from the bottom of each rod.
Cut the Wooden Dowels
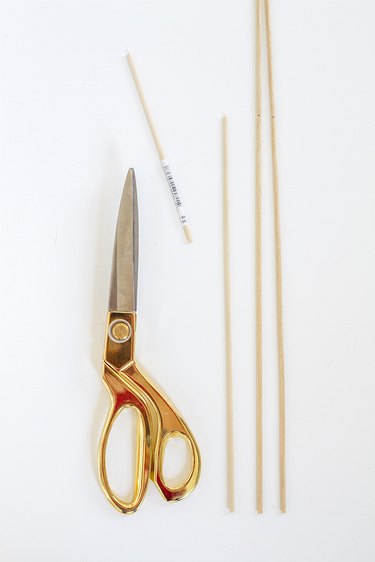
Use sharp scissors to cut the dowel on the marks made in the previous step. The 1/8-inch wooden dowels should be easy to cut right through, so you won't need to worry about sanding or filing down the edges. They might be slightly uneven, but this is OK and won't affect the function of the finished diffuser.
Mix the Scented Oils
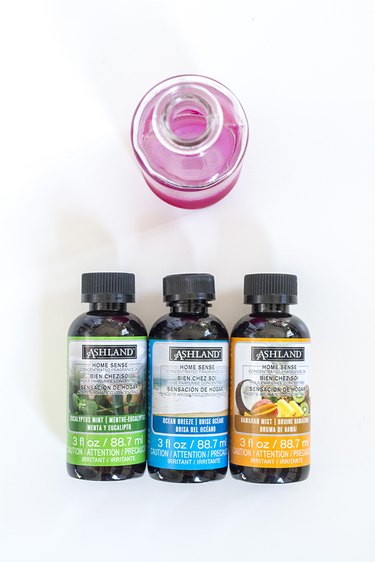
Play around with different scented oils until you have a combination that you like. Add one or two drops of the oils in different pairings on a plastic plate until you have your preferred scent. Scents like vanilla and chamomile offer a savory smell, whereas an oceanic scent pairs well with citrus ones. Notate the ratios as you test out the oils so that you can mimic it in the final diffuser. After you have your pairing of choice, add the ratio of scents down into the painted bottle. You'll want to pour at least 2 inches of oil into each diffuser bottle.
Add the Reeds
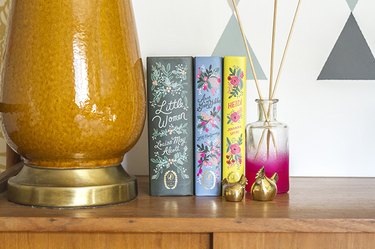
Slip the cut wooden dowel rods into the opening of the bottle and into the oils. It may take a day or so for the scents to start emanating from the bottle. Accelerate the process by periodically flipping the reeds over twice a day until the oils are completely soaking the reeds. You should be smelling the diffuser within a week.