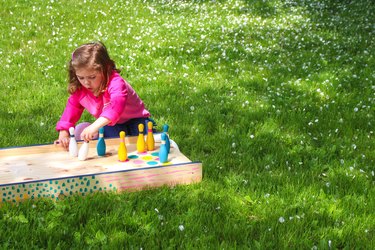
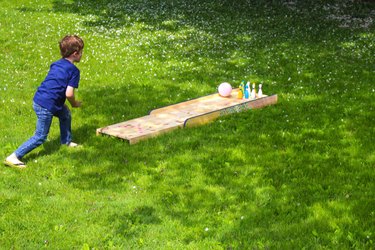
Kids love bowling for the action: the rolling ball, the crashing pins, and the run-ins with the bumpers are all moments of excitement. Parents love the game because it provides a fun way to teach good sportsmanship and how to follow the rules. Win, win! Now, extend everything your family loves about an afternoon at the bowling alley to your own backyard with this open-air DIY. Whether you build this miniature bowling alley for a party or a playdate, this activity will be a hit—or should we say, a strike—with parents and kids alike.
Video of the Day
Things You'll Need
3/4-inch-thick plywood board, 16 inches x 6 feet (1)
1 x 2 board, 6 feet long ( (2)
1 x 4 board, 4 feet long (2)
Power drill
1/8" twist bit
2" deck screws (16)
Bar clamps
Jigsaw
Electric sander and sandpaper
Paper, pencil, and scissors
Acrylic paint in a variety of colors
Paintbrush
5-inch round ball
5-inch tall bowling pins (10)
Spray paint in a variety of colors
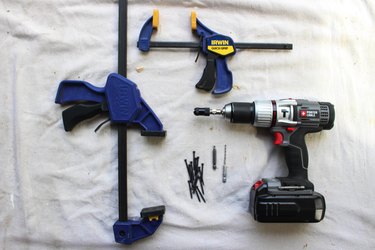
Step 1: Build the Base
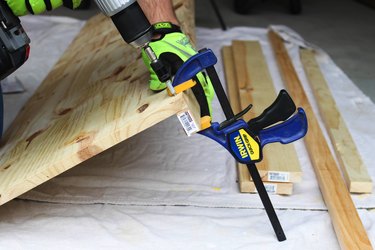
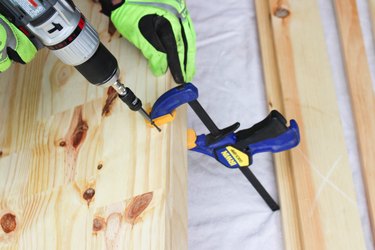
First, you need to create a base that lifts the bowling alley slightly off the ground, which will make an even surface and protect your grass. Clamp one of the 1 x 2 boards onto the plywood on an edge, aligned with the ends of the plywood. Drill a pilot hole through the plywood, approximately 1 inch from each end, and three additional pilot holes placed approximately 16 inches apart along the length of the 1 x 2. Then, secure the boards by driving screws into each pilot hole. Repeat this step on the other side of the plywood.
Video of the Day
Step 2: Provide a Bumper
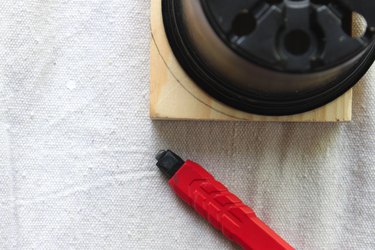
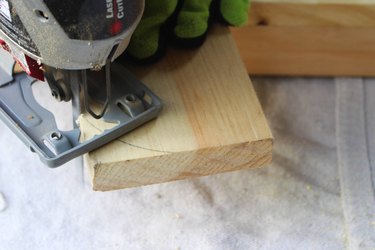
It's a good idea to add bumpers, or the ball may never reach the pins! Prepare each 1 x 4 board by scribing a curve on one end. A bowl, cup or planter (like the one used in the photo below) work just fine as a template for drawing the curve. Next, cut off the excess piece with a jigsaw and sand the edge until smooth.
Tip
If creating a rounded edge on the bumper seems too intimidating, or you do not have access to a jigsaw or an electric sander, you can skip this step. Although it creates a more finished look, it does not change the function of this project.
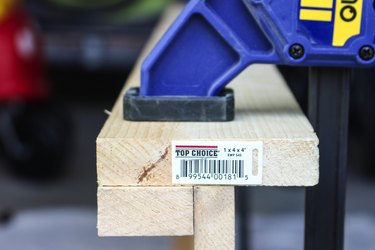
Line up each board with the base and clamp the boards into place. Then, drill pilot holes and drive three equally-spaced screws to secure a bumper to each side. Be careful to avoid hitting the screws from the first step!
Step 3: Stencil and Paint the Boards
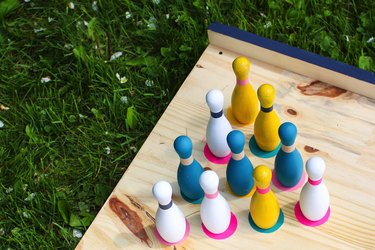
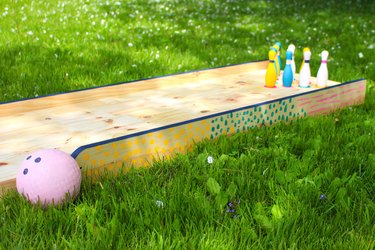
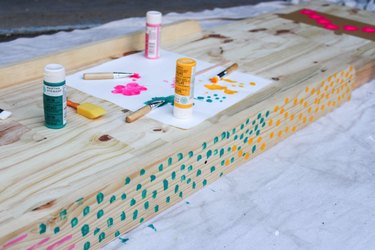
Create a template circle and triangle to make painting the board a bit easier. Place ten 1-inch triangle icons near the end of the board to indicate the locations of each pin. Then, place seven 1-inch triangles at the beginning of the board, in the shape of a "V" pointing toward the pins, to mimic real bowling lane markings. Paint them in alternating colors to correspond with their matching pins. Then, have fun painting the side of the bowling alley by creating simple lines, polka dots or dashes. This is where you can get creative!
Step 4: Paint the Pins and the Bowling Ball
Give your unfinished pins a solid coat of spray paint before adding a stripe around the neck of each pin.

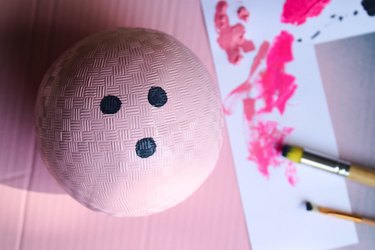
If your 5-inch ball is a solid color, all you need to do is add three dark circles on one side to replicate a bowling ball. If your ball has a distracting design on it, spray paint it first.
Step 5: Bowl in the Backyard
Before you begin, make sure to explain the game of bowling to your little players: set up each pin on a corresponding circle, and take turns sliding the ball down the lane to knock the pins down. Count how many pins are knocked down over ten rounds and celebrate each win!
