You might remember this craft from elementary school -- rolling strips of magazines on a pencil to create paper beads. Those same techniques used with interesting papers can lead to beautiful statement jewelry. Handmade paper jewelry is a great way to upcycle materials and it's an easy project to do with kids, who love wearing their hand-rolled beads!
Video of the Day
Things You'll Need
Several sheets of scrapbook paper or magazines
Bamboo Skewers
Glue Stick
Decoupage
Paint Brush
Ruler
Pen or Marker
Scissors or Rotary Cutter
Accent Beads & Spacers
Elastic & Necklace Cord
Step 1: Trace & Cut Strips of Paper
The shape and width of the strip ultimately determine the size of the bead, so test different widths to see what suites your project best.
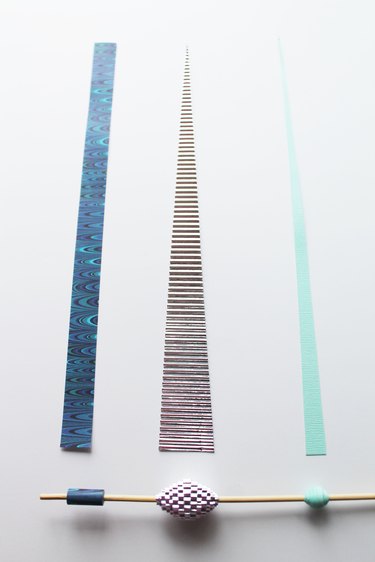
Using a straight edge or ruler trace diagonal lines at consistent widths ( I used 1/2- and 1-inch strips) to create slender triangles.
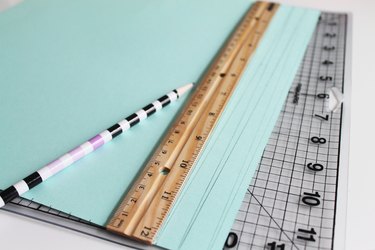
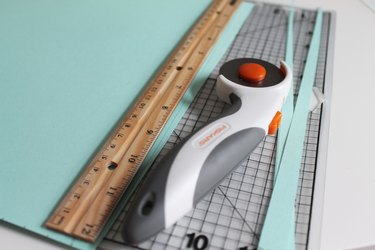
After creating your trace lines, cut your strips out using scissors or a rotary cutter.
Warning
Be sure to use a cutting mat if using a rotary blade.
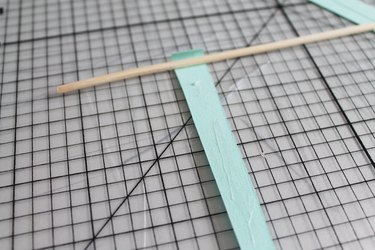
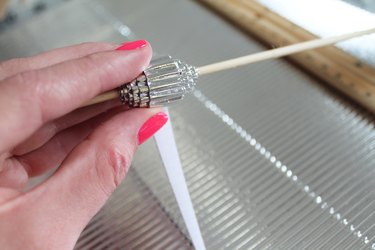
Step 2: Roll Beads
Begin tightly wrapping the wider end of the paper strip around a skewer, dotting glue as you wrap to secure each layer --especially towards the end of your strip.
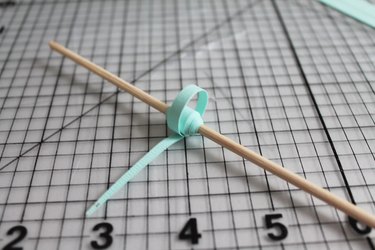

Tip
Try specialty papers for unique textures and finishes, I used a metallic corrugated scrapbooking paper for these large silver beads.
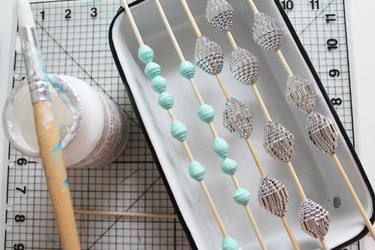
Step 3: Seal
Using a clean brush, apply a thin layer of decoupage to your finished beads and let dry. This keeps the bead's end from unwrapping and creates a semigloss finish on the paper.
Tip
Propping your skewers up on a dish or bowl will keep the beads from sticking to your workspace.
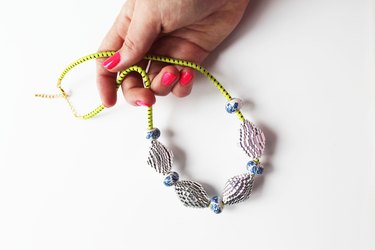
Step 4: String
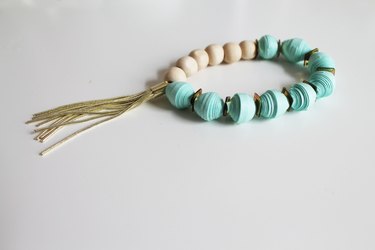
Once your beads have dried, slide them off of the skewers and start stringing. Try different patterns and combinations of accent beads to complete your design. Unfinished wood beads pair perfectly with the small paper beads to create an elastic bracelet -- add a tassel for a boho touch!
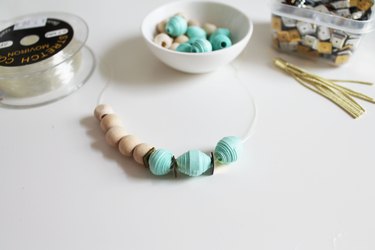
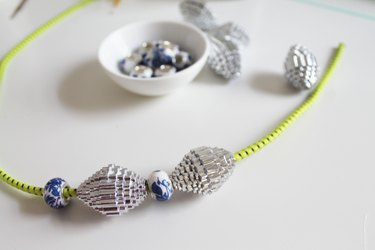
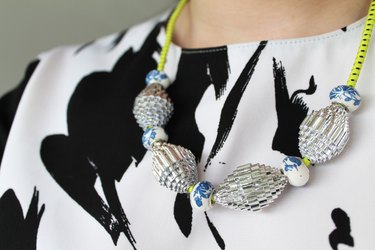
Use a few large beads combined with interesting accent spacers on a neon cord for a high-impact statement necklace.