Things You'll Need
Plaster of paris
Mold

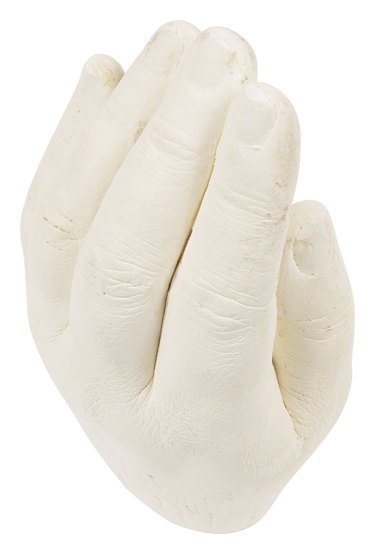
Plaster of paris is a gypsum plaster that has been in use since ancient times for medical, construction and artistic applications. It takes its name from the 1700s when gypsum from Paris, France, was often used to make plaster and cement. It sets quickly and is messy, but easy to use. When a cast is made, it must be allowed to harden completely to hold its shape. Use plaster of paris to make casts of children's hand prints, animal tracks and other craft projects.
Step 1
Pour prepared plaster of paris into mold.
Video of the Day
Step 2
Let the plaster of paris sit in the mold to set for 20 to 30 minutes. Observe the plaster as it sets. As is dries, it will change from a glossy and wet appearance to a matte finish.
Step 3
Touch the top of the cast gently with your fingertip when it looks like it could be dry. Be very careful not to press hard because you can damage the plaster if it is not yet dry. If it still feels wet and soft, let it set another five minutes and check again. Keep checking until it feels dry. It should have a ceramic sound when you tap on it.
Step 4
Remove the plaster cast from the mold carefully. Pull up from both sides gently. Do not pry under it with a tool because it may crack.
Step 5
Let the cast sit at room temperature in a location with good air circulation for a few days to harden completely. Even though it is hard enough to remove from the mold after a short time, it is still fragile and may crack or break easily. After hardening for a day or more, it is much stronger. Let it dry in the open air. If you put it in a plastic bag or container the moisture cannot escape. Plaster of paris hardens faster in a dry climate and takes longer in humid conditions.
Tip
Adding salt to plaster of paris mix makes it set faster but may result in a slightly softer cast in the end.
Warning
Avoid breathing plaster of paris dust. If plaster of paris gets on your skin, wash it off right away.
Video of the Day