Things You'll Need
Photographs or decorative paper items to decoupage
Photo paper or card stock (optional)
Color printer (optional)
Scissors
Fabric Mod Podge
Flat paintbrush (1 inch wide)
Stretched canvas
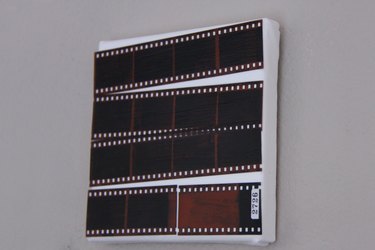
Decoupage enthusiasts who are looking for something different might explore the realm of decoupaging onto fabric. Using specially formulated Fabric Mod Podge, you can decoupage photographs or other flat paper directly onto stretched canvas for a special effect. When you Mod Podge on canvas, the canvas takes on an artistic appearance that even resembles the brush strokes of a painting, for a sophisticated result.
Step 1
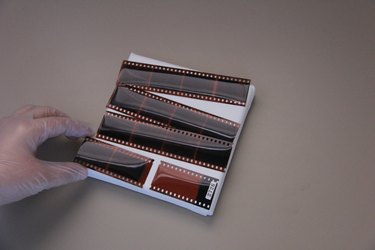
Prepare the photographs or decorative papers to fit the stretched canvas. Plan your layout and cut the items to fit the stretched canvas. If printing digital images from a computer, print them onto photo paper or thick card stock and allow the ink to dry completely before proceeding.
Video of the Day
Step 2
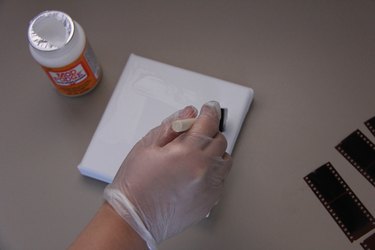
Brush Mod Podge onto the front of the stretched canvas with the paintbrush. Apply the Mod Podge in a thin, even layer over the entire surface of the stretched canvas.
Step 3
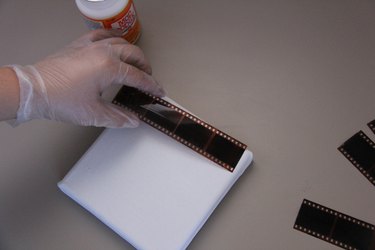
Place the decoupage items onto the Mod Podge-coated stretched canvas over the , arranging them in the layout you desire. Overlapping the items is fine.
Step 4
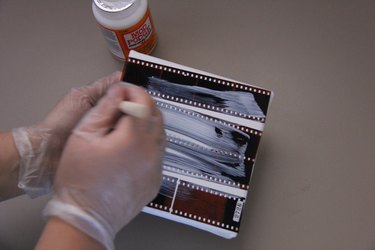
Brush additional Mod Podge over the decoupage items with the paintbrush to seal the canvas. Apply the Mod Podge in a generous, but even, layer. Make sure you coat all edges well.
Step 5
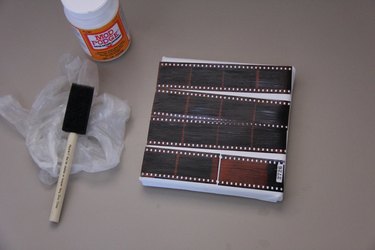
Allow the stretched canvas to dry completely. Drying times vary according to the humidity level of the drying environment. When the Mod Podge is no longer sticky, it is sufficiently dry.
Step 6
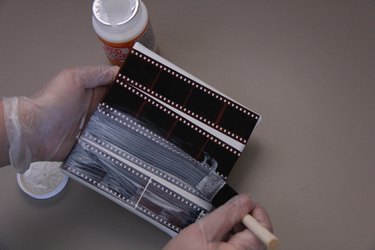
Apply a second layer of Mod Podge after the first layer dries completely if you desire. You might desire a second layer if the first layer is not thick or glossy enough.
Video of the Day