Things You'll Need
Tin can
Steel wool
Spray paint
Face mask
Acrylic paint
Paintbrush
Stencils
Tape
Stencil brush
Paper towels
Paint markers
Clear acrylic spray sealer

Recycle and paint tin cans to use as organizing containers, candle holders, gift containers or holiday decorations. Once painted, they can be used inside or out. Coffee cans, vegetable cans and soup cans offer a wide range of sizes for most any purpose, and many basic painting techniques can be employed on them. Painting tin cans is a simple art activity that can be successfully accomplished by children while teaching them the importance of recycling.
Step 1

Soak the tin can in warm water to remove the label and glue. Scrub the can with steel wool to rough up the surface and give it a tooth to better accept paint.
Video of the Day
Step 2

Spray paint the outside surface of the can with a white or neutral colored paint. This will serve as a primer. Allow the primer to thoroughly dry.
Step 3

Base coat the outside surface of the can using an acrylic paint color of your choice. This is the background to your design. Allow the paint to thoroughly dry and repeat for complete coverage if needed.
Step 4
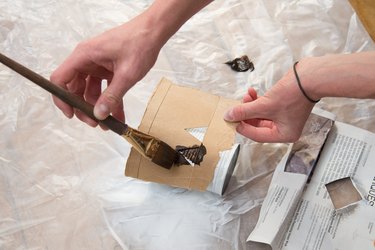
Arrange small stencils on the can and tape to hold. Dip a stencil brush into acrylic paint, and dab off most of the paint into a paper towel. This will prevent excess paint from seeping under your stencil design. Pounce the brush over the stencil design. Reapply more paint if needed. Remove the stencil.
Step 5
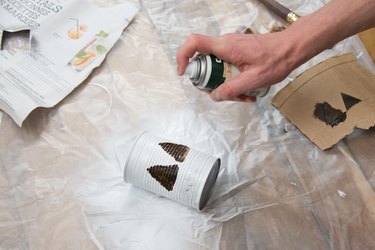
Outline the stencil design and add lines and dots to the can's surface with paint markers if desired. Spray the painted surface of the can with clear acrylic sealer to protect the finish.
Tip
Drill holes below the rim to add a wire handle. Tie raffia to the handle for embellishment.
Glue buttons, charms or sequins to your painted design for embellishment.
Place colored tissue paper in the cans for gift presentation.
Warning
Wear a face mask and work outdoors, weather permitting, when using spray paint to avoid fumes.
Video of the Day