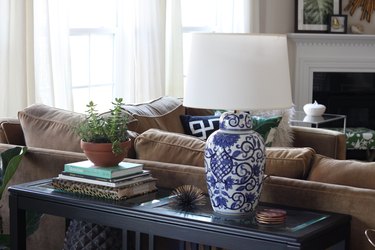
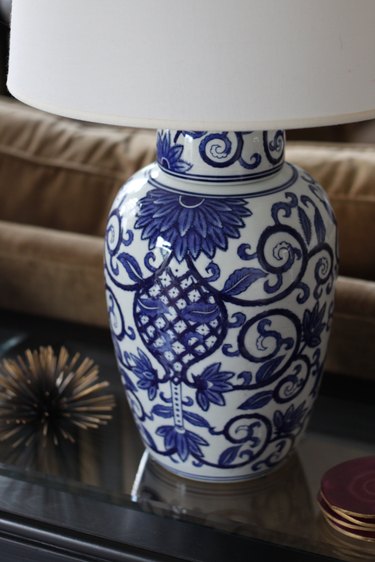
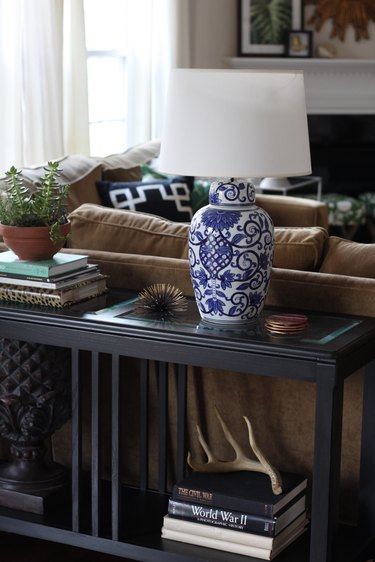
An ordinary ceramic vase or jar, such as a ginger jar, can easily be transformed into a beautiful lamp in just a few steps. All you need is an afternoon and some basic supplies and you'll be on your way to creating a unique light for your home. A lamp kit means no wiring or electrical knowledge is needed.
Video of the Day
Things You'll Need
Drill
1/2-inch diamond drill bit
Spray bottle with water
Lamp kit
Phillips-head screwdriver
Lampshade
Tip
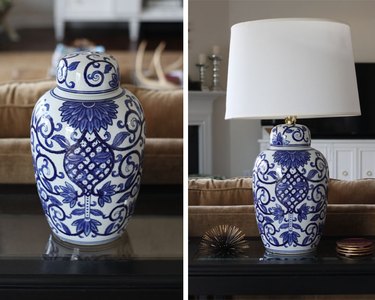
Choose a vase with an opening at the top that's wider than the base to ensure stability when you turn it over. Your lamp will be your vase upside-down, if it doesn't have a lid like the jar pictured.
Step 1
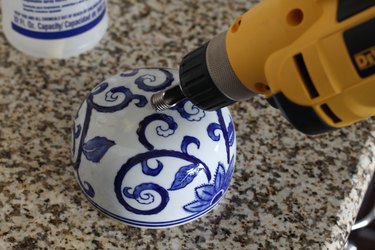
Turn your vase upside down. Start drilling a hole in the center of the base. A ceramic ginger jar was used for this project, so the hole was drilled in the center of the lid. It is best to start drilling the hole at an angle to create a groove. Otherwise your drill bit may slide around and make it difficult to get the hole started. You will want to spray the surface with water before you start and keep spraying it as you are drilling. This will prevent the surface from getting too hot and ruining the drill bit. A glass vase could also be used for this project.
Video of the Day
Step 2
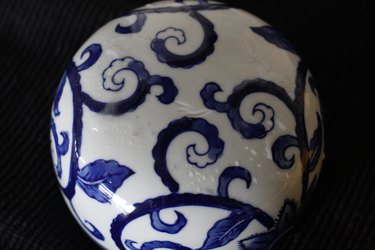
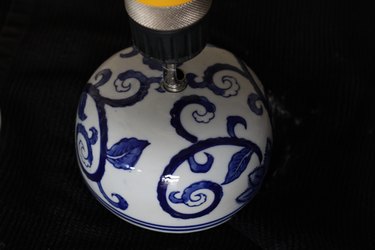
After you've created a little notch in the ceramic, with the drill running, gradually move the drill to an upright position, perpendicular to the lid. Keep drilling until the bit goes all the way through the ceramic, continuously spraying the surface with water as you go. It's best to apply slow and steady, even pressure. It took about five minutes to drill through the top of this lid. If in doubt, go slower.
Step 3
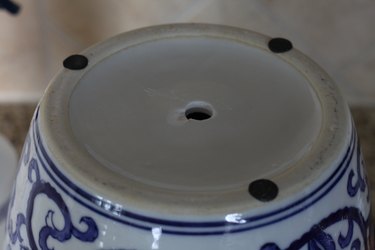
Repeat the same process by drilling a hole in either the side or bottom of the vase. If the bottom of your vase sits flush against a flat surface, it's best to drill through the side so the cord won't make it sit unevenly.
Step 4
Now it's time to insert the lamp kit. Thread the nipple through the hole you created in the base of the vase. If you are using a ginger jar, it will be the hole you created in the lid. Screw the washer onto the bottom to keep it from slipping all the way through the hole.
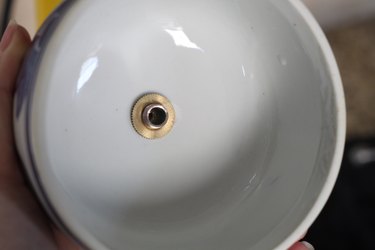
Step 5
Place the harp base on the top portion of the nipple and then screw the socket cap on the top. You may also need to tighten the washer on the bottom portion.
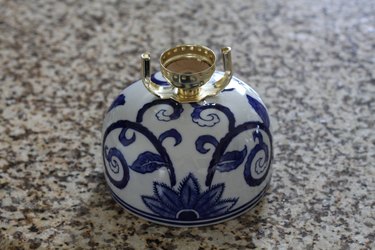
Step 6
Thread the wire through the hole in the side of the vase and then through the nipple and socket cap. If you are using a ginger jar, like this one, thread the wire through the base of the jar, then through the nipple and socket cap.
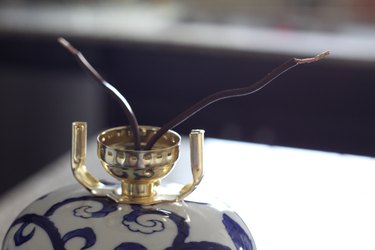
Step 7
Tie the wire in an underwriter's knot.
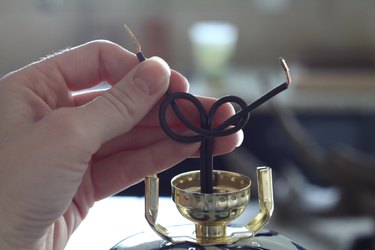
Step 8
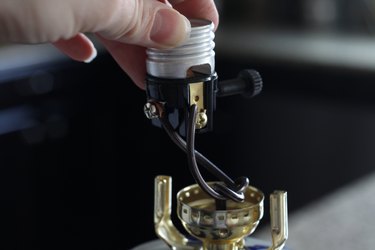
Loosen the screws on the socket with a screwdriver. Wrap your wires around the screws and then tighten them with the screwdriver.
Step 9
Slide the socket shell over the top to hold everything in place. You should hear it click. Then attach your harp and lampshade. A good rule of thumb when choosing a lampshade, is to make sure the diameter of the bottom of the shade is no larger than the height of the lamp base.
