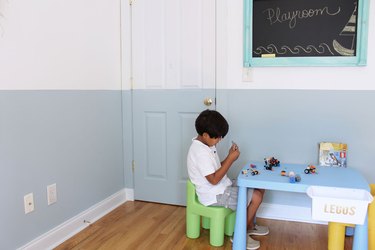
Don't overlook interior doors when personalizing a room. Not only can you freshen up dingy doors with a new coat of paint, you can also paint them in a fun color or pattern for a little something extra.
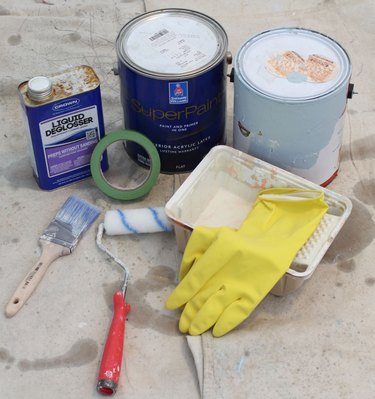
Things You'll Need
Drop cloth
Rubber gloves
Rag or old T-shirt
Liquid deglosser
Screwdriver
Painter's tape
Level
Pencil
Paintbrush and/or roller
Interior latex paint
Hooks (optional)
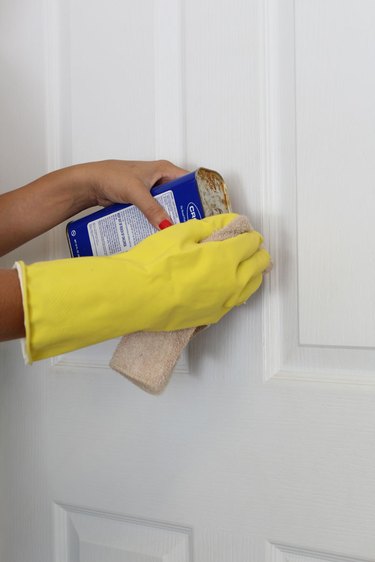
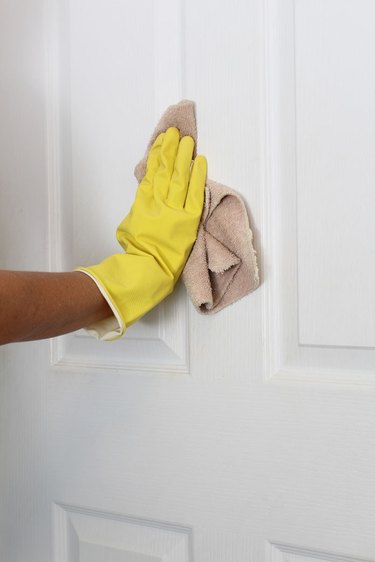
Step 1: Clean the Door
Lay the drop cloth under the door to catch any drips and put on your rubber gloves. Saturate a section of an old rag or T-shirt with the liquid deglosser. Rub the deglosser into the door until you've cleaned the entire door. This will remove all dirt and dust so that the paint will adhere better. Allow the door to dry before painting.
Video of the Day
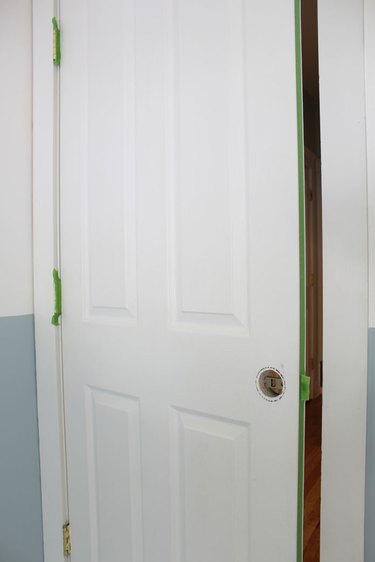
Step 2: Remove the Door Knob
Unscrew the door knob with a screwdriver and place it to the side.
Step 3: Tape Around the Hinges and Edges
Apply painter's tape around the hinges, the edge of the door and anywhere you will not be painting.
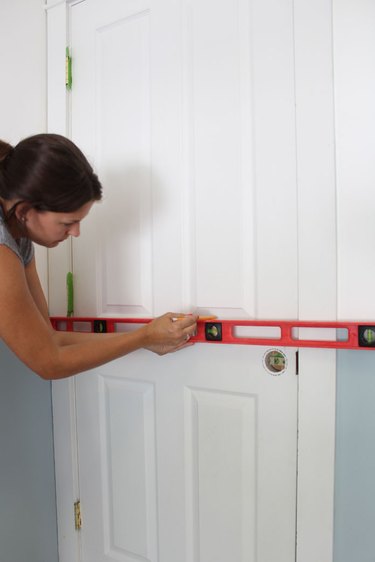
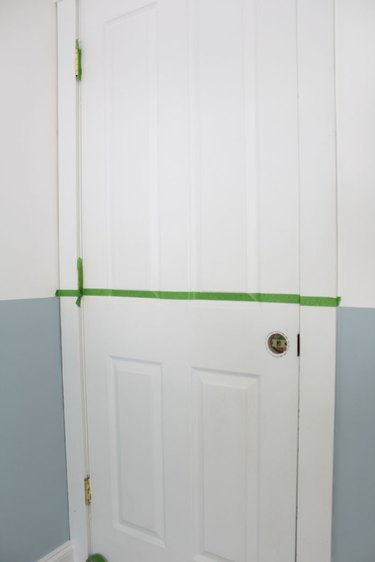
Step 4: Measure and Tape Off Your Pattern
This color-block pattern is an easy way to create a bold look in any room. Using a level, mark where your tape will go. Place the tape just slightly above your pencil mark.
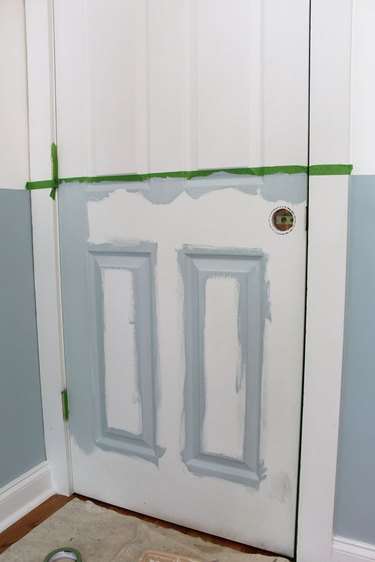
Step 5: Paint the Panels and Edges
With a paintbrush made for interior latex paints, start painting the raised panels first. Next, apply the paint onto the edges of the door and over the edge of the painter's tape.
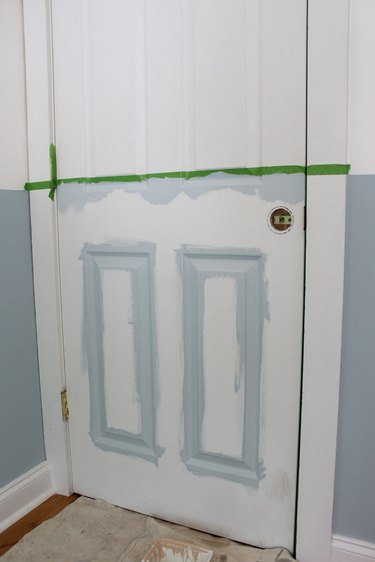
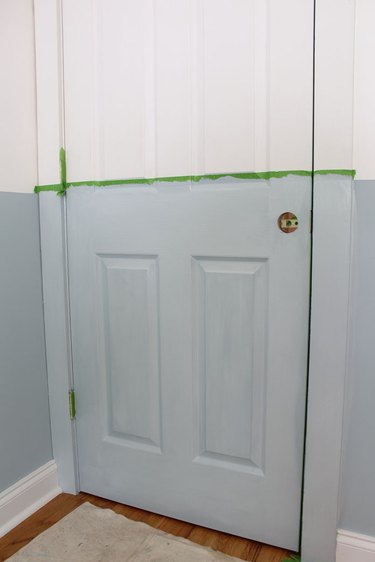
Step 6: Fill in the Rest
Use your paintbrush or a 4-inch paint roller to fill in the rest of the door between the panels and the edges.
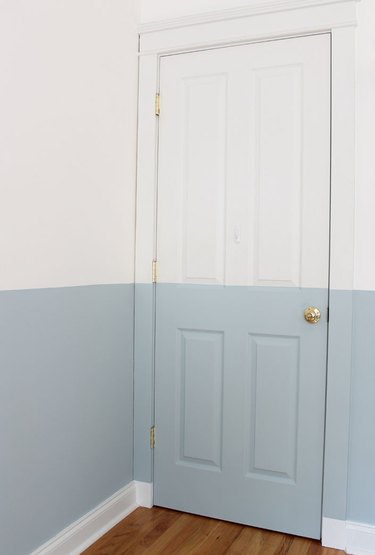
Step 7: Remove the Tape and Attach the Door Knob
Remove the painter's tape before your paint is completely dry for a crisp edge. Once the door is fully dry reattach the door knob.
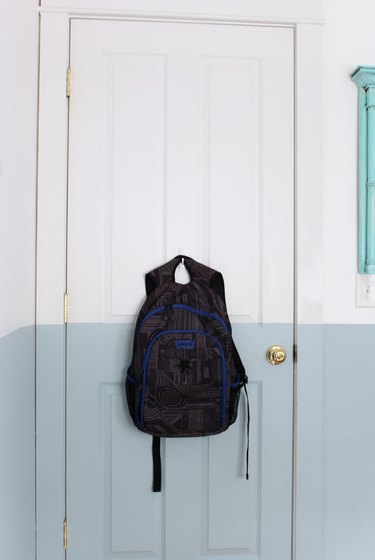
Step 8: Finish It Off
Hooks can be added to the back of your finished door for extra storage space.
Video of the Day