Things You'll Need
Bucket with water
Rose seeds
Container flat
Soil
Peat moss
Sand
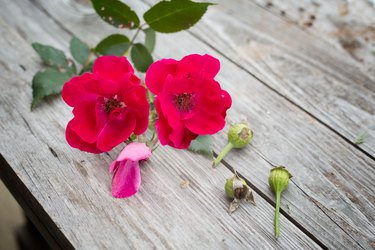
When adding roses (Rosa spp.) to the garden, landscapers and homeowners typically plant rose bushes they've purchased at the nursery or through suppliers. Not all roses flourish in all zones, but with more than 14,000 varieties of registered roses, there is a rose for any temperate area of the world. Depending on the variety, roses are hardy in U.S. Department of Agriculture plant hardiness zones 3 through 9. Starting roses by seeds isn't an option most novice gardeners would consider. But for those who are adventurous or interested in experimenting in hybridizing roses, planting roses by seed is a rewarding challenge. The process can be time consuming and is not the option for the gardener who wants roses in full bloom by the next spring.
Step 1
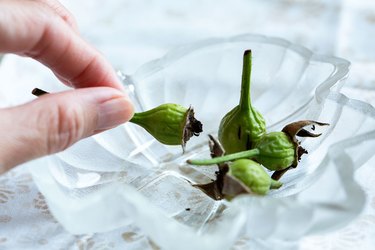
Collect seeds for planting. One way to get seeds is to collect them from established rose bushes. Leave pollinated roses on the bush and allow them to go to seed before harvesting. Rose seeds develop in the hip, the berry-like fruit that grows where the rose was. Gather the rose hips and remove the seeds with a sharp knife, discarding the outer shell of the hip and any fibers from the hip.
Video of the Day
Step 2

Test the seeds before planting. Put the seeds in water and discard the seeds that float. Floating seeds usually are not viable. The plump, heavier seeds that sink in the water have a better chance of survival.
Step 3
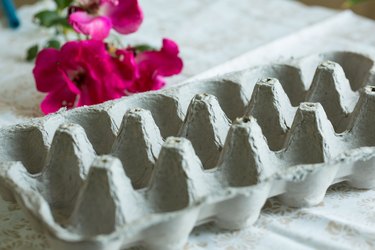
Buy a germination flat that fits on a shelf in your refrigerator. Your gardening center may have suitable flats, or you can use a deep rectangular baking dish or a clean egg carton.
Step 4
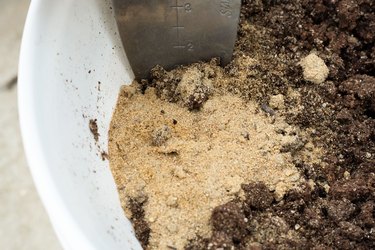
Mix equal parts of sterile sand, soil and peat moss. Your gardening center may have a commercial potting mixture specifically made for starting seeds.
Step 5
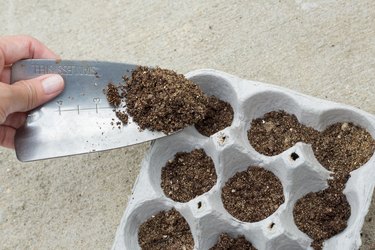
Disinfect the flat by rinsing it with a 10 percent bleach solution, then rinsing it in clear water. Fill the flat with the sand, soil and peat moss mixture.
Step 6
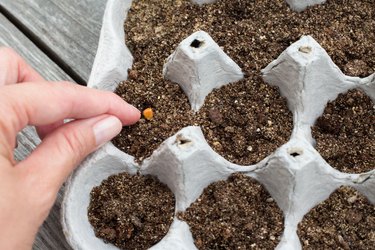
Plant each rose seed 1/4-inch deep, spacing the seeds 1 inch apart in rows about 2 inches apart, or plant one seed in each section of the egg carton. Cover the planting tray lightly with plastic wrap, or close the egg carton lid.
Step 7
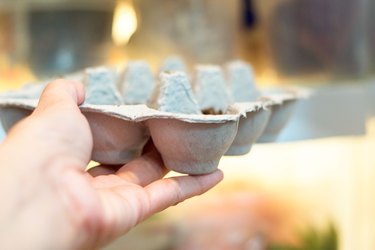
Place the flat in the refrigerator; the desired temperature is about 40 degrees Fahrenheit. Keep the flat in the refrigerator for six to eight weeks to stratify, or chill, the seeds. Stratification simulates winter, and is necessary for germination.
Step 8
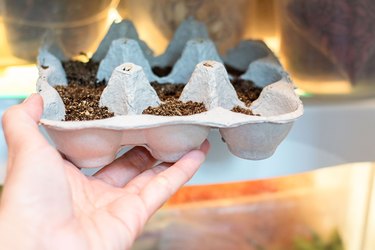
Remove the flat of seedlings from the refrigerator when germination begins, and place it in a sunny window where the air temperature is between 65 to 70 degrees F. Water lightly. The soil should be moist but not soggy, and it should never be completely dry. The seeds should germinate within a few weeks, but germination can be sporadic and may take longer. Transplant the heartiest of seedlings into small, individual pots when the first true rose leaves appear. Transplant to the garden the following spring.
Tip
To stratify the seeds you can also fold a layer of rose seeds in a moist paper towel, then place the towel in a plastic zipper bag in the refrigerator. Check the seeds periodically, and as they germinate, plant each seed in a small pot of sterile medium. Place the pots in bright light at room temperature.
Watch for damping off, a common disease that affects seedling stems. Treat damping-off by lightly dusting the soil surface with a copper-based fungicide.
Make a 10 percent bleach solution by mixing one part bleach with nine parts water.
Video of the Day