New grills oftentimes come with pre-seasoned grates, however, for those looking to care for an old favorite or cast-iron grates with build-up of cooked-on drippings, follow these simple steps to completely re-season or maintain the regular care of your BBQ grill. Seasoning grill grates is not only a good way to care for and prolong the life your your grill, but ensures the food you're cooking is free from carcinogens and at its tastiest every single time.

Video of the Day
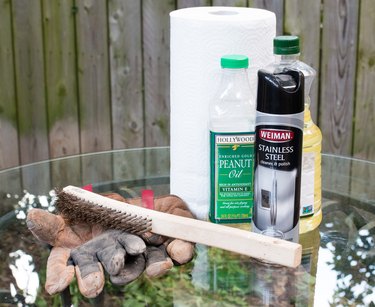
Things You'll Need
Work gloves
Wire brush
High heat cooking oil, such as peanut or canola
Paper towels
Kitchen tongs
Stainless steel cleaner (optional)
Seasoning Your Grill
Step 1: Prepare the Grill
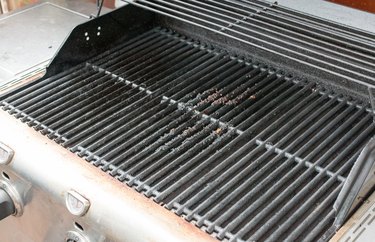
When approaching a full re-seasoning of your BBQ grill, first make sure the entire structure is cooled from heat. It's best to wait 12 hours from use and if seasoning a gas grill, it's best to turn off the gas and completely remove the propane tank from the body of the grill while working on it (safety first!).
Video of the Day
Step 2: Clean the Grates
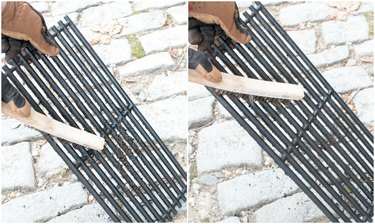
Remove the grates from the grill and one at a time, slough away the cooked-on drippings from each side by running over the metal with a wire brush, applying pressure in tougher areas as needed. Hold the grates over a trash bin or bag if you have access to one nearby, otherwise dispose of any remnants after scraping the grates clean.
Tip
If you’re grill has infrared technology, you’ll notice another layer of metal beneath the grates that most typical gas grills forgo. Use the wire brush to loosen and clear away any additional buildup in this area.
Step 3: Clean the Grill Exterior
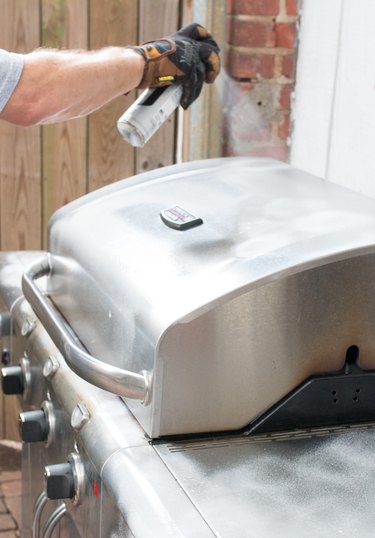
If you're planning to clean the outside of your grill, do so at this stage prior to returning the grates to avoid any harsh chemical sprays from reaching them. For stainless steel grills, follow the directions on a standard stainless cleaner, or use a soapy sponge with hot water on the exterior of non-stainless BBQ grills.
Step 4: Apply High Heat Oil
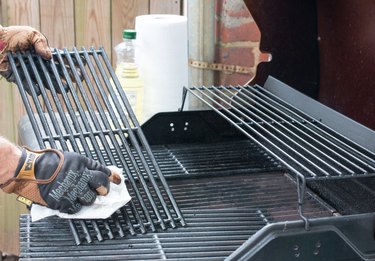
Once the grates are clean from buildup, generously wipe each side of the grates with a high heat oil (such as peanut or canola oil) using a paper towel before laying them back into the grill.
Step 5: Heat the Grill
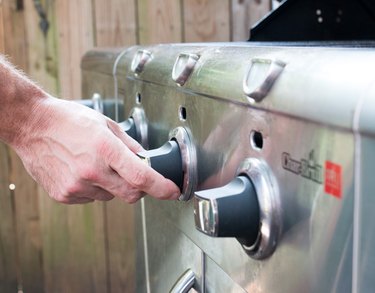
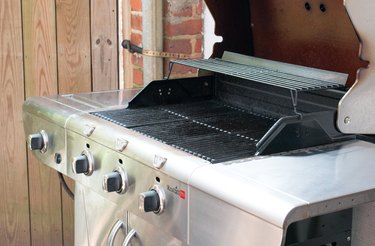
Return grates to their original position on the grill. Leave the grill top open, re-insert the propane tank, turn on the gas and light your grill per the manufacturer's instructions. Position temperature to medium high heat, close the grill cover and allow to set for 20 minutes before turning off.
Step 6: Re-Apply High Heat Oil
Wipe down the top of the grates with another coating of high heat oil, this time using a pair of kitchen tongs to grasp the towel to avoid exposure to the hot grates. At this stage, your grill has been properly seasoned and is ready for your next family gathering and backyard BBQ.
Tip
If you’re looking for a great excuse to fire it up, give this recipe for the perfectly grilled burger a look.
Regular Maintenance
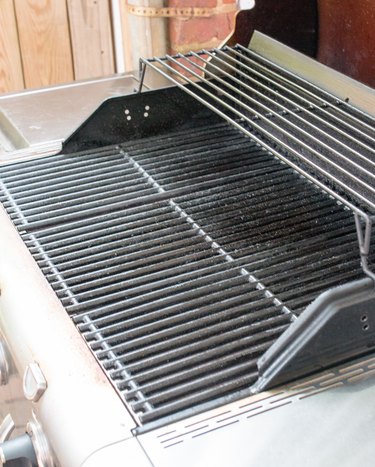
In lieu of fully re-seasoning your grill with each use, there are simple steps you can take to maintain and care for the condition of your grates. After each use, take a moment to run the wire brush quickly over the grates to clear away any immediate drippings. The heat in this case is helpful for removal when in smaller portions and in the moment. In the same step as above, use a pair of kitchen tongs and a paper towel to coat a layer of high heat oil over the cleaned grates before closing the grill top to cool.
Tip
If you don’t have a wire brush, aluminum foil can stand in as a worthy substitute.
Looking for more grilling season tips? Learn how to tackle the tough job of removing rust from a BBQ grill in this post.