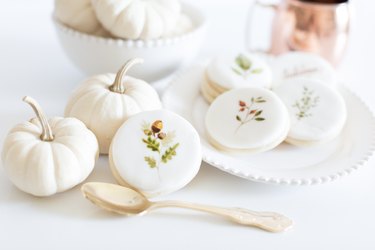
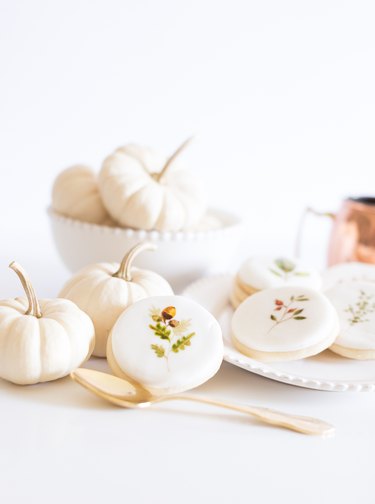
Take your humble sugar cookies to a whole new level using a technique that will enable you to customize your cookies for any occasion. Painting your baked goods is a sweet way to present dessert for any holiday, birthday or celebratory occasion.
Which Canvas to Choose?
There are two different ways to convert your sugar cookies into canvases.
Video of the Day
Video of the Day
- Place royal icing over them (allowing them to dry)
- Placing rolled fondant over the cookie
Both methods work similarly, however, the fondant takes less time to dry. For these cookies, we opted to use the fondant method.
Things You'll Need
Sugar cookie
Bowl of water, or clear vanilla extract
Royal icing
Fondant
Cookie cutter or glass
Rolling Pin
Parchment paper
Gel food coloring
New paint brushes
White icing
Plate to use as palette
Bake Your Cookies
Bake your favorite sugar cookie recipe and allow them to cool completely.
Tip
When making your cookies, omit the baking powder. Using baking powder causes the cookies to spread on the sheet, sometimes making them stick to each other. By omitting the baking powder, the cookies will keep their perfect circular shape as they cook.
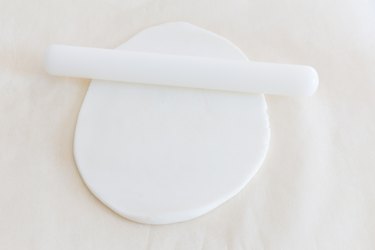
Step 1
While the cookies bake, roll your fondant over parchment paper to 1/8-inch thickness throughout.
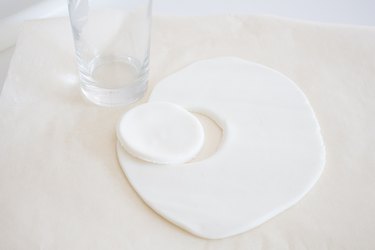
Step 2
Use the same shape cookie cutter you used to cut the cookie dough and cut through the fondant. In this case we simply used a glass to cut circles out of the fondant. Allow fondant to dry for 1 to 2 hours.
Step 3
Place a thin layer of icing over the cookie and cover with fondant.
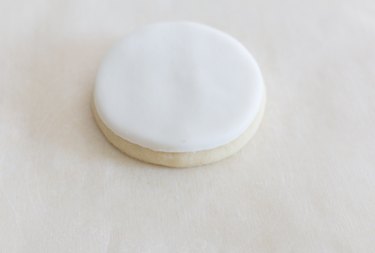
Step 4
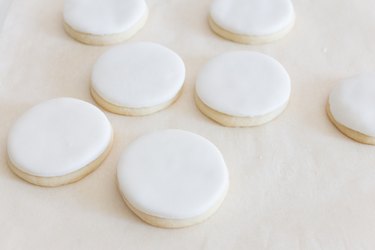
Continue doing this to all the cookies and gently rub the fondant with the palm of your hand over the cookie.
Step 5
Place gel food coloring on a plate and mix to your desired color by dipping your brush in water or in the clear vanilla.
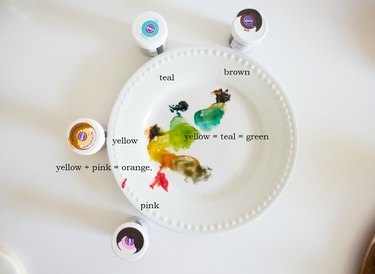
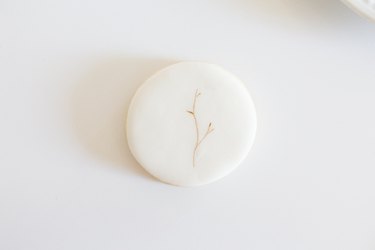
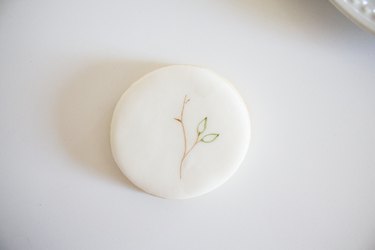
Step 6
Dip your unused brush in brown and paint a branch
Tip
Test your colors on a 'test' cookie or an extra piece of rolled fondant.
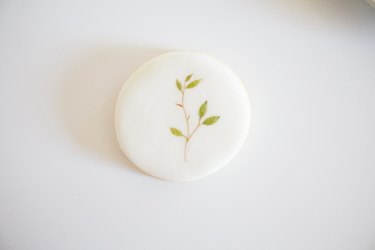
Step 7
Paint several leaves
And fill them in. You might find this tutorial on how to paint leaves helpful.
Step 8
Add some berries for more interest.

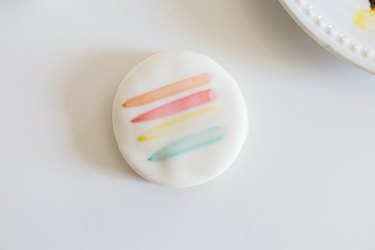
You can make the cookies as intricate as you wish or use simple strokes.
You can also write a message on them to compliment the occasion. Have fun experimenting with the various colors. Happy baking !