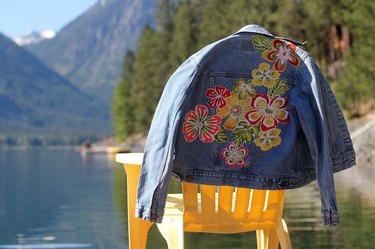
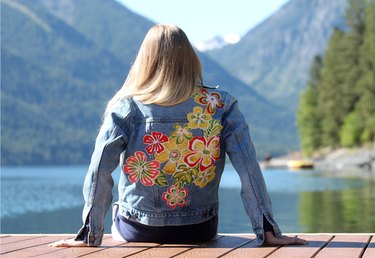
Ever since cowboys and miners rocked jean jackets back in the 1800s, the cover-up has evolved from a durable fabric to a dynamic fashion statement. It's been bleached, distressed, dyed and frayed. It's been layered over everything from a simple t-shirt to a floor-length dress. And now, this all-American wardrobe staple is a canvas for yet another trend: bold over-the-shoulder designs. Customize your favorite layer with a bright floral fabric on the back — all it takes is an iron-on adhesive and a handful of pins. It's a confident finish to clothing that's always had a bit of attitude, and when you wear yours, you'll feel even more casually cool.
Video of the Day
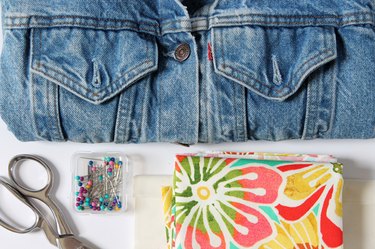
Things You'll Need
Jean jacket
1/2 yard floral print fabric
Iron-on adhesive
Iron and ironing board
Sharp scissors
Straight pins
Step 1: Press the Iron-On Adhesive to the Back of the Fabric
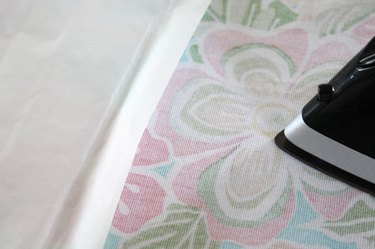
Place the iron-on adhesive onto the back of the floral fabric with the paper liner facing up. Be sure to cover the area you'd like to cut out and use on the back of the jacket. Preheat your iron to a medium heat setting with no steam. Place and hold the iron on the paper liner for 2 seconds. Continue until the entire surface is bonded.
Video of the Day
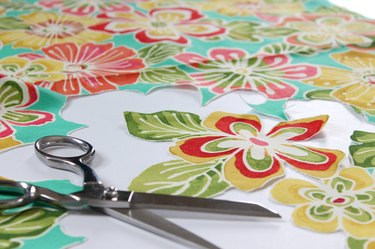
Step 2: Cut Out the Desired Floral Print
Use sharp scissors to cut out your desired floral pattern from the fabric.
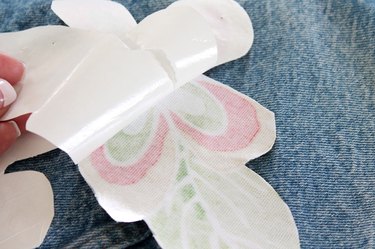
Step 3: Peel the Paper Lining From the Iron-on Adhesive
Peel the paper lining from the back of the iron-on adhesive. You will notice that the back of your fabric will now have a shiny appearance, which is the adhesive.
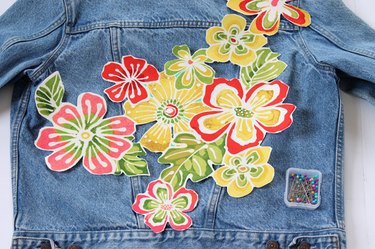
Step 4: Place the Floral Print Onto the Back of the Jean Jacket
Place the floral print with the adhesive side down onto the back of the jean jacket to determine the exact placement of the flowers.
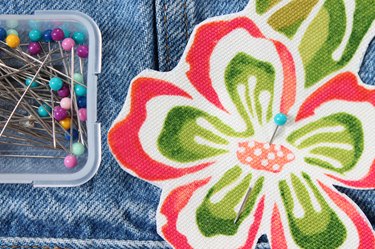
Step 5: Pin the Floral Print in Place
Use straight pins to secure the floral print in place.
Step 6: Use an Iron to Adhere the Floral Print
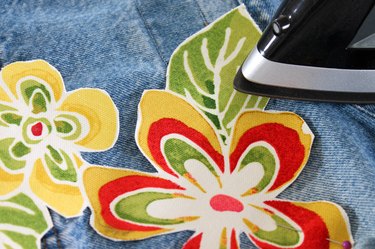
Press and hold the iron on the floral print for about 8 seconds, or until the entire piece is bonded to the back of the jacket. Be sure to remove the pins before you press.
Step 7: Throw the Jacket On
And there you go! Your durable denim has never looked so decorative.
