Things You'll Need
Fabric project
Mini-iron
Fusible bias tape

Fusible bias tape makes it easy to create intricate designs on your sewing crafts without cutting, planning and pinning the fabric down. You simply iron the bias tape to your fabric and finish it off with decorative stitches. Work slowly when using iron-on bias tape, so that you can be sure that you don't make mistakes. However, if you do make a small mistake, you might be able to fix it by removing the piece and re-ironing.
Step 1
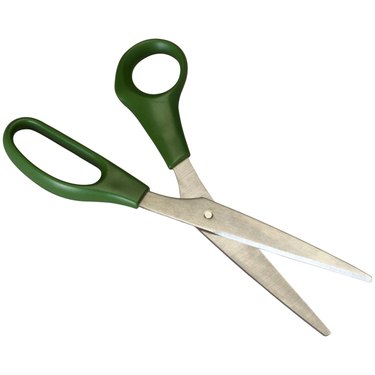
Cut a length of bias tape. It should be long enough for your project without having to cut another piece.
Video of the Day
Step 2
Remove the backing from the bias tape. The paper backing helps prevents the tape from sticking to fabric too soon. If the tape is longer than 18 inches, you might want to remove a little bit of the backing at a time.
Step 3
Place the bias tape on your fabric in the desired pattern. Use the mini-iron to slowly attach the tape to the fabric. Follow your iron's instructions for heat settings based on the fabric that you are using. For example, you can use a high setting on cotton fabrics but will need a lower setting for silks. You should be using dry heat, not steam.
Step 4
Finish the pattern with stitches. While fusible bias tape will adhere to your fabric, it is not a permanent solution. Be sure to secure it with stitches--either by hand or by machine.
Tip
Purchase a fusible bias tape maker if you plan on doing many projects with iron-on bias tape. It allows you to create your own fusible bias tape, which will save you money over time.
Video of the Day