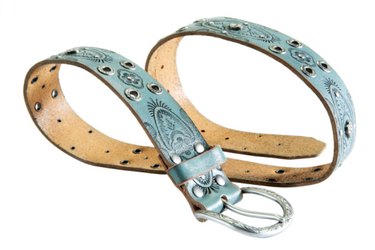
Things You'll Need
Sponge
Soft brush
Clean cloth or sheep's wool

Tooled leather is often colored and highlighted with dyes and paints to show off the etches and stamped designs. The colors are vulnerable to fading and wear with use of the item. A leather sealer helps protect the colors and keep them looking as bright as the moment they dried on the leather. The sealer also protects leather from moisture and wear. Applying leather sealer is the very last task in crafting a piece of fine leather.
Step 1
Allow the dyes and any paints to dry for the recommended time. Some paints need 24 hours of curing before applying your chosen brand of leather sealer. (see Resources)
Video of the Day
Step 2
Shake the bottle of sealer, or open it and stir well. Apply the sealer to a small inconspicuous section of the leather with a soft brush to see if it changes the color before using it all over.
Step 3
Apply the sealer over the entire piece. Work the brush over the tooled surface in circles while applying leather sealer to every cut etch and over all the edges. Clean the brush or applicator immediately with soapy water.
Step 4
Allow the first coat to cure for at least 3 hours. Touch the sealed leather to be certain it's not tacky, but completely dry. Apply a second coat using the same method. Use sealer for protecting leather and its dyes and paints by applying it to the entire smooth grain side. Cover all edges with sealer, but leave the coarse suede side of the leather sealer free. Clean the sponge applicator or brush.
Step 5
Cure the second coat for at least 3 hours and check to see that it's dry to touch. Apply a third coat if desired and dry it to the touch. Buff the sealed side of the leather with a clean cloth or sheep's wool once the final coat is dry. Polish it to a high-gloss shine. Clean the cloth or wool buffer with soap and water.
Video of the Day