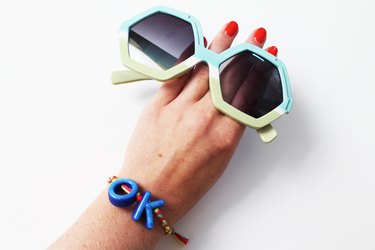
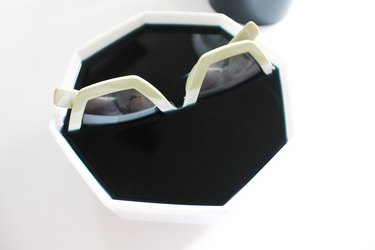
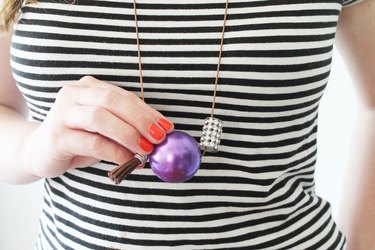
Dyeing isn't just for fabric anymore -- with Rit Dye's new "DyeMore" line, formulated for synthetics, you can stretch its application to plastic and acrylic! Experiment dyeing with buttons, beads and bangles that you have lying around the house, or take a trip to the dollar store for plastic clothespins or sunglasses.
Things You'll Need
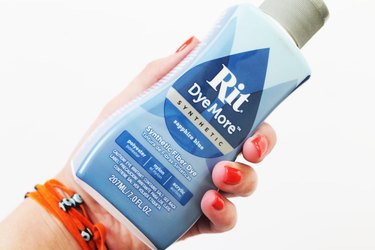
Rit DyeMore for synthetics
Slotted spoon
Paper towels
Plastic containers
Metal pan
Gloves
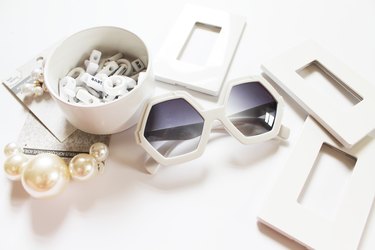
Plastic items for dyeing
Video of the Day
Dye can stain hands, clothing and surfaces, so be sure to adequately cover your workspace and wear gloves.
Video of the Day
Warning
Results may vary as many plastic surfaces are sealed or impervious to dye. Plastics with a matte porous finish are dyed easily, while shiny plastics are more difficult to dye even using a stove-top method. Do not attempt this project with items you aren't willing to experiment with.
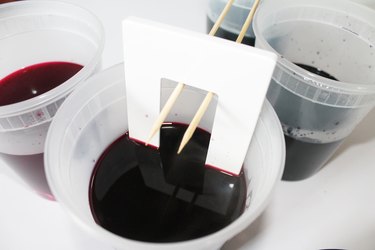
Step 1: Dip Dye Method
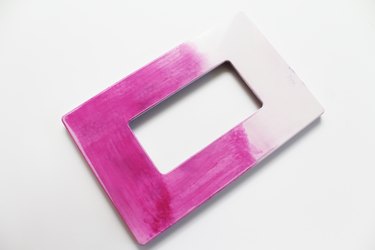
Mix liquid Rit DyeMore according to instructions on bottle, or pour directly into your plastic dyeing containers for deeper colors. Submerge plastic items into the dye bath checking every 10 minutes until desired color is reached. Rinse under cold water and sit aside to dry. If you find your items are not changing color you may want to attempt dyeing them with a stove top method.
Tip
Dye an item multiple colors by submerging it in shallow dye baths.
Step 2: Stove Top Method
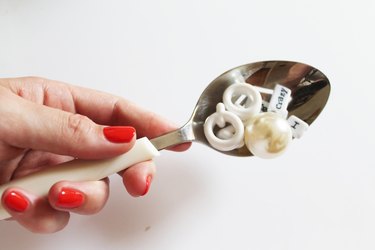
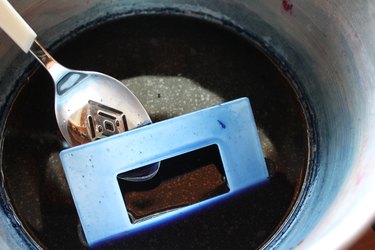
For items that take on little or no color, you may find adding a heat source encourages some plastics to absorb the dye more easily. In a medium saucepan used exclusively for crafts or dyeing pour in liquid dye and bring to a rolling boil. Reduce to a simmer and submerge plastic items into the dye bath with a slotted spoon, stirring constantly and removing items regularly to check on their coloration.
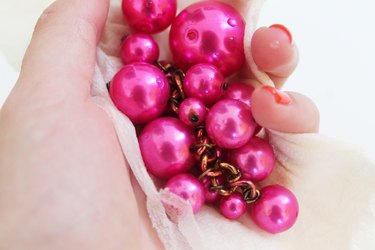
When the desired color is reached, carefully remove the items with a slotted spoon and let cool before rinsing under cold water. Sit aside to dry.
Tip
Try mixing dye colors to maximize the shades you can dye without buying individual bottles -- like fuchsia and blue to make violet.
Tip
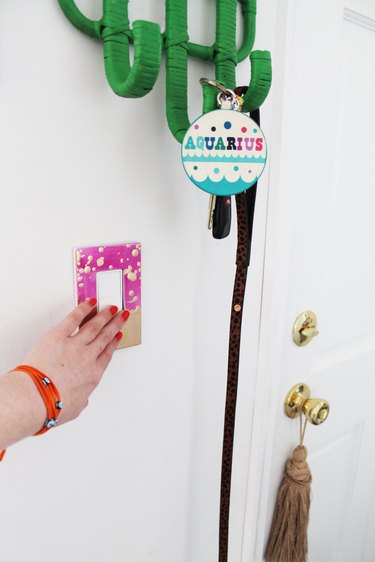
Didn't get the finished product you were hoping for? A little metallic paint can complete the unfinished look of an inconsistenly dyed project-- simply splatter it on or paint chic stripes.
Have you had success dyeing plastic before? Share dye-able items for us to try in the comments section below.