Things You'll Need
Measuring tape
Shrinky Dinks plastic
Scissors
Rubber stamp
Ink pad
Wax paper
Toaster oven
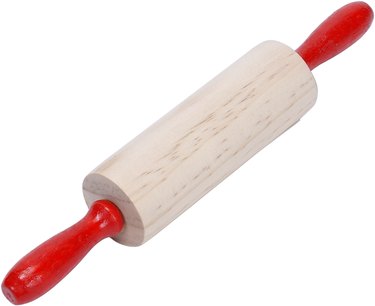
Rolling pin
Sandpaper

If you love the look of plastic cuff bracelets but you can't find any in the stores that you really like, you can try making some yourself out of shrinkable plastic. You will need some special shrinkable plastic like Shrinky Dinks that you can bake in a conventional oven or toaster oven and a few other items that you probably already have around your home. This is a fun project for adults and children to do together.
Step 1
Measure the width around your knuckles (the widest point of your hand) and cut a strip of Shrinky Dinks plastic with scissors to about 3 inches wide and and three times the length that you measured, minus 1 inch. This missing inch is the gap that will be between the two ends of your cuff bracelet to make it easier to fit over your hand. The Shrinky Dinks will shrink down to 1/3 of the size when heat is applied.
Video of the Day
Step 2
Cut rounded edges on all four corners of the strip of plastic so you won't have corners poking you while you are wearing the cuff bracelet. Use a rubber stamp and an ink pad to make designs on the plastic, or draw designs with a permanent marker. Color it with colored pencils if you want.
Step 3
Place the plastic strip on wax paper and stick it in a toaster oven. Bake it for the amount of time and temperature indicated on the Shrinky Dinks package. The plastic will curl as it is baking, but it will become flat once again when it is done shrinking. It will be thicker and stronger as well as smaller. Have a rolling pin on hand for when the plastic is done shrinking.
Step 4
Remove the wax paper with the shrunken plastic on it from the toaster oven and bend it around the rolling pin to make it round. Work quickly before it cools and hardens (you have about 10 seconds). You can wear an oven mitt so you won't get burned, but the plastic cools so quickly that you should be able to handle it. After you have it molded around the rolling pin, slip it off and flatten it just slightly (you wrist is not perfectly round) so that the 1-inch gap is open at the bottom.
Step 5
Sand the edges down with sandpaper to make them more rounded and smooth so the cuff bracelet is more comfortable to wear. Slip the bracelet over your hand when you are ready to wear it.
Video of the Day