When the temperature starts to drop, there's no better go-to accessory than a trusty flannel scarf. Providing both function and fashion, you can never have too many scarves to dress up your outfits and help keep you warm.
So, why not save some money and have some fun by making your own flannel scarves? Our simple sewing tutorial is so easy that anyone can do it — even a beginner! Fill your closet with these stylish plaid flannel scarves featuring attractive fringe and make a few extra to give to your loved ones as heartfelt handmade gifts.
Video of the Day

Things You'll Need
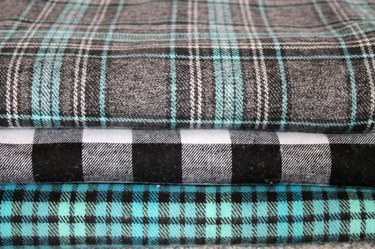
2 yards woven flannel fabric
Measuring tape
Sharp scissors
Seam ripper
Pins
Sewing machine
Tip
If you are ordering your fabric online, be sure that the product you purchase does not have white backing so that you can wear your scarf folded and twisted in any way you'd like.
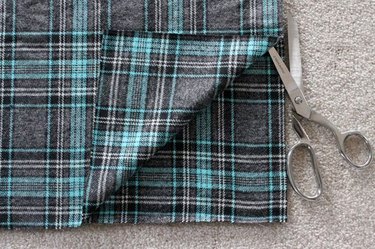
1. Cut the fabric
To make two full scarves, cut the 2-yard piece of flannel in half lengthwise so that you end up with two 22 1/2 x 72-inch pieces of fabric.
To make four narrower scarves, cut your fabric lengthwise again so you have four pieces of flannel that are 11 1/4 x 72 inches.
2. Pull out a thread
Use a seam ripper to pull one thread from the short side of the flannel.
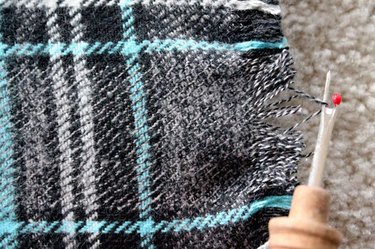
Then, pull the thread out with your fingers.
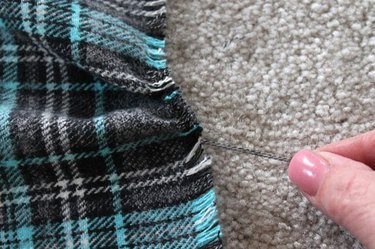
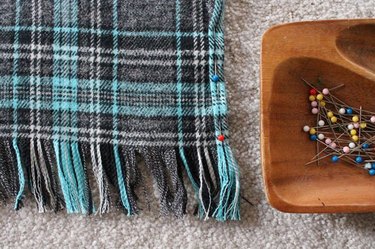
3. Create the fringe
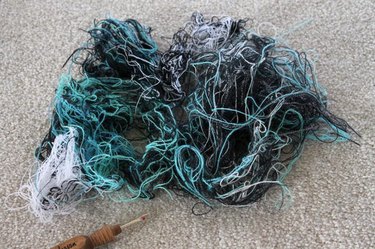
The next part takes a while, so put your feet up, get comfortable, and put on some of your favorite music. Continue pulling threads one at a time from the short ends of the flannel until you have created 2 inches of fringe.

If you're feeling super ambitious, you could fringe out all four sides of the fabric. This would look nice as well.
4. Fold, press, and pin
If you've created fringe only on the two short sides of the scarf, fold over 1/8 inch along both of the long, raw edges and press. Fold 1/8 inch over again, press, and pin.
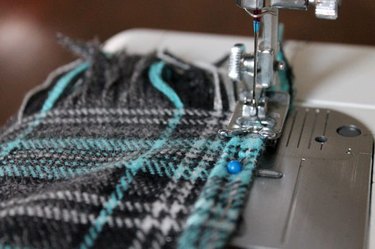
5. Sew the scarf
Sew along the pin lines, removing the pins as you sew.
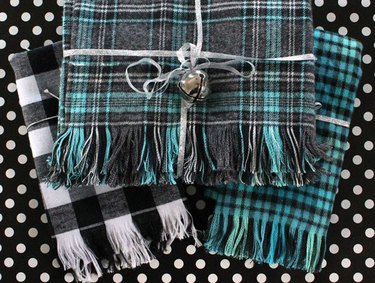
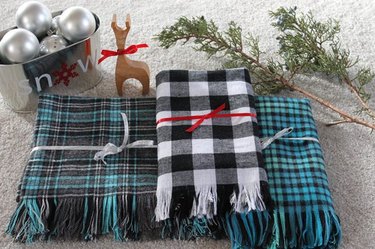
Fold it up and add a pretty ribbon if you'll be gifting the scarf.