Talk about a timeless fashion accessory. The beret has been around for many years and continues to be a staple in many wardrobes. This beret is a very simple DIY project that even a beginner can make in under an hour.


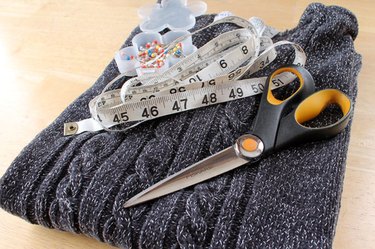
Things You'll Need
Old sweater
Sharp scissors
Tape measure
Pins
Step 1
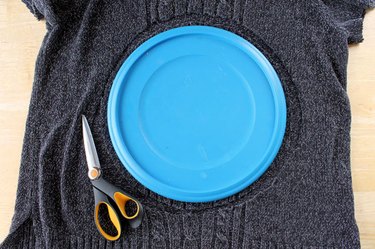
I used a plastic lid that has an 11 1/2 inch diameter for my pattern. Cut around the lid adding a 1/2 inch for a seam allowance.
Video of the Day
Step 2
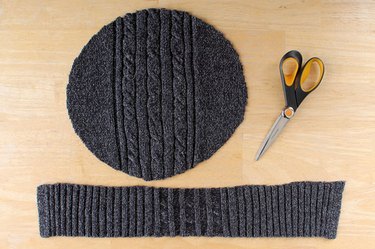
Cut 4 inches off the bottom of the sweater. Measure around your head and cut the strip to the same length minus 2 inches.
Step 3
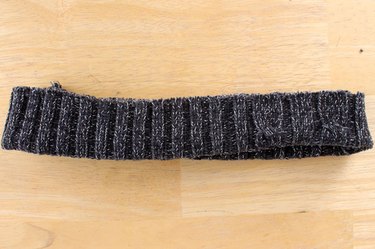
Fold the strip in half widthwise, right sides together, pin the edges and sew leaving a 1/2 inch seam allowance.
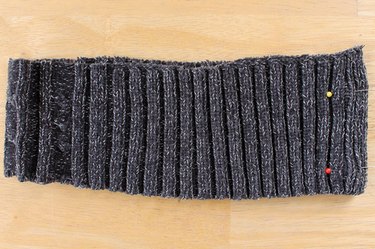
Now fold it in half lengthwise. This piece will become the headband of the beret.
Step 4
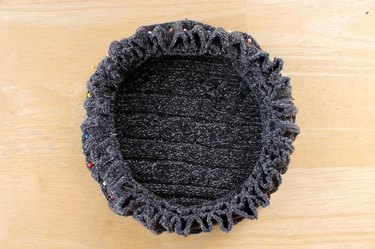
Place the headband in the center and on top of the right side of the circle you cut from the sweater. Bring up four sides of the circle and pin to the raw edges of the headband.
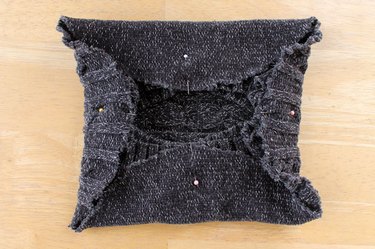
Now find the center between the pins and pin to the headband. Do this all around the circle piece.
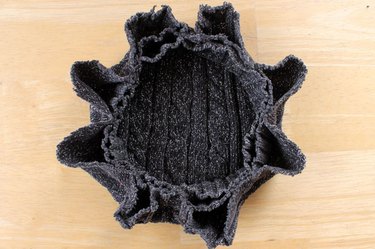
Find the center between the two pins again and pin in place. Repeat this all around the circle piece.
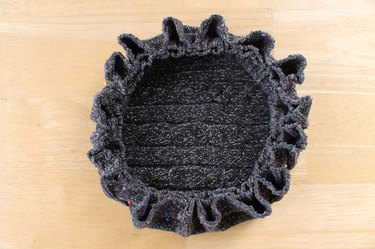
Find the center between each set of pins and pin again all around the circle piece. This will create an even gathering around your hat.
Step 5
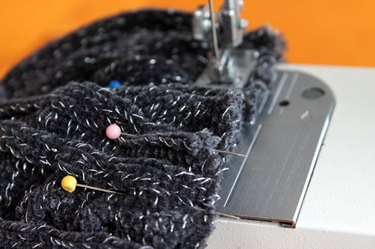
Sew a 1/2 seam around the pinned edge, be sure to move slowly as you sew to keep the gathers in place and to keep it from stretching too much.
Your beret will keep you warm for the rest of the winter and bring you into spring looking great.

Video of the Day