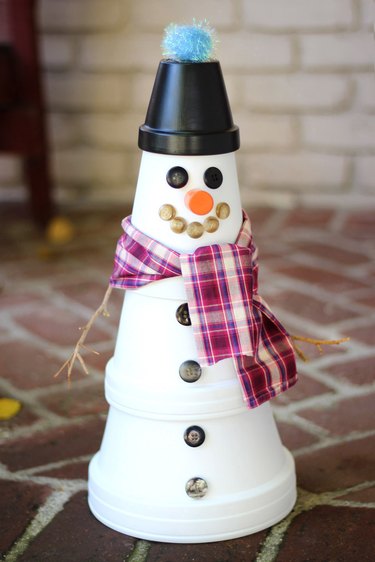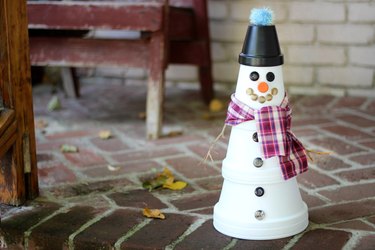
Look what the winter storm just blew in — a jovial snowman to bring cheer to you and your family throughout the season. Made of clay pots, it's a holiday decoration that looks perfect standing guard at the front porch or sitting inside on the mantel or by your fireplace. He'll be such a hit with everyone, the reception will be anything but frosty.
Video of the Day
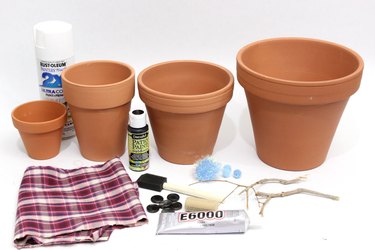
Things You'll Need
4 clay pots: 1 large, 1 medium, 1 small, 1 extra small
White spray paint
Paint brush
Black acrylic paint
All-purpose adhesive
Buttons
Cork
Orange acrylic paint
Twigs
Piece of fabric
Craft pom pom
1. Paint the pots
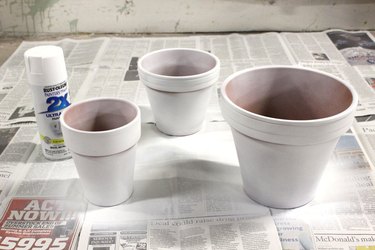
Wipe off the clay pots with a damp cloth to remove any dust or debris. Spray paint the exterior of the large, medium, and small pots white. (The diameters of the pots in this tutorial were 8, 6, and 4 1/2 inches.) You will need about three even coats to achieve a uniform white color. If you prefer not to use spray paint, you can apply white acrylic paint instead. Just be sure to select an acrylic paint that is weatherproof if you are planning on displaying the snowman outside.
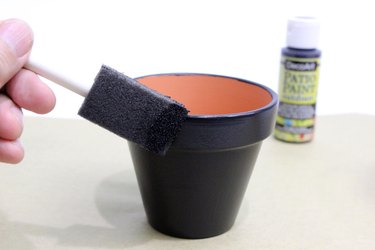
Paint the smallest clay pot with black weatherproof acrylic paint. The pot used here has a diameter of 3 1/2 inches.
2. Stack the white pots
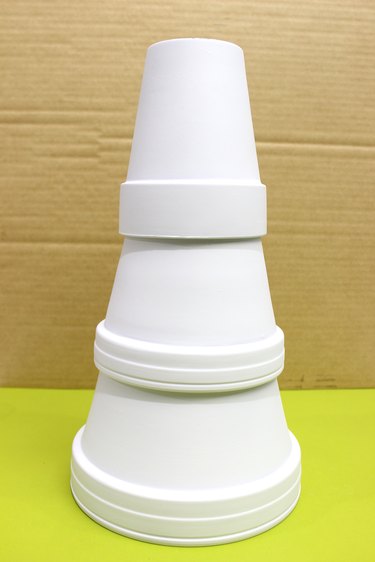
Place the largest clay pot upside down. Apply some adhesive around the edge of the clay pot's bottom (which is now facing up). Then nestle the medium-sized clay pot upside down on top of the large one. Apply adhesive to the edge of the medium pot's bottom, and fit the small pot on top of that.
Tip
If you want to be able to take this snowman apart at the end of the season for easier storage, you can skip the glue. You'll just have to be careful when moving it so that the clay pots don't topple.
3. Add the hat
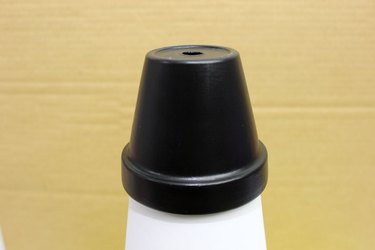
Place the black clay pot upside down on the stack of white pots. The black pot is the snowman's hat. Glue the hat in place.
4. Glue on the eyes
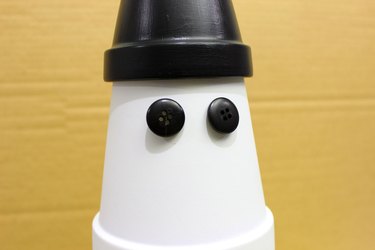
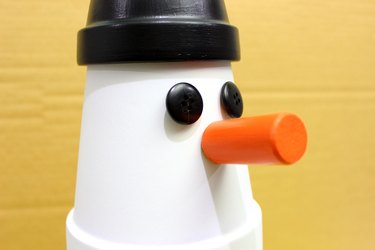
For the eyes, glue two large buttons right below the black rim of the hat.
5. Give it a nose
An old cork from a wine bottle makes the perfect nose. Clean it, allow it to dry, and then paint it with orange acrylic paint.
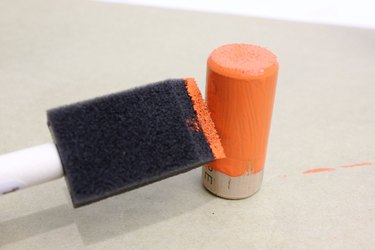
Glue the orange cork underneath the two eyes. Because of the size of the nose, it will want to move around, even with glue. Hold it in position with your fingers until the glue sets.
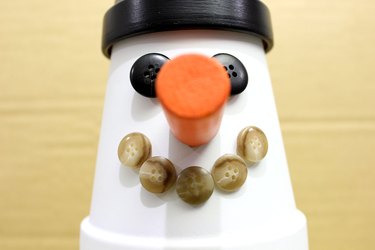
6. Make it smile
Form a smile by gluing smaller buttons underneath the nose in a curved pattern. You can also draw a smile with a black marker, but the buttons give it a fanciful flair.
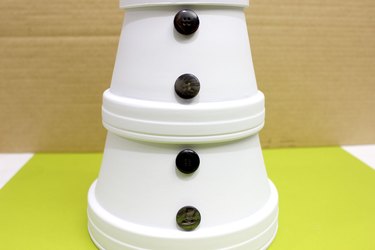
The snowman needs more buttons down the front of his body to give the suggestion of clothing. Evenly line up three to four buttons under the head and glue them in place.
8. Give it arms
For arms, use twigs that are 6 to 8 inches long. Choose twigs that have multiple offshoots at one end, so the snowman will appear to have fingers. Glue the twigs to the rim of the white clay pot on top. The rim acts like the snowman's shoulders.
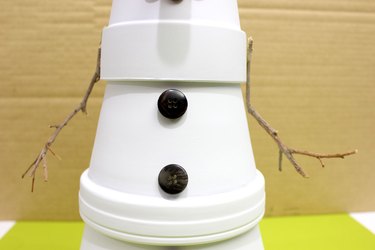
9. Wrap a scarf
Cut a piece of fabric that is about 6 inches wide and 30 inches long. Wrap it around the neck of the snowman. The scarf also helps keeps the twig arms locked in place.
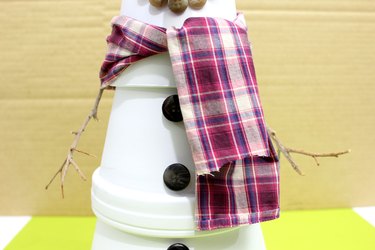
10. Top the hat
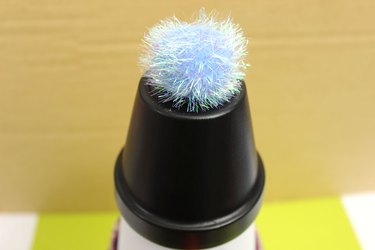
Glue a large craft pom pom to the top of the hat. Besides being oh-so-stylish, the pom pom hides the drainage hole in the clay pot.
This snowman won't melt, but it will melt your heart.
