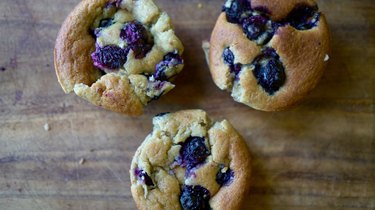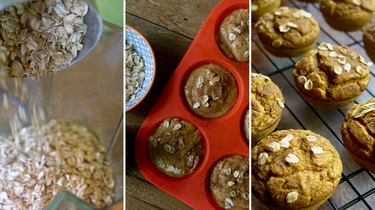
Do you like to make healthy, home-baked muffins but aren't so crazy about the cleanup? Give blender muffins a go. These types of recipes require less cleanup than traditional muffins, as the ingredients can be tossed into a blender to create an easily pourable batter. Simply fill your muffin cups, bake, and enjoy without destroying your diet or your kitchen!
Here, we feature two recipes that are free of both refined sugar and wheat. You can put your own spin on these recipes by easily customizing some of the ingredients, flavorings, and toppings/mix-ins. And, no, you won't be needing one of those high-end, super-powered blenders — any old one will do. So grab yours and get started!
Video of the Day
Video of the Day
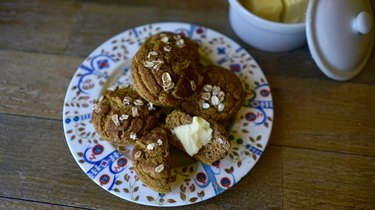
Pumpkin Maple Oat Flour Muffins
Things You'll Need
2 cups old fashioned or quick cooking rolled oats
1 1/2 teaspoons baking powder
1/2 teaspoon baking soda
1 cup pumpkin puree
2 eggs room temperature
1 cup plain yogurt
¼ cup maple syrup
¼ cup coconut sugar
1/2 teaspoon maple extract (or vanilla)
1/8 teaspoon salt
2 to 3 teaspoons pumpkin pie spice (depending on your flavor intensity preference)
Optional toppings: oats, cinnamon, nutmeg, cinnamon-coconut sugar blend, chopped nuts of your choice, chocolate chips, coconut flakes.
1. Blend ingredients
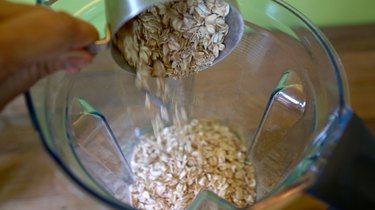
Preheat oven to 400°F. Pour oats into blender and blend into a fine to medium grind flour. This should take about a couple minutes.
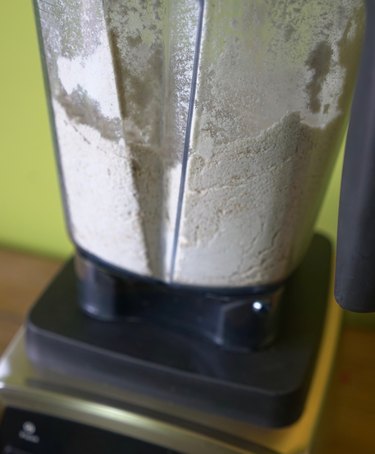
Add baking powder and baking soda and blend into the oat flour until well combined.
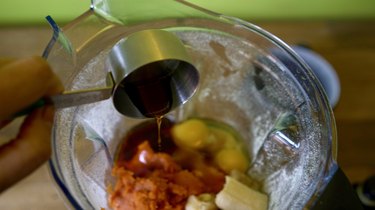
Add the rest of the ingredients and blend into a batter.
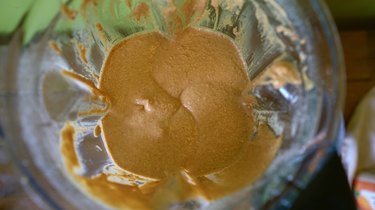
Scrape down the sides as needed to make sure all the wet ingredients are incorporated.
2. Fill muffin tin
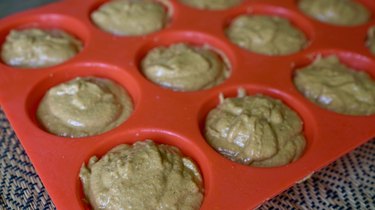
Coat a 12-mold muffin pan with cooking spray and pour in the batter.
Tip
Oat flour baked goods tend to stick, so even if you’re using nonstick bakeware like silicone, we recommend that you still coat with cooking spray or use baking liner cups. Remember, you want easy cleanup!
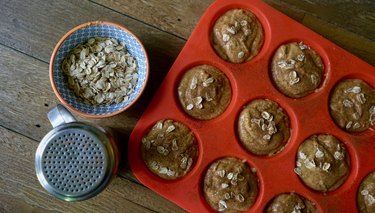
If desired, top with one or more of the following: oats, cinnamon, nutmeg, cinnamon-coconut sugar blend, chopped nuts of your choice, chocolate chips, coconut flakes.
3. Bake muffins
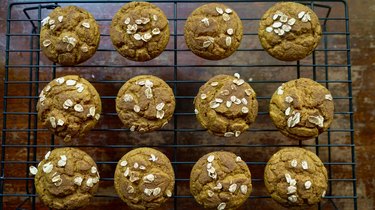
Reduce the oven heat to 350°F and bake the muffins for about 15 minutes or until an inserted toothpick comes out clean. Allow them to cool for about 20 minutes before removing to a baking rack.
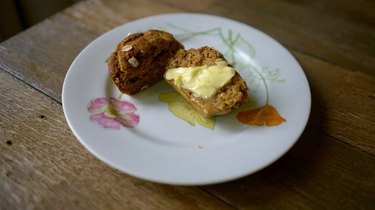
Nut Butter Banana Muffins

Things You'll Need
1 cup nut butter of your choice. We used peanut butter because it pairs perfectly with banana.
2 medium sized bananas (the riper, the sweeter)
2 large eggs, room temperature
1 teaspoon vanilla extract (or almond extract if using almond butter for extra almond-y flavor!)
1 teaspoon baking soda
1 teaspoon apple cider vinegar
2 tablespoons maple syrup or honey
⅛ - ¼ teaspoon salt, depending on the salt content of your nut butter
Optional toppings: chocolate chips, peanut butter chips, raisins or other dried fruits, chopped nuts
1. Blend ingredients
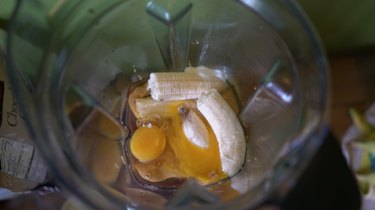
Preheat oven to 400°F. Throw all ingredients into the blender and blend well into a smooth, pourable batter. Yep, it's that easy!
2. Fill muffin tin
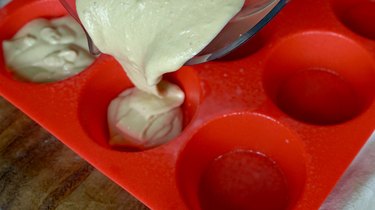
Pour batter into greased muffin pan, filling molds nearly to the top. These muffins are on the dense side with just a bit of rise, so you can fill the molds slightly more than you would a regular wheat flour muffin batter. (For more info about how to increase rise, read the tip below.)
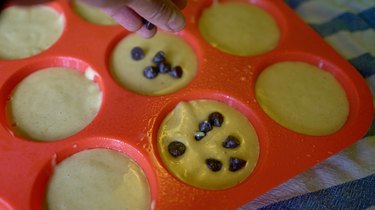
If desired, top with chocolate chips, peanut butter chips, raisins or other dried fruits, fresh or frozen berries, or chopped nuts.
3. Bake muffins
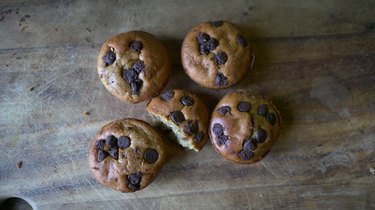
Turn down oven temperature to 350°F and bake muffins for 15 minutes or until a toothpick comes out clean. Remove from the oven and allow to cool before removing from the tray. Makes 12 smallish but dense and flavorful muffins.
Tips for Airiness and Rise
Both of these gluten-free batters yield moist, dense muffins with less rise and general fluffiness than traditional wheat flour muffins. That said, expect to see your muffins rise considerably in the oven but deflate a bit once removed and cooled. This is totally normal.
For fluffier muffins with more lift:
- Try adding an extra egg (or egg white) and/or bumping up the baking soda to a full teaspoon.
- Don’t leave out the yogurt — an acidic ingredient is necessary for the baking soda to do its job.
- Don’t want to let your batter sit around after blending the ingredients — it will lose its rising power with time.
