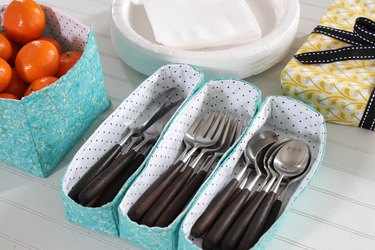
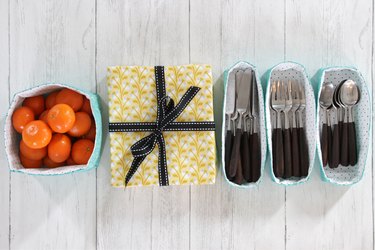
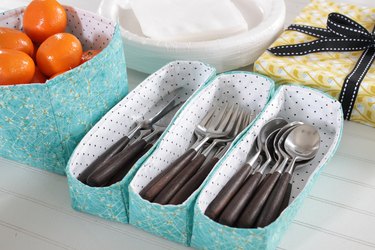
Combine your love of sewing and your need to be organized by creating these fun fabric bins. Make one for silverware, surprise your friends and family with a fabric gift box, or organize your drawers. Once you start to whip up these cute fabric boxes you'll want to put them everywhere–your kitchen, the bathroom, bedroom drawers, your desk at the office or school. With just a little practice, you'll be dreaming up all kinds of ways to use them.
Video of the Day
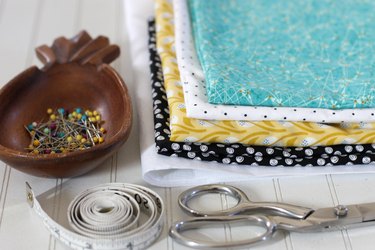
Things You'll Need
Exterior fabric
Interior fabric
Heavy iron-on interfacing
Measuring tape
Sharp scissors (or a rotary cutter, if you have one)
Straight pins
Step 1
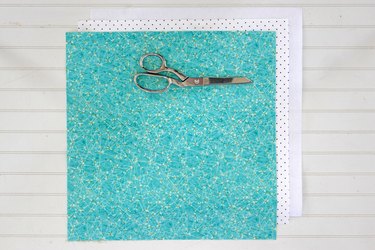
Cut a 15-inch by 15-inch piece from the exterior fabric, the interior fabric and the heavy iron-on interfacing.
Video of the Day
Step 2
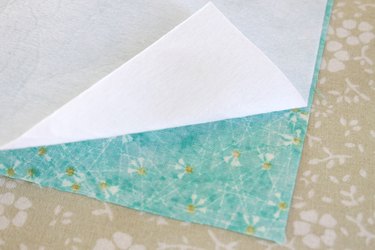
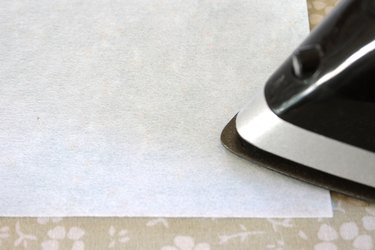
Place the shiny side of the iron-on interfacing against the wrong side of the exterior fabric and adhere with an iron.
Step 3
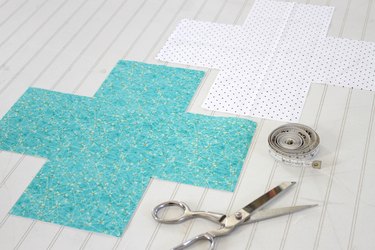
Use a sharp pair of scissors (or a rotary cutter) to cut 4 1/2-inch squares out of each corner of the exterior fabric and the interior fabric.
Step 4
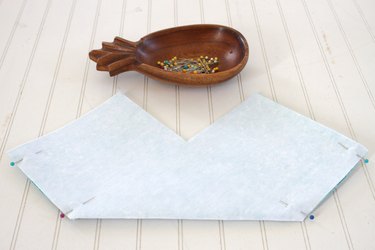
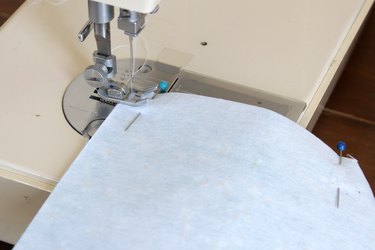
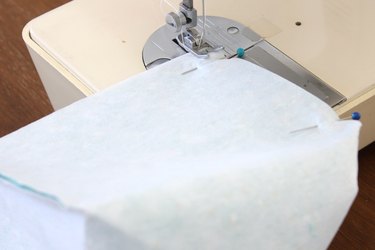
Fold the exterior fabric in half diagonally with the right sides together. Pin and sew the outside edges with a 1/4-inch seam allowance. Be sure to remove the pins as you sew.
Step 5
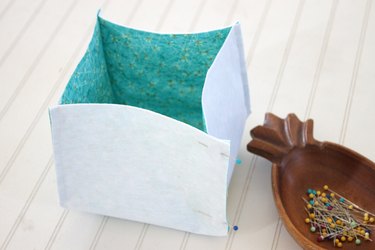
Open the box and fold diagonally in the opposite direction with the right sides together. Pin and sew the outside edges with a 1/4-inch seam allowance.
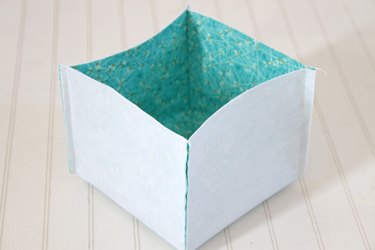
Step 6
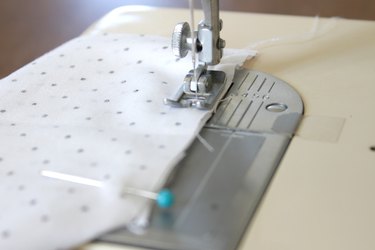
Fold the interior fabric in half diagonally with the right sides together. Pin and sew the outside edges with a 1/4-inch seam allowance.
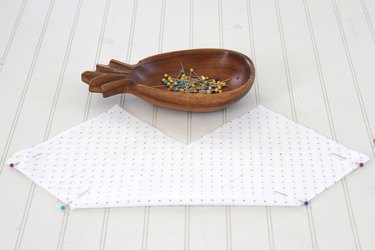
Step 7
Open the interior fabric and fold diagonally in the opposite direction with the right sides together. Pin and sew the outside edges with a 1/4-inch seam allowance.
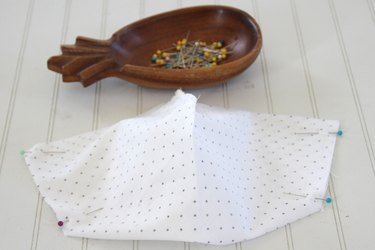
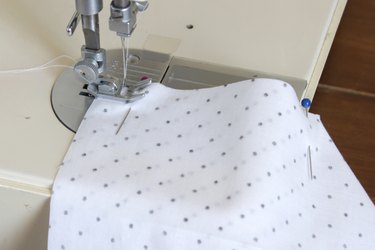
Step 8
Turn the interior fabric box right side out. Place it into the exterior fabric box so the right sides are together. Pin and sew along three of the top edges with a 1/4-inch seam allowance. Leave one side open.
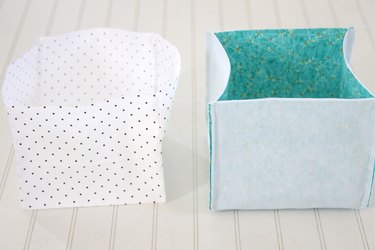
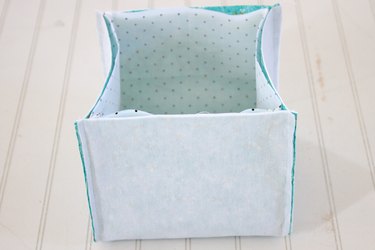
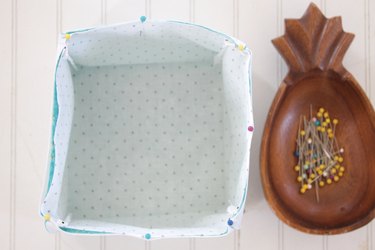
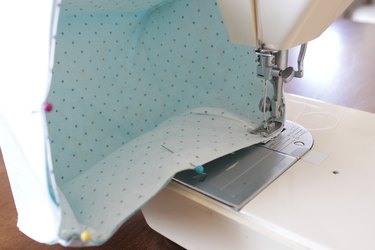
Step 9
Turn the box right side out by pulling the fabric through the opening.
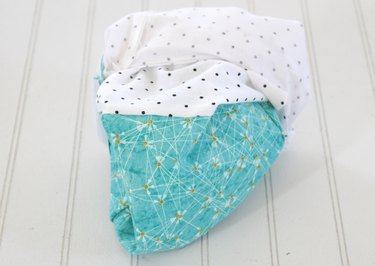
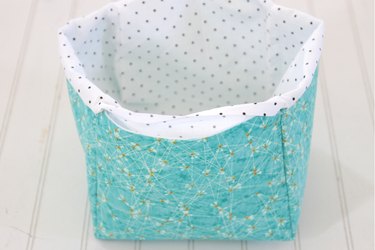
Step 10
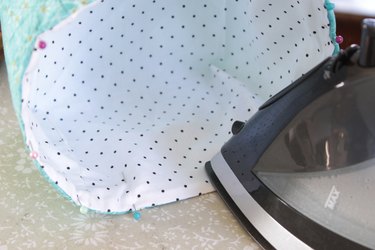
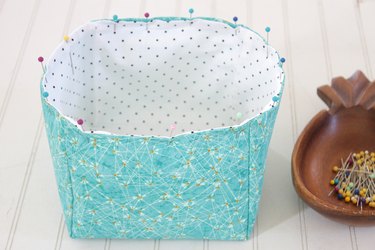
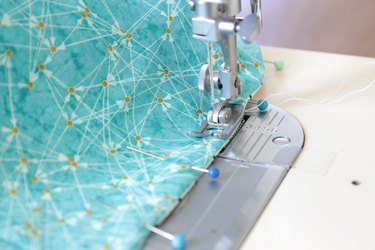
Press the top edges with an iron making sure the open edges are pressed in. Pin in place and sew an 1/8-inch topstitch around the entire top edge. Be sure to remove the pins as you sew.
Step 11
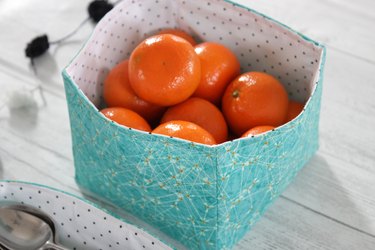
Press all the corners so the box will have nice crisp edges and fill with anything you'd like to get yourself beautifully organized.
Tip
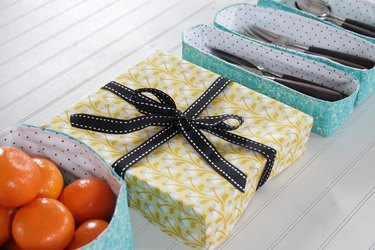
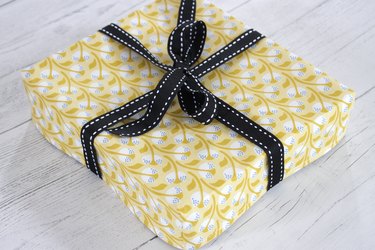
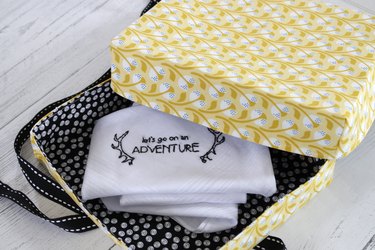
To make the fabric gift box, follow the same instructions except use a 13-inch by 12-inch piece of exterior fabric, interior fabric and heavy iron-on interfacing and cut 2-inch squares out of each corner.
Tip
To make the silverware bins, follow the same instructions except use a 13-inch by 7-inch piece of exterior fabric, interior fabric and heavy iron-on interfacing and cut out 2-inch by 2-inch squares from each corner.
