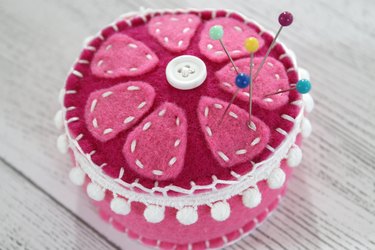
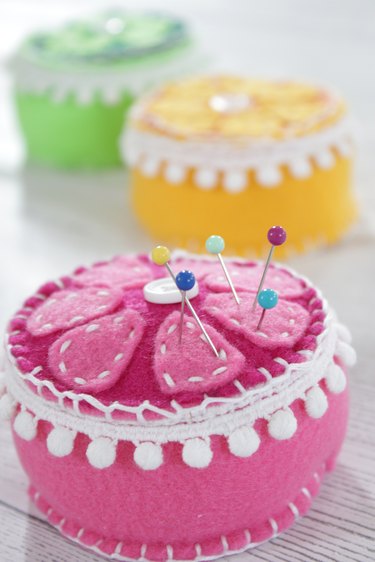
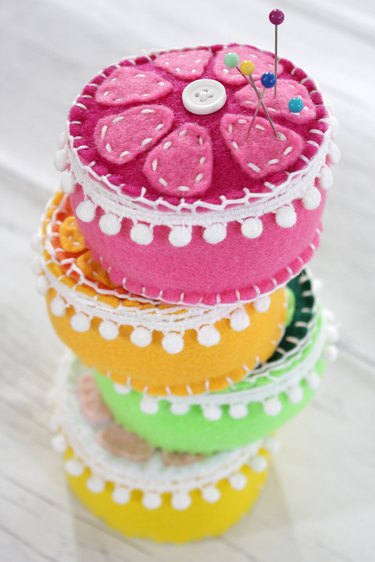
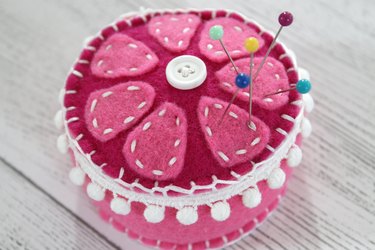
You could just store your pins in the plain plastic container they come in, but why not give one of your hardest working sewing tools the presentation they deserve with a bright, handmade pin cushion? Using just a few sheets of felt and some embroidery thread, you can create a zesty cushion for yourself or maybe even make one for your main squeeze.
Video of the Day
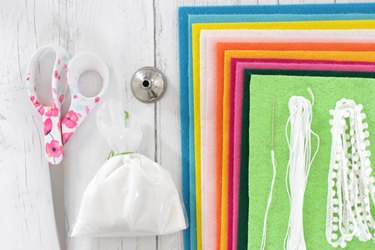
Things You'll Need
Heavy paper to create a pattern
2 sheets of felt
Washable marking pen
Sharp scissors
Small white button
1 skein of white embroidery thread
Embroidery needle
1/2 yard of narrow trim
Small funnel
Fine sand
Step 1
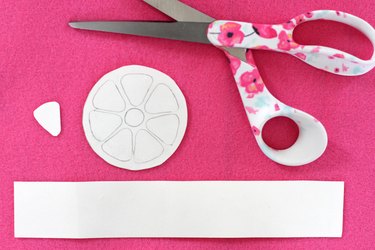
Create a paper pattern by cutting out a circle with a 2 5/8-inch diameter and a rectangle that is 1 1/2-inches x 8 3/4-inches. Draw 7 triangular sections inside the circle and cut one triangle out of paper.
Video of the Day
Step 2
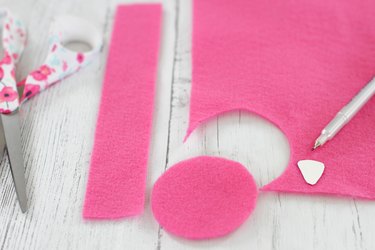
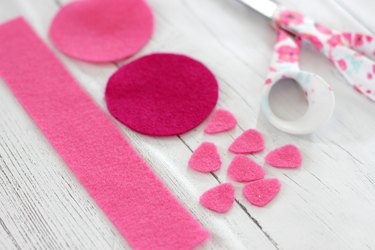
Use a washable marker to trace around your pattern pieces onto the felt. Cut two circles, one rectangle and seven triangles with a sharp pair of scissors.
Step 3
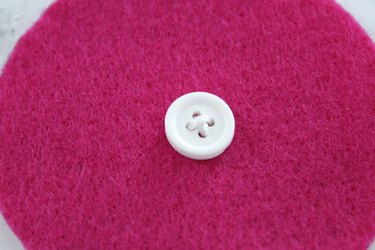
Sew a small white button to the center of the top felt circle.
Step 4
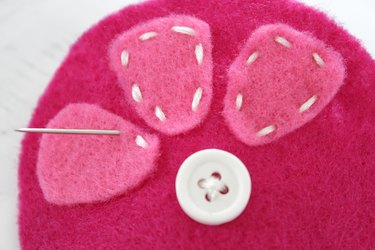
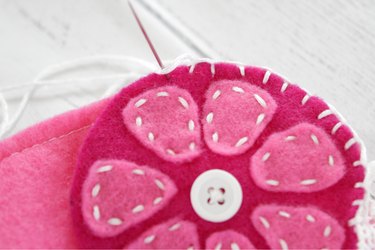
Using a straight stitch, sew the triangular sections around the button on the top circle piece.
Step 5
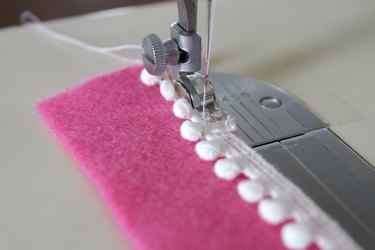
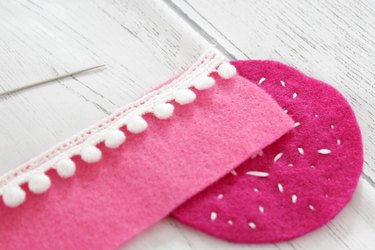
Sew the trim to one of the long sides of the rectangular piece of felt.
Step 6
Place the circle and the rectangular pieces of felt with the wrong sides together, and use a blanket stitch to attach the two pieces along the top edge. Click here to learn how to sew a blanket stitch.
Step 7
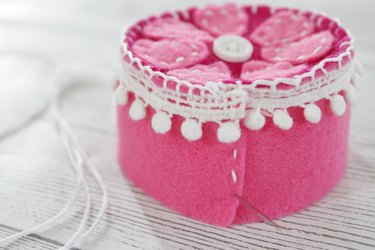
When you get around the entire top edge, overlap the short ends of the rectangular piece and use a straight stitch to attach them together.
Step 8
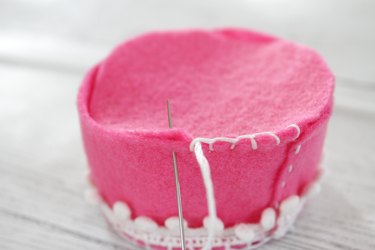
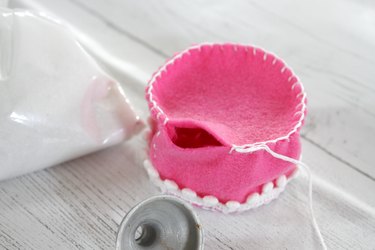
Attach the bottom circle piece with a blanket stitch, leaving an inch or so open.
Step 9
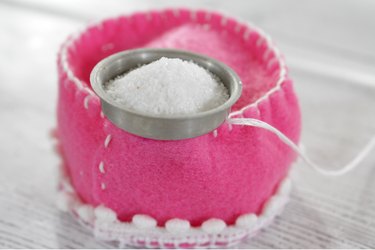
Place a small funnel into the opening and pour the sand into the pin cushion until it is as full as you'd like.
Step 10
When the pin cushion is full of sand, continue the blanket stitch to close the opening.
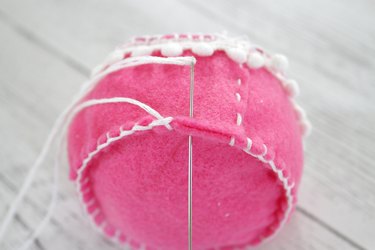
Now you can keep calm and pin on.
